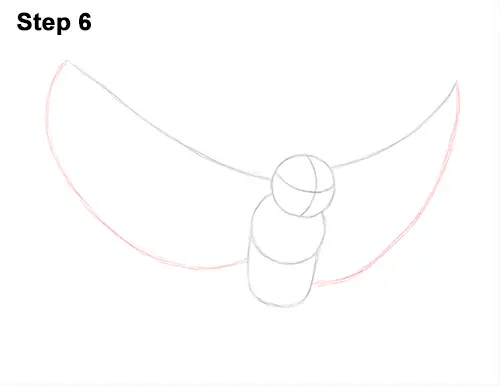
Step 6: Below the line on the left, draw another curved line as a guide for the bottom part of the great horned owl's wing. This line should curve a lot more than the line at the top to make the shape of the wing wide. Draw another curved line on the other side as a guide for the bottom part of that wing. Again because of the angle of the body, this line should be shorter than the one on the left.
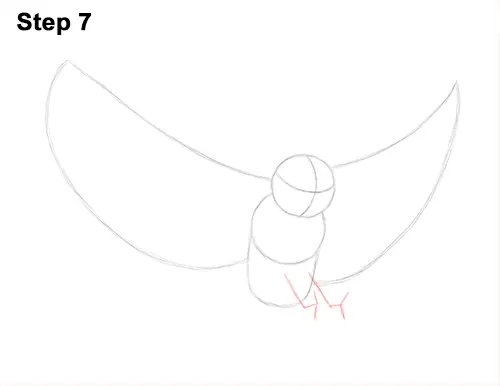
Step 7: On the lower half of the body, draw a series of angled lines as guides for the great horned owl's legs. The top part of the legs should look like the letter L. Don't draw the lines too long in relation to the body. At the end of each L-shaped line, draw a couple shorter lines as guides for the bird's toes.
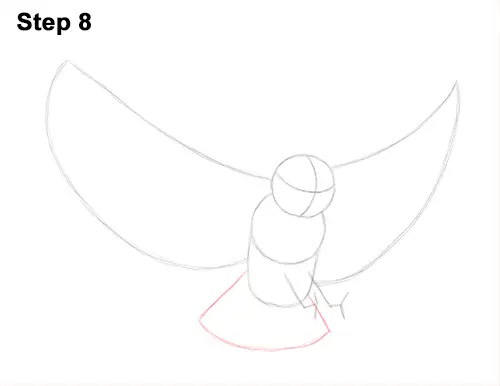
Step 8: At the bottom of the body, draw a curved shape as a guide for the great horned owl's tail. The guide for the tail consists of short diagonal lines on the sides connected by a longer, curved line at the bottom. Sketch the guide for the right edge of the tail lightly so that it doesn't interfere with the feet too much.
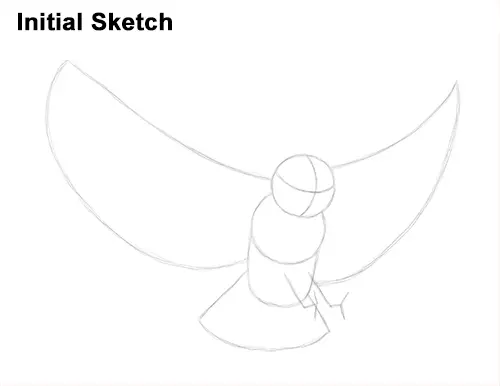
That's it for the initial sketch! From this point on, press harder with your pencil to get a more defined sketch.
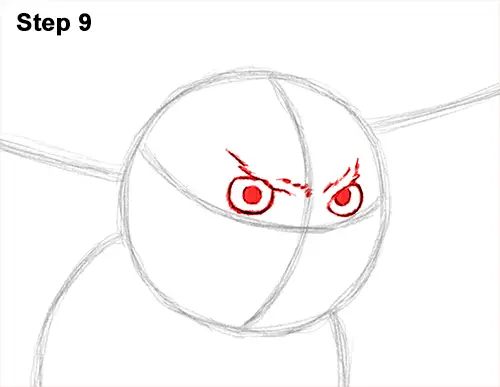
Step 9: Lightly sketch the eyes inside the head as two small circles. Use the initial lines as guides for the size and placement of the great horned owl's eyes. When you get the placement right, add a sloping line above each eye for the bird's thick brow. Use a few short strokes for the feathers. The line on the right should be shorter. Now darken the shape of the eyes under the brow. Make the lines thick to emphasize the shape of the big eyes. Inside each eye, draw a small circle and shade it in for the pupils. You can make the pupils bigger or smaller if you'd like.


