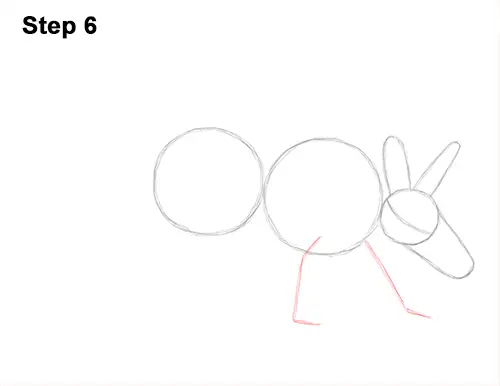
Step 6: Under the big circle on the right, draw two long, angled lines as guides for the aardvark's front legs. The first line should angle at the top for the joint and at the bottom for the foot. The other line should slope and bend at the bottom only.
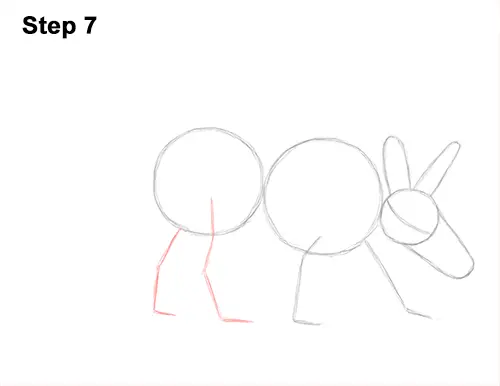
Step 7: Under the circle on the left, draw two longer angled lines as guides for the hind legs. Pay attention to where these lines bend, as that will indicate the aardvark's joints and feet later on.
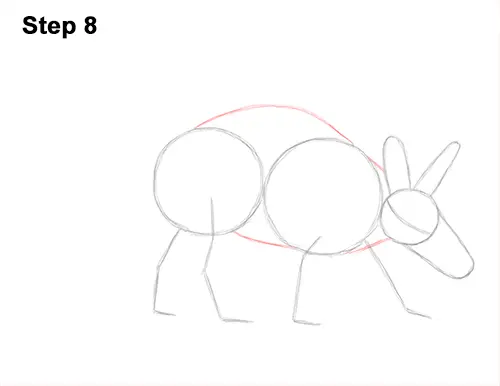
Step 8: Connect the main circles using long, curved lines to complete the guide for the aardvark's body. The line at the top should curve more. Add a couple of shorter lines that connect to the head to form the neck.
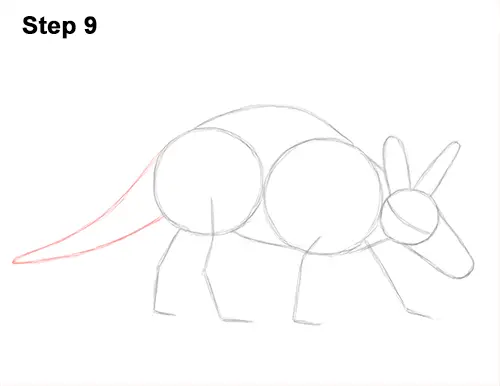
Step 9: To the left of the body, draw two long, curved lines as the guide for the aardvark's tail. The lines should meet on the far left side and form a point. The base of the tail should be thick.
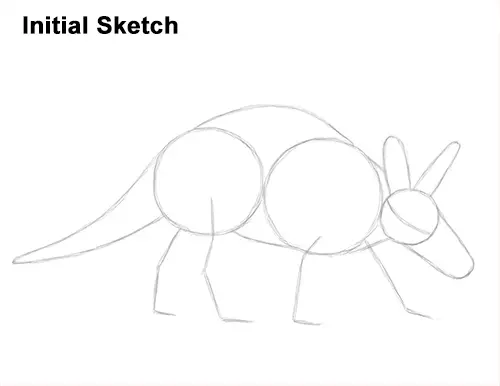
That's it for the initial sketch! From this point on, press harder with your pencil to get a more defined sketch.


