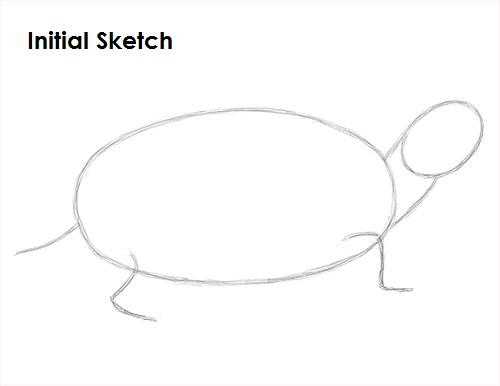
That's it for the initial sketch of a red-eared slider turtle! From this point on, press harder with your pencil to get a more defined sketch.
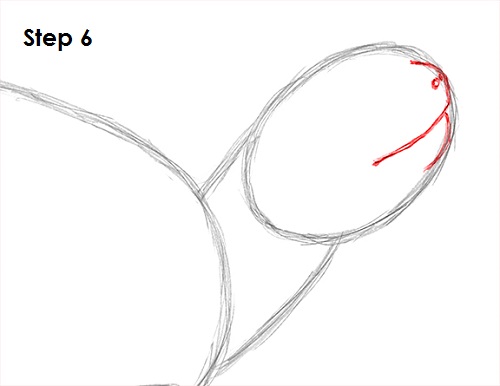
Step 6: Draw the turtle's mouth at the end of the head. The mouth is a curved line on the edge of the oval with another line underneath as the chin. A small circle makes up the nose.
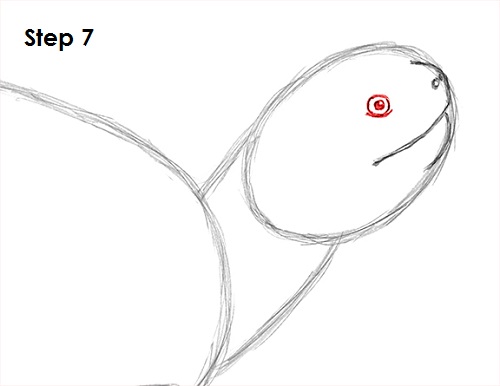
Step 7: Next to the mouth, draw the eye as a circle. Draw another circle inside as the pupil and shade it in.
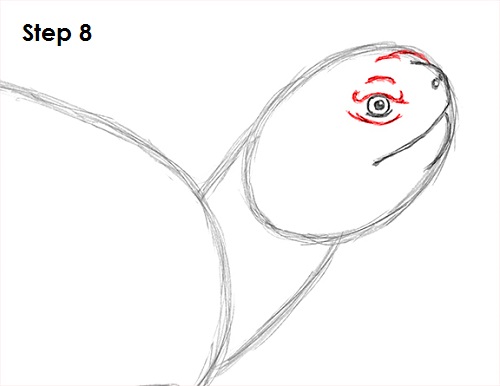
Step 8: Draw a series of lines around the turtle's eye for detail. The lines give the head a bumpier texture. Draw a bump on top of the turtle's head to indicate the eye on the other side.
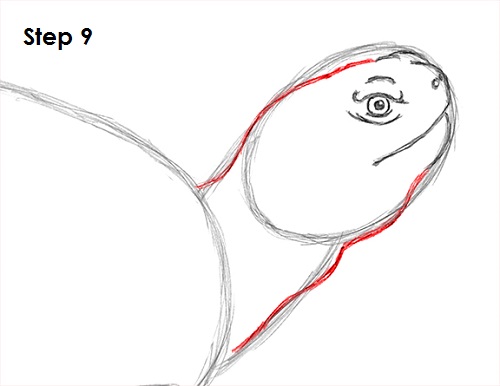
Step 9: Use the initial lines as guides to draw the rest of the turtle's head and neck. Curve the lines to give the head and neck structure. Avoid using straight lines.


