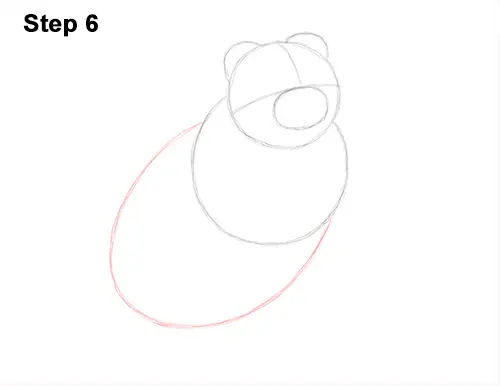
Step 6: Draw a big arc on the lower, left side as a guide for the bottom half of the body. Draw this arc the same way. First draw a small mark , and then connect the sides to the top using curved lines. Notice how big this arc is when compared to the top half of the Scottish fold's body.
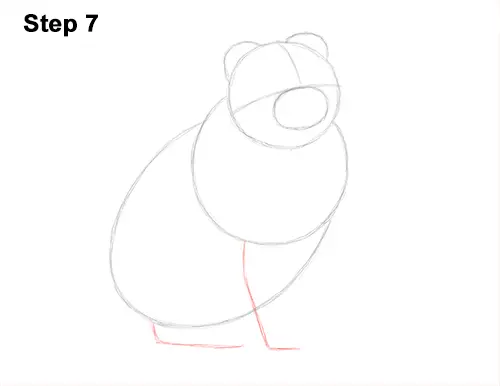
Step 7: Right under the middle section, draw a long, angled line as a guide for the first front leg. On the lower, left side, draw a long horizontal line as a guide for the Scottish fold's folded hind leg.
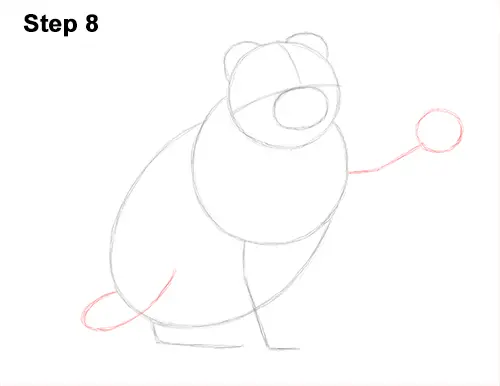
Step 8: On the top, right side of the cat's body, draw an angled line as a guide for the extended front leg. At the end of the line, draw a small circle as a guide for the paw. On the lower, left side of the body, draw a long, curved line as a guide for the Scottish fold's tail.
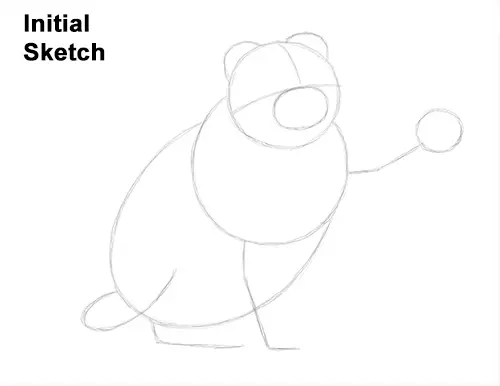
That's it for the initial sketch! From this point on, press harder with your pencil to get a more defined sketch.
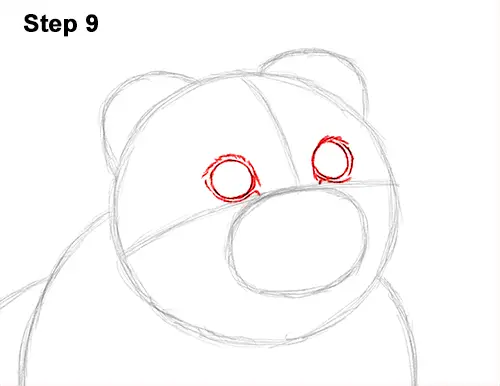
Step 9: Lightly sketch the Scottish fold's eyeballs inside the head as two small circles. Use the construction lines as guides for the placement and size of the eyeballs. Sketch lightly at first so you can easily erase if you make a mistake. When you get the shapes right, darken the lines. Use thick, dark lines as you draw the outer edges of the eyeballs.
The eye on the right should be a tiny bit smaller than the one on the left because of perspective. Draw a series of lines around the cat's eyes for the fur. Use quick, short strokes to better represent the texture of the fur. Add a few longer lines along the bottom of the eyes that point down toward the muzzle.


