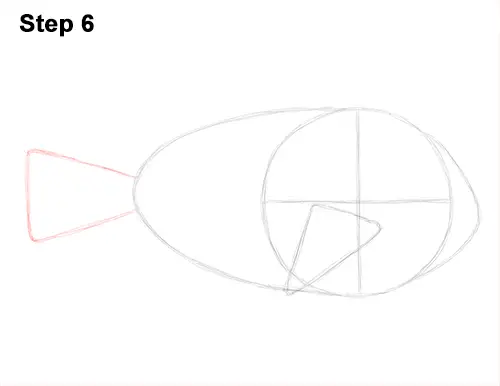
Step 6: Add the guide for the blue tang's tail by first drawing a vertical line to the left of the body. Then connect the vertical line to the body using two long diagonal lines. Don't draw the vertical line too far to the left, otherwise the fish's tail will be too long.
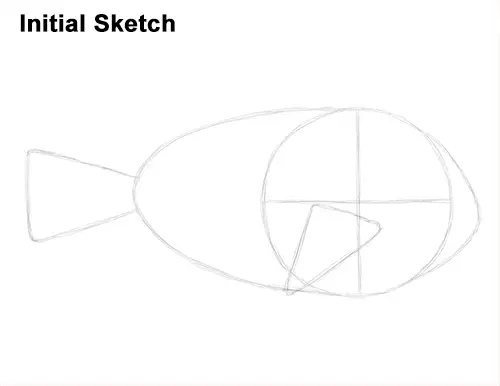
That's it for the initial sketch! From this point on, press harder with your pencil to get a more defined sketch.
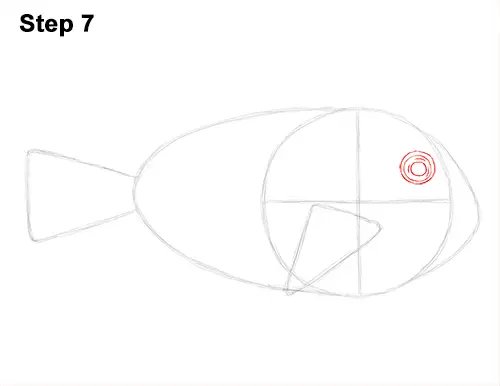
Step 7: Draw a small circle on the upper, right side of the body for the outer section of the blue tang's eye. The eye should be close to the edge of the main circle. Pay attention to the eye's size in relation to the fish's body. Draw a smaller circle inside the first circle for the inner section of the eye. Draw an even smaller circle near the middle of the eye for the pupil. Add a few small lines around the pupil for extra detail on the eye.
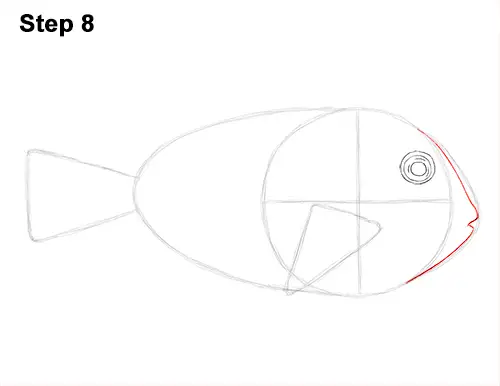
Step 8: Use the curved line on the right as a guide to draw the front part of the blue tang's face. Follow the basic path of the guide but make the shape of the head thinner as you darken the line. Near the middle of the line, draw a small shape similar to a less- than sign (<) for the mouth. Darken the bottom part of the curved line to create the lower half of the face. Notice the position of the fish's mouth in relation to the horizontal line inside the head. Place it a little lower.
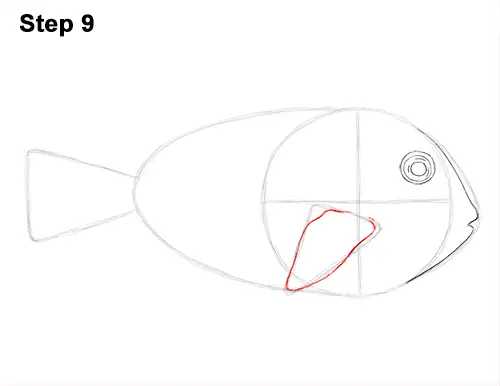
Step 9: Use the triangle inside the body as a guide to draw the pectoral fin. Follow the basic path of the triangle as you draw the fin but make the corners rounder and not pointy. Make the sides of the fin wavier to represent the movement and flow of the fin.


