Draw Swordfish 15

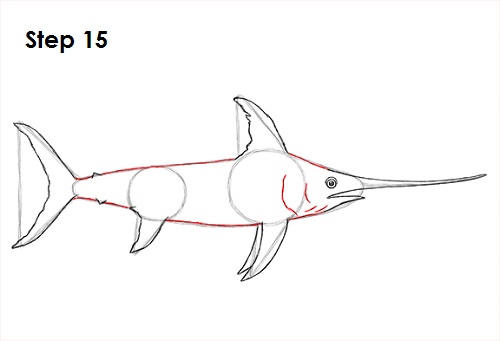
Step 15: Use the remaining lines and shapes to form the rest of the swordfish's body. Simply darken the lines as you follow the path of the guides to create the outer shape of the body. Add a few curved lines to the left of the eye for the gills and extra detail under the mouth.


Draw Swordfish 16

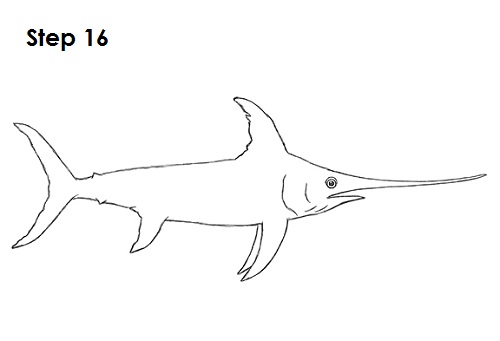
Step 16 (optional): For a cleaner look, erase as much as you can of the initial guide lines. Don't worry about erasing all of the guides. It's okay to leave some behind. Re-draw any final sketch lines that you may have accidentally erased.


Draw Swordfish Final

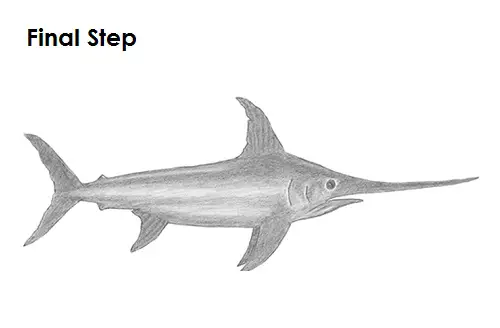
Final Step (optional): You can add more value throughout your swordfish drawing for more detail. Add a few lines within the shape of the fins for the ridges found there. Swordfish don't have any pattern on their skin, so you can use a single value for the entire body. You can use a lighter value on a section near the top to make the skin seem sleek and shiny.

Vary the pressure on your pencil to get different degrees of tonal value. Try to add the value smoothly across the body for a shiny, wet look and avoid a rough, gritty texture. You can add a lighter value near the middle of the body for a shinier, sleeker texture. The bottom part of the swordfish usually tends to be lighter than the rest of the body, so add a light value here too.

Shading can be time-consuming, so be patient and take breaks. You can shade small sections of the swordfish at a time to break up the long process. It's also a good idea to use reference as you draw for a more accurate drawing. Don't forget to pause the "How to Draw a Swordfish" video after each step to draw at your own pace.

Thanks for watching! Subscribe to the How2DrawAnimals YouTube Channel for a new tutorial every Tuesday.

To learn how to draw popular cartoon characters, visit EasyDrawingTutorials.com.

Joomla templates by a4joomla