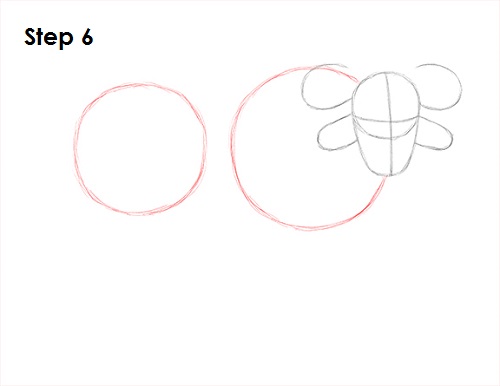
Step 6: Draw two big circles to the left side of the head as guides for the African cape buffalo's body. The first circle should be behind the head. Don't worry if it's not perfect. It's just a guide. The second circle should be slightly smaller. Don't place them too far apart, otherwise the African cape buffalo will be too long.
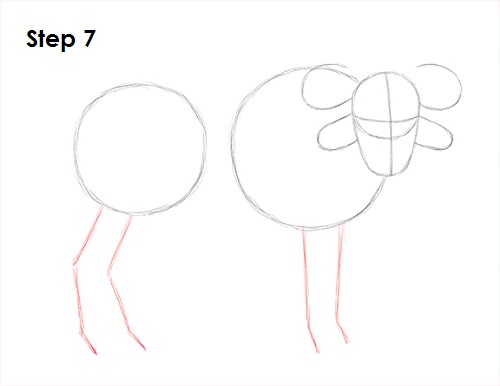
Step 7: Draw four lines under the African cape buffalo's body (two under each circle) as guides for the legs. Bend the lines to indicate where the joints will be. The lines on the left side should bend more.
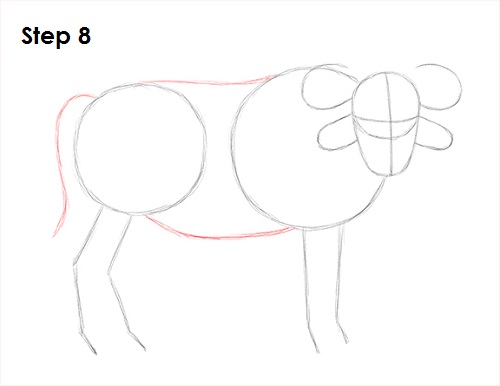
Step 8: Draw a few more lines to connect the circles and form the body. Add a short line on the left side of the body as a guide for the African cape buffalo's tail.
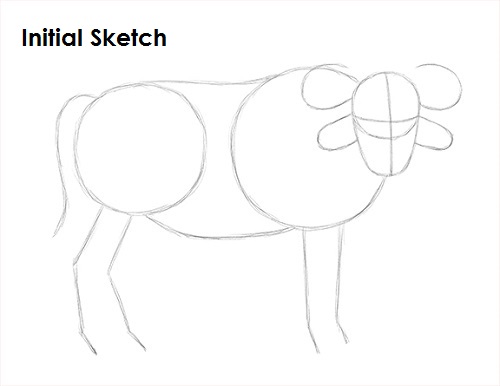
That's it for the initial sketch! From this point on, press harder with your pencil to get a more defined sketch.
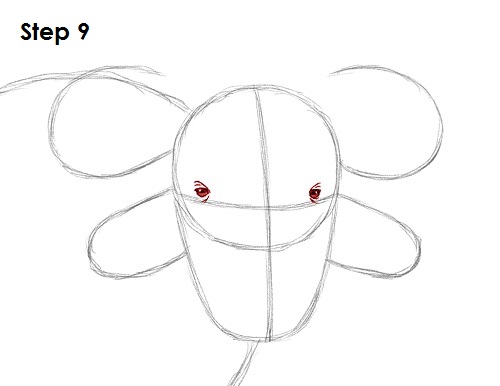
Step 9: Draw the African cape buffalo's eyes inside the head using the lines as guides for placement. The shape of the eyes is similar to a half-circle. Shade the inside of the eye except for a tiny circle to represent glare. Add some lines around the eyes as extra detail for the wrinkles.


