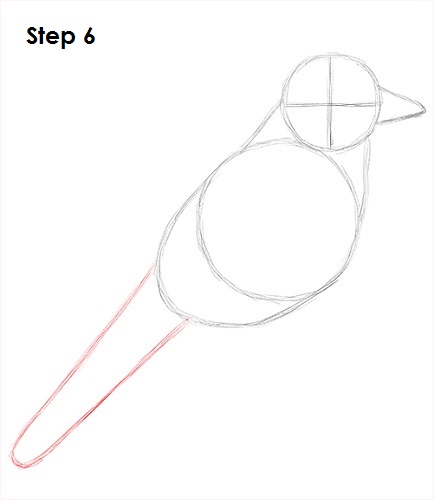
Step 6: Draw a long, narrow arc on the lower left side of the body as a guide for the tail. The tail should be about the same size as the body, but you can make yours as long or as short as you'd like.
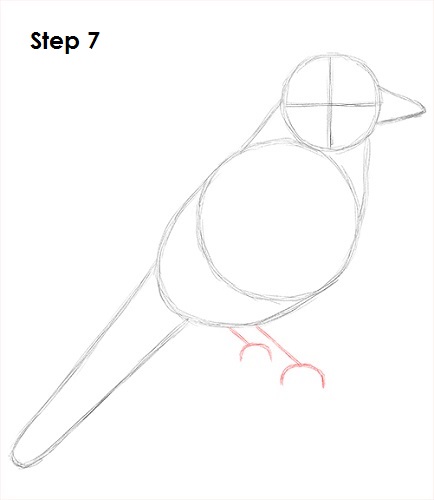
Step 7: Add a few lines under the blue jay's body as guides for the feet.
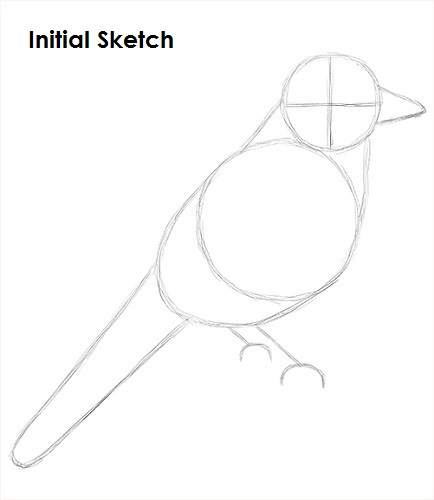
That's it for the initial sketch! From this point on, press harder with your pencil to get a more defined sketch.
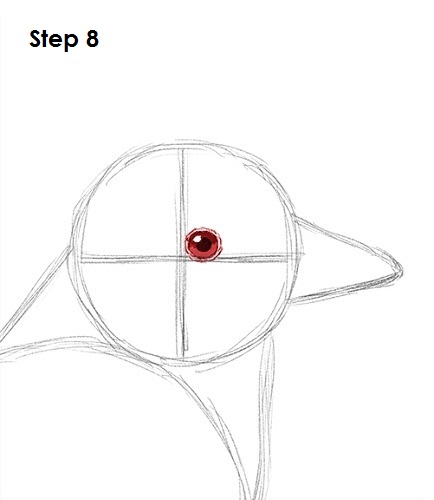
Step 8: Draw the blue jay's eye inside the head as a circle. Use the lines as guides for placement. Draw a tiny circle inside the eye, off to the side to represent glare. In the middle of the eye, draw a big dot for the pupil. Shade the rest of the eye using a value that's lighter than the pupil. Add a few lines around the eye for extra detail.
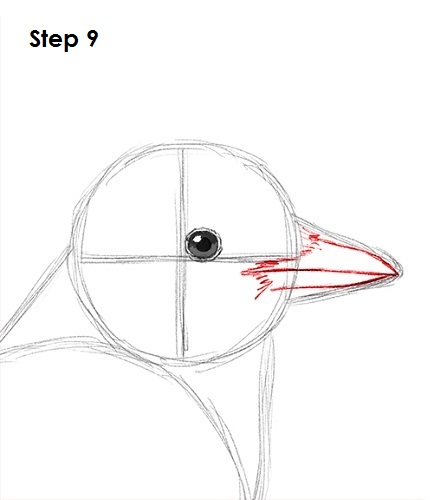
Step 9: Use the triangle-like shape as a guide to draw the blue jay's beak. Darken the top part of the beak as you follow the basic path of the guide. Draw a longer line for it below the mouth. Add another line under the mouth for the bottom part of the beak. Use the initial shape as a guide. Draw the base of the beak on the left side by using quick, short strokes for a feathery texture.


