Page 2 of 4
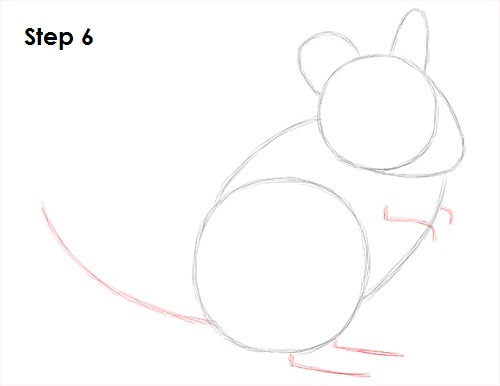
Step 6: Draw a few more lines for the feet and tail. First draw a couple of angled lines at the top as guides for the front legs. Draw two longer lines below the body as guides for the hind legs. Add a long curved line on the left as a guide for the chinchilla's tail.
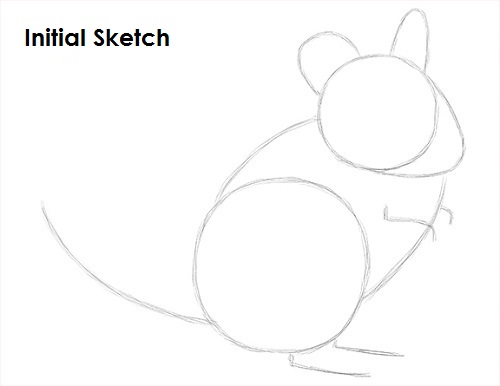
That's it for the initial sketch! From this point on, press harder with your pencil to get a more defined sketch.
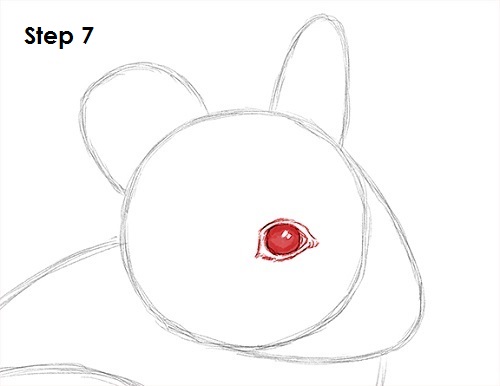
Step 7: Draw the eye as a circle near the center of the head close to the right side. Draw a tiny circle inside the eye to represent glare. Shade in the rest of the eye. If you'd like, you can add more glare to the chinchilla's eye by adding another tiny circle as you shade. Use a darker value at the top of the eye for a rounder look. Add a few lines around the eye for extra detail. Use quick, short strokes at the bottom to indicate the fur along the edge of the eye. The other eye is on the opposite side of the head, so don't worry about drawing it.
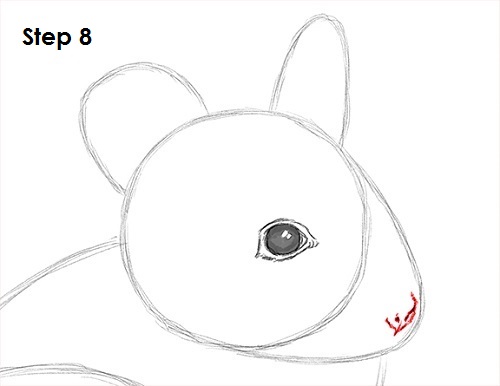
Step 8: Draw the chinchilla's nose on the tip of the arc. Draw a line similar to the letter V. Then add two dots within the shape for the nostrils.
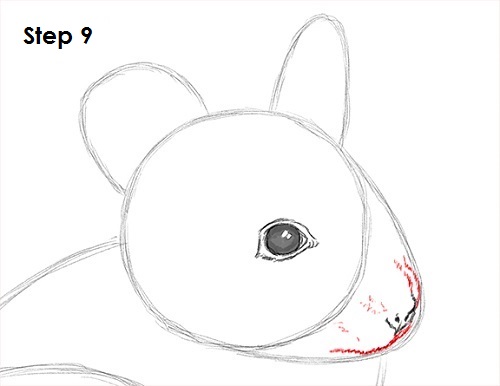
Step 9: Use the arc as a guide to draw the rest of the chinchilla's muzzle. Follow the basic path of the guide as you darken the lines to form the mouth. Use quick, short strokes to represent that fuzzy texture of the chinchilla's fur. Add some fur lines within the muzzle too.


