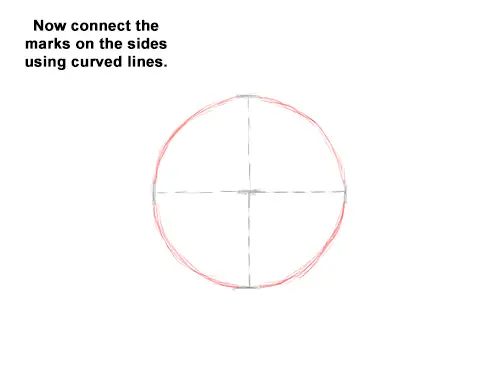
Step 6: Once you have the four marks about equally spaced apart, just connect them using curved lines to form the rest of the circle. Sketch lightly as you draw the curved lines to connect the marks.
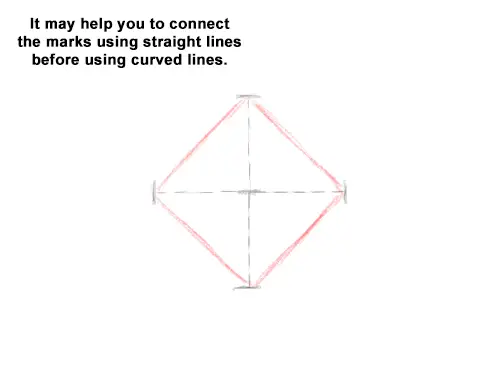
Step 7: It may help you visualize the circle if you first connect the marks using straight lines.
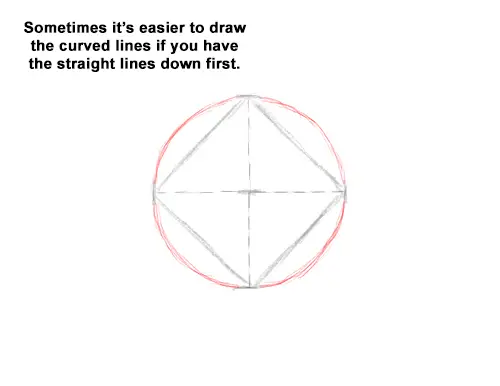
Step 8: Once you form a square using the marks and the connecting lines, it will be easier to draw the curved lines that form the circle.
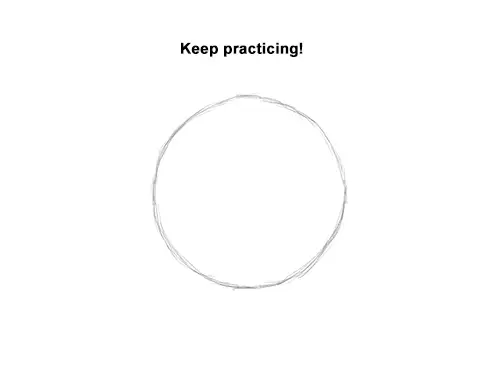
Step 9: You don't have to take these steps every time you draw a circle. This is just practice. The last few steps are to give you an understanding of the concept for drawing a circle using the four marks method. In time and with practice you'll only need the four marks and the curved lines to achieve awesome circles for sketching! And remember, if you're using these circles as initial guides, they don't have to be perfect. As long as they look circle-like, your finished drawing should be good.
Method 2: Tracing Objects
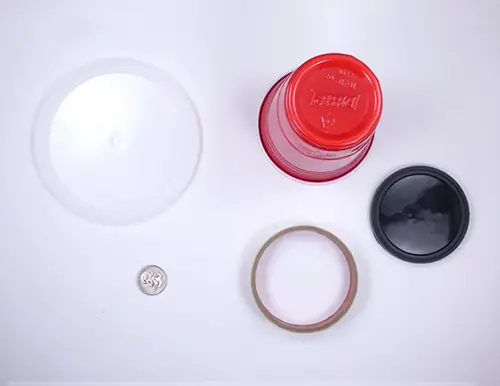
If you still have a hard time drawing circles, you can always trace the outline of round objects. You can use cups, coins, buttons, lids, etc. You'd be surprised how many household objects have round edges! After a while, you'll have a collection of items for any size circle you may need , and you'll get a perfect circle every time! The drawback to this method is that you have to amass a collection of round- edged items and use them every time you draw.


