Below are 10 step-by-step animal drawing tutorials for artists who are up for a more challenging drawing! You can watch the video tutorial and follow along, pausing after each step to follow at your own pace. Or you can click through to the article, which has each step broken down into an individual image, with new pencil lines shown in red, and an explanation of what to draw.
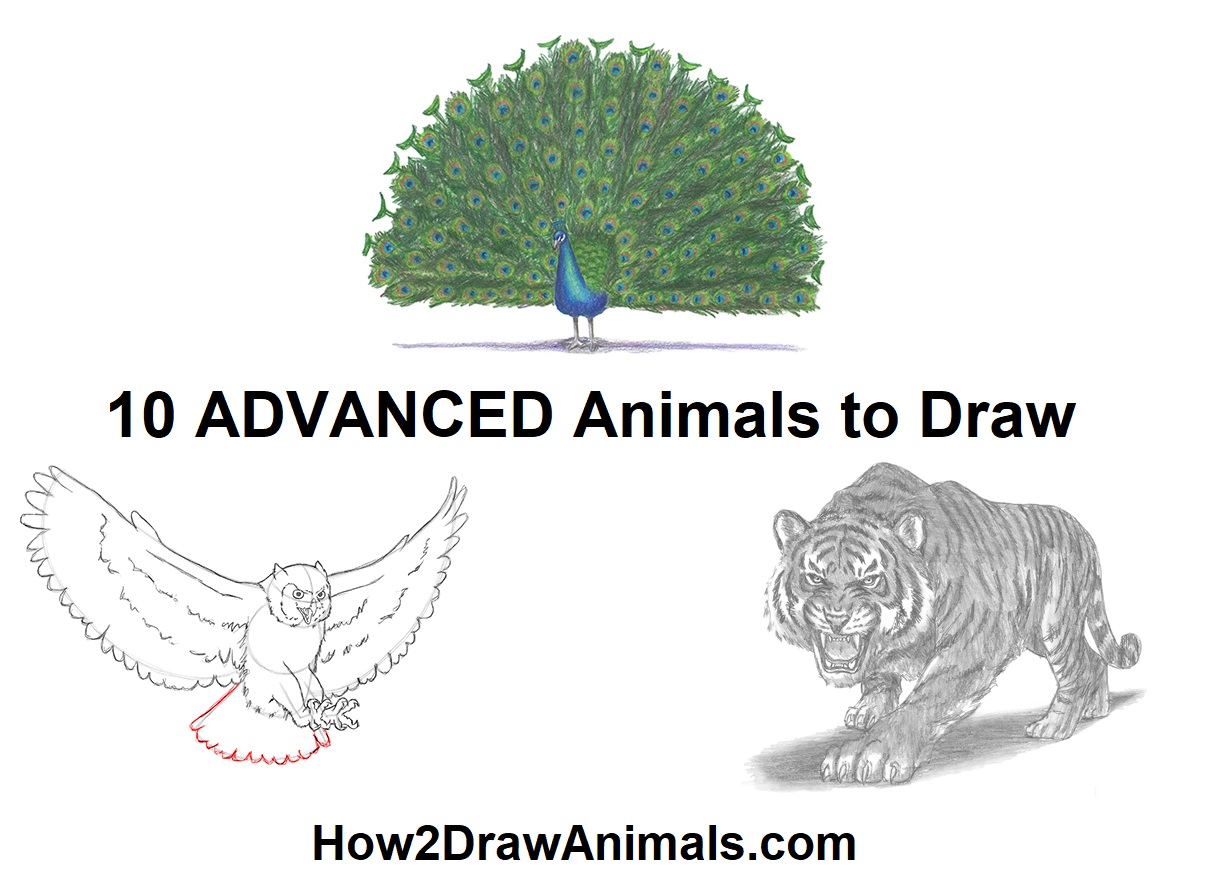
What makes these animal drawing tutorials a challenge? You will be using some more advanced drawing techniques, including:
- Perspective Creating an illusion of three-dimensions, making a your animal drawing seem to have form and distance.
- Shading Depicting levels of darkness by pressing harder on the pencil for darker areas, and lighter for lighter areas. Properly shaded areas on an animal creates the illusion of depth on paper.
- Detail Drawing the animal larger on the paper in order to add more detail. Detail is not always difficult, but it is time-consuming.
- Coloring Choosing the correct colored pencils to use, and applying the color and shading without muddying the colors.
There are a few things to note before you begin:
- If these drawing tutorials are too advanced for you, you can practice drawing easier animals or cartoon animals and try these again once you're more comfortable.
- Make sure you can draw circles well so you can create good guidelines. Here is an article showing four different techniques for drawing a perfect circle.
- Try out these shading exercises if you're not familiar with how to shade yet.
- Finally, HAVE FUN! Even if your drawing doesn't turn out perfect, you should still have fun drawing.
Grab your pencil and paper, and let's get drawing! If you're curious, check out what art supplies I use for drawing.
1. Pegasus
In this step-by-step drawing tutorial, the Pegasus is slightly higher than the viewer, so the perspective is a bit different than an animal shown from the side. This perspective makes the Pegasus seem like it's flying. The underside of the Pegasus should be prominent to emphasize the perspective. Horses are tricky to draw, but if you add wings it makes it even harder. The spread wings and feathers add another layer of difficulty to this drawing.
Find the Pegasus's written step-by-step drawing tutorial here.
There is also a unicorn drawing tutorial here.
2. Ankylosaurus Dinosaur
The detail on the ankylosaurus dinosaur's armor can be difficult because it's repetitive and time-consuming. You have to get the individual sizes right, with the top spikes being the biggest and gradually getting smaller on the sides. The spikes also change perspective as they curve around the side of the dinosaur.
Find this dinosaur's written step-by-step drawing tutorial here.
Check out all of the How2DrawAnimals dinosaur drawing tutorials here.
3. Jaguar
With many of the other animal drawings on this website, it's not really necessary to shade. Why? Because the drawing will still look like the animal without any shading. For example, a gorilla will still look like a gorilla regardless of whether or not you shaded it. But a jaguar must be shaded to read as a jaguar, and this big cat's coat pattern can be tricky and time-consuming to draw. Animals with similar coats, like the cheetah, can be difficult too, but not as much because the cheetah's coat just consists of spots, whereas the jaguar has rosettes with spots inside.
Find the jaguar's written step-by-step drawing tutorial here.
Or draw a cheetah instead!
4. Peacock
The peacock drawing tutorial is difficult and time-consuming. First, it is in color, and color drawings are generally tougher to begin with. Second, unlike, say, a cardinal bird or a blue jay, a peacock's feather pattern is much more intricate, and there are a lot of feathers, so it's very repetitive. And third, you have to do draw the peacock big enough on your paper. If it's too small, when you draw the head, it will be difficult to get the details such as the eyes and beak right if you don't have enough room or are working too small. So the fact that you have to make it big to be able to add those details makes the fanned tail big too, which means more coloring time!
Find the peacock's written step-by-step drawing tutorial here.
You can also try drawing the easier cardinal or blue jay.
5. Flying Great-Horned Owl
As you learned on the Pegasus drawing tutorial, spread wings can be difficult to draw. The spread wings on this great-horned owl are even more difficult to draw because these wings have an intricate feather pattern, whereas the Pegasus was just white. The owl's feet and claws can also be tricky because of their position and how they somewhat overlap each other. The owl's open beak is also more difficult to draw than a closed beak.
Find the great-horned owl's written step-by-step drawing tutorial here.
Or try an easier great-horned owl drawing tutorial here.
6. Wasp
This drawing tutorial of a wasp is more challenging not only because it's in color, but because it has a strong color next to a light color. It's very easy to smudge the black onto the yellow, so be very careful! You'll need to have great control of the grip on the pencil when conveying the bit of shine on the abdomen. Another area where the pressure applied on the colored pencils matters a lot is the base of the wings, where the torso can be seen through the transparent wings. You'll need to take care when drawing and coloring the wasp's thin appendages, especially where they overlap the body.
Find the wasp's written step-by-step drawing tutorial here.
Or try drawing a bee in graphite pencil.
7. Dilophosaurus Dinosaur
This dilophosaurus dinosaur requires a lot of detail on the open mouth. That means you'll need to draw it big on your paper, and although a bigger drawing is not necessarily harder, but it is more time-consuming. In real life, Dilophosaurus didn't have a fray, but because is the movie version of the dinosaur, you will draw one. On the fray, you will need to add the pattern and accurate shading. Lastly, there is perspective in this drawing. The dinosaur's head is closer to the viewer than the tail, so the proportions need to be just right.
Find this dinosaur's written step-by-step drawing tutorial here.
Check out all of the How2DrawAnimals dinosaur drawing tutorials here.
8. Werewolf
The human body is always more challenging draw because of the small details, such as fingers, toes and any visible muscle structure. With other animals, you can hide the muscles with fur and cheat a bit by only adding lines at the end of the foot to convey paws. When you draw a werewolf, you are adding claws to fingers and drawing fur while still trying to maintain muscle structure, which makes everything that much more of a challenge! Because of all the small details, such as the open mouth and the detail inside, you'll need to draw this werewolf big on your paper, and that means a more time-consuming piece. On the plus side, werewolves are mythical creatures, so you don't really have to follow the rules religiously. You can put your own spin on it, and it will be OK as long as your final drawing still reads as a werewolf.
Find the werewolf's written step-by-step drawing tutorial here.
And when you're done, draw a minotaur!
9. Growling Wolf
For this advanced wolf drawing, there are some of the same challenges as the werewolf drawing above. There is detail on the fur and the open mouth. Granted there aren't fingers or muscle structure to draw, but because a wolf is a real animal and not something mythical that you can put your own spin on, you can't cheat or change its body structure. The fur must be right, and the gums, the teeth, and the eyes must be drawn properly in order to read as a pacing, menacing wolf snarling.
Find the wolf's written step-by-step drawing tutorial here.
Or you can draw a simpler wolf or a howling wolf.
10. Roaring Tiger
This tiger drawing is possibly the most challenging How2DrawAnimals tutorial because it includes most of the features mentioned in the other tutorials, all in in one single drawing. You've got the small details on the open mouth and the eyes, so the drawing must be large. You've got the tiger coming forward toward the viewer, so you have to pay attention to the perspective and how the form recedes toward the back. You got different shades of fur, so you need good control of your pencil or get different grades of graphite. The stripes have to read as stripes as they recede farther toward the back. And you have the paw at the front with the claws extended. If you can draw this, you can draw anything!
Find the tiger's written step-by-step drawing tutorial here.
Or try this simpler tiger drawing tutorial.
Check out some easy animals to draw>>
Below are 11 step-by-step animal drawing tutorials for beginners. You can watch the video tutorial and follow along, pausing after each step to follow at your own pace. Or you can click through to the article, which has each step broken down into an individual image, with new pencil lines shown in red, and an explanation of what to draw.
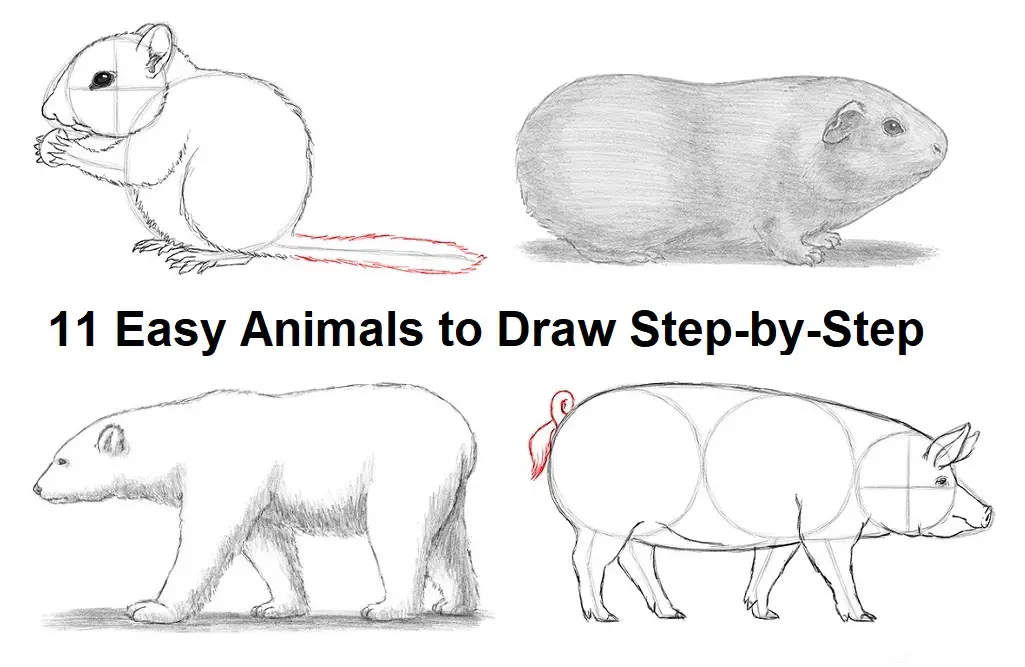
In this list of easy animal drawings for beginners, you'll find a lot of birds because they are shown from the side, so you don't need to worry about perspective, and you only need to draw one eye. And because birds only have two legs, they are immediately easier to draw than four-legged animals! But don't worry--there are a few mammals and a fish sprinkled throughout this list too.
There are a few things to note before you begin:
- If these drawing tutorials are still too advanced for you, you can practice drawing cartoon animals and try these again once you're more comfortable. Keep practicing!
- Make sure you can draw a pretty good circle so you can create good guidelines. Here is an article showing four different techniques for drawing a perfect circle.
- Try out these shading exercises if you're not familiar with how to shade yet.
- Finally, HAVE FUN! Even if your drawing doesn't turn out perfect, you should still have fun drawing.
Grab your pencil and paper, and let's get drawing! If you're curious, check out what art supplies I use for drawing.
1. How to Draw a Mallard Duck
Fun fact: Mallards can fly up to 55 miles per hour!
Find the duck's written step-by-step drawing tutorial here.
2. How to Draw a Polar Bear
Fun fact: Unlike black and brown bears, polar bears do not hibernate.
Find the polar bear's written step-by-step drawing tutorial here.
3. How to Draw a Cardinal Bird
Fun fact: The cardinal is the official bird of seven U.S. states.
Find the cardinal's written step-by-step drawing tutorial here. There is also a cartoon cardinal drawing tutorial!
4. How to Draw a Pig
Fun fact: Scientists believe pigs are the smartest domesticated animal--even smarter than dogs!
Find the pig's written step-by-step drawing tutorial here. You can also draw a cartoon pig if you'd like.
5. How to Draw a Guinea Pig
Fun fact: When a guinea pig is happy, it will jump straight up in the air. This is called "popcorning."
Find the guinea pig written step-by-step drawing tutorial here.
6. How to Draw a Snowy Owl
Fun fact: The snowy owl is the largest owl in North America. It is one of the species available at Eeylops Owl Emporium on Diagon Alley, where Harry Potter's snowy owl, Hedwig, came from!
Find the snowy owl's written step-by-step drawing tutorial here.
7. How to Draw a Chicken (Hen)
Fun fact: There are 25 billion chickens in the world, so there are more of them than any other bird species.
Find the chicken's written step-by-step drawing tutorial here. And you can draw a cartoon rooster too!
8. How to Draw a Piranha Fish
Fun fact: After Teddy Roosevelt traveled to South America in 1913, he wrote in his book, Through the Brazilian Wilderness, that he saw a pack of piranhas eat an entire cow carcass that had been thrown into the river. This is probably what kicked off the piranha's bad reputation in the United States.
Find the piranha's written step-by-step drawing tutorial here.
9. How to Draw a House Sparrow
Fun fact: Even though house sparrows are found all over North America today, they are not a native species. Birds from England were first introduced in 1852 when they were released in New York City to control the linden moth.
Find the house sparrow's written step-by-step drawing tutorial here.
10. How to Draw a Kiwi Bird
Fun fact: Kiwi are the only birds with nostrils at the end of their long beaks. This allows them to locate insects and worms underground with their sense of smell, rather than touch or taste.
Find the kiwi bird's written step-by-step drawing tutorial here.
11. How to Draw a Chipmunk
Fun fact: The chipmunk genus name Tamias is Greek for "treasurer," "steward" or "housekeeper," which refers to their habit of collecting and storing food for winter use.
Find the chipmunk's written step-by-step drawing tutorial here.
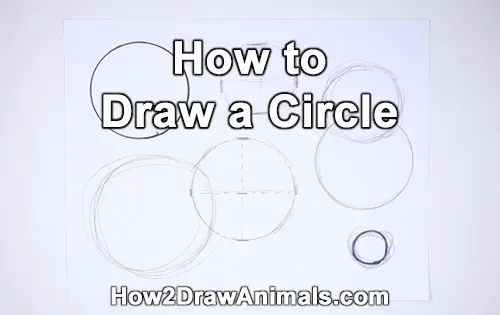
Use the video and tutorial below to learn how to draw a circle. There are four different methods to learn. Choose whichever suits you best and practice it! Please PAUSE the video after each step to draw at your own pace.
Method 1: The Four Marks (The How2DrawAnimals Way)
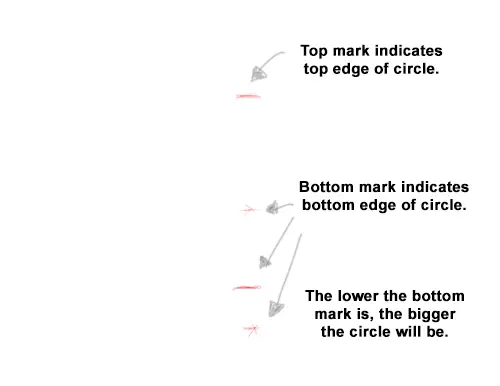
Step 1: First make a small mark to indicate the top edge of the circle you're going to draw. Now make another mark below where you want the bottom edge of the circle to be. Where you make this mark will determine the size of the circle. The farther down you go, the bigger it will be.
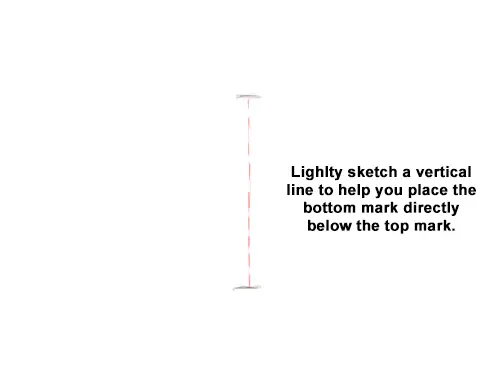
Step 2: Try to draw the second mark at the bottom directly below the one at the top. If it helps, lightly draw a vertical line to it.
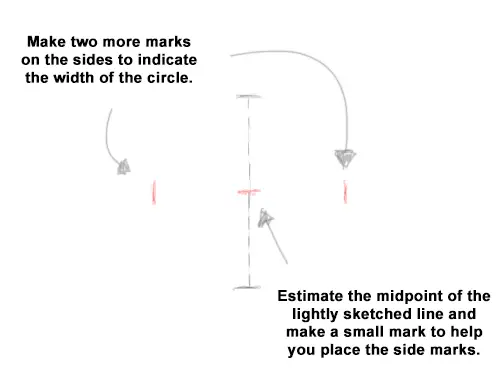
Step 3: Now make two more marks, one on either side, to determine the width of the circle. Don't make these marks too high up, or too far to the sides.
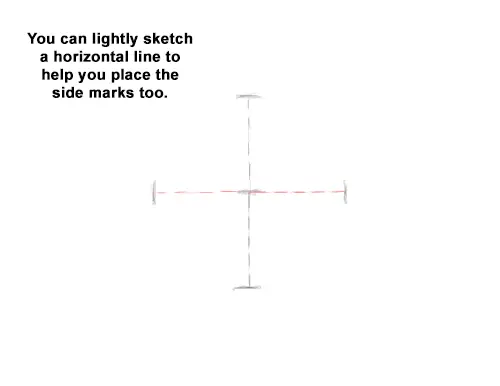
Step 4: If it helps, lightly sketch a horizontal line to determine where the side marks should be.
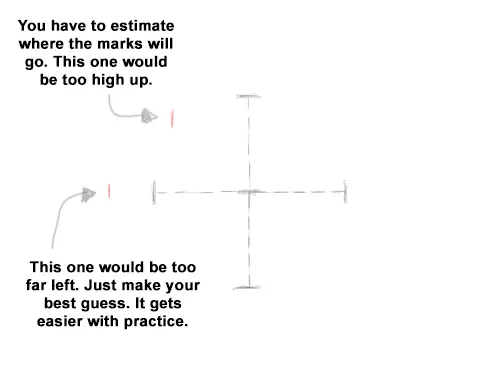
Step 5: It might be tricky, but you just have to estimate where the sides should be.
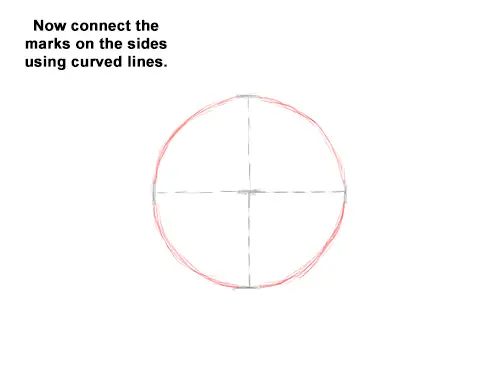
Step 6: Once you have the four marks about equally spaced apart, just connect them using curved lines to form the rest of the circle. Sketch lightly as you draw the curved lines to connect the marks.
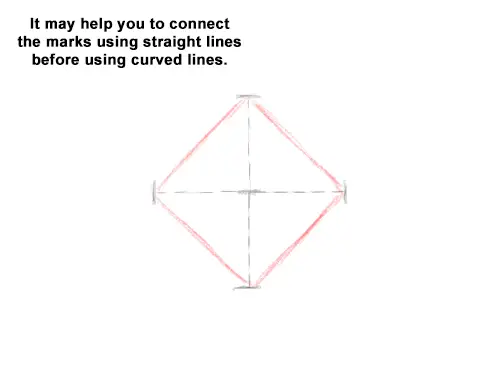
Step 7: It may help you visualize the circle if you first connect the marks using straight lines.
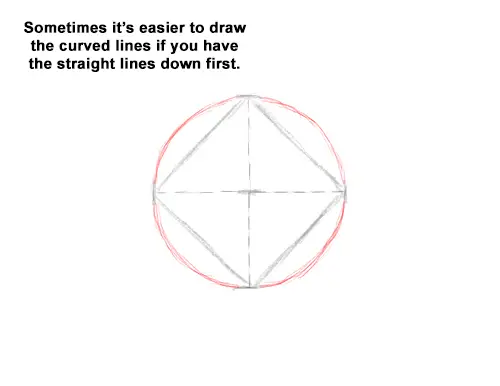
Step 8: Once you form a square using the marks and the connecting lines, it will be easier to draw the curved lines that form the circle.
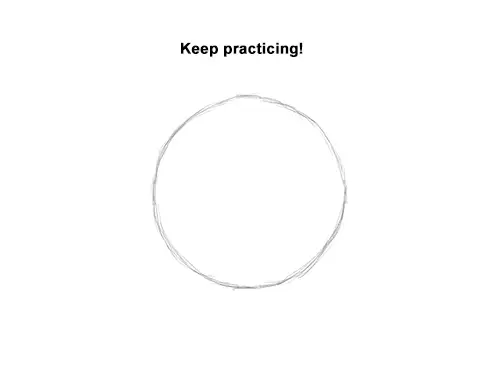
Step 9: You don't have to take these steps every time you draw a circle. This is just practice. The last few steps are to give you an understanding of the concept for drawing a circle using the four marks method. In time and with practice you'll only need the four marks and the curved lines to achieve awesome circles for sketching! And remember, if you're using these circles as initial guides, they don't have to be perfect. As long as they look circle-like, your finished drawing should be good.
Method 2: Tracing Objects
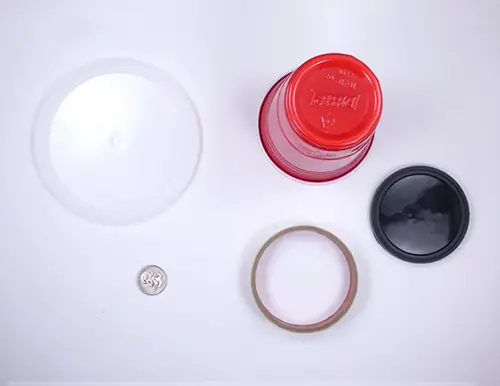
If you still have a hard time drawing circles, you can always trace the outline of round objects. You can use cups, coins, buttons, lids, etc. You'd be surprised how many household objects have round edges! After a while, you'll have a collection of items for any size circle you may need , and you'll get a perfect circle every time! The drawback to this method is that you have to amass a collection of round- edged items and use them every time you draw.
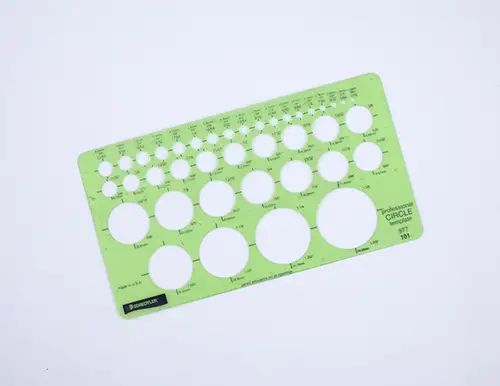
Another thing you can do is buy a circle template like this one. These templates have a variety of sizes and you'll get a perfect circle every time.
Here are a couple of options for circle templates that you can get from Amazon:
- For big circles - Westcott Circles Template, Jumbo
- For small circles - Westcott Circle Template, Small
Method 3: The Pro Artist's Way
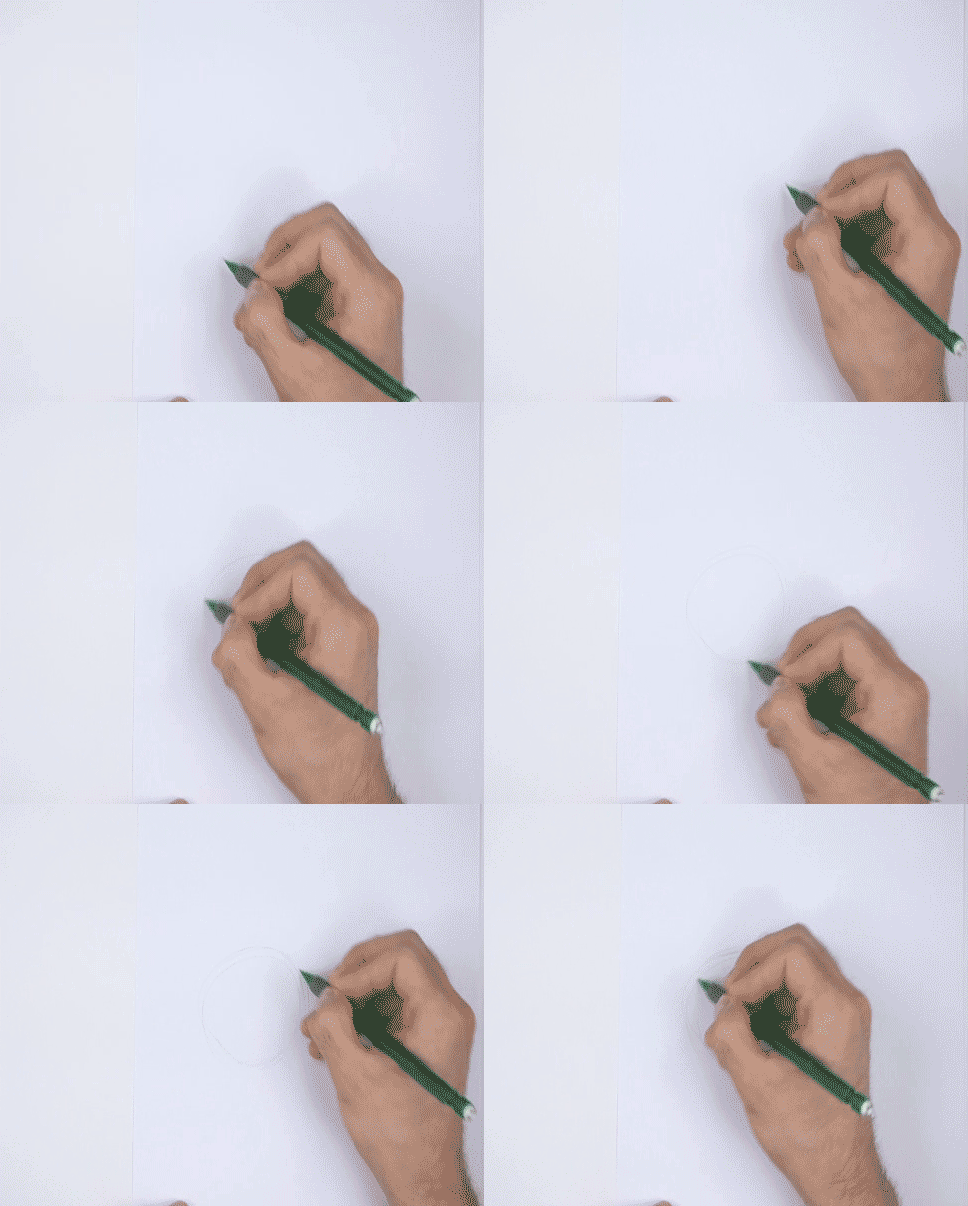
Use your entire arm to create a motion that simulates a circle as you hover over the paper. Grip your pencil in your fingers. When you get the motion right, set down the lead and sketch the circle. Then just go over the edge of the circle freehand to darken it a bit more. A lot of professional artists use this method, but it IS more difficult. That's why I use the first method in my tutorials.
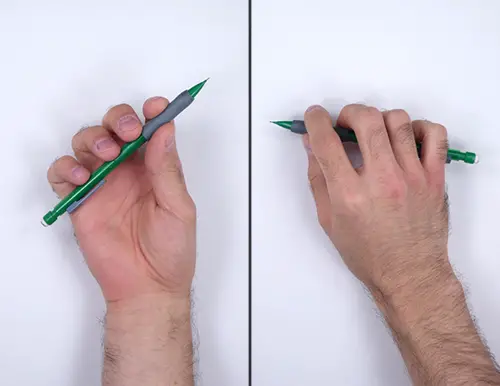
Some people find it easier to draw circles using this method if they hold the pencil like this. Give it a try! Hover over the paper as you make the motion of the circle, then set down the pencil's lead when you get it right. Remember, use your ENTIRE arm as you make the circular motion. It will give you better results. Using only your wrist or fingers for the motion may work for smaller circles, but for the most part, you want to use your whole arm.
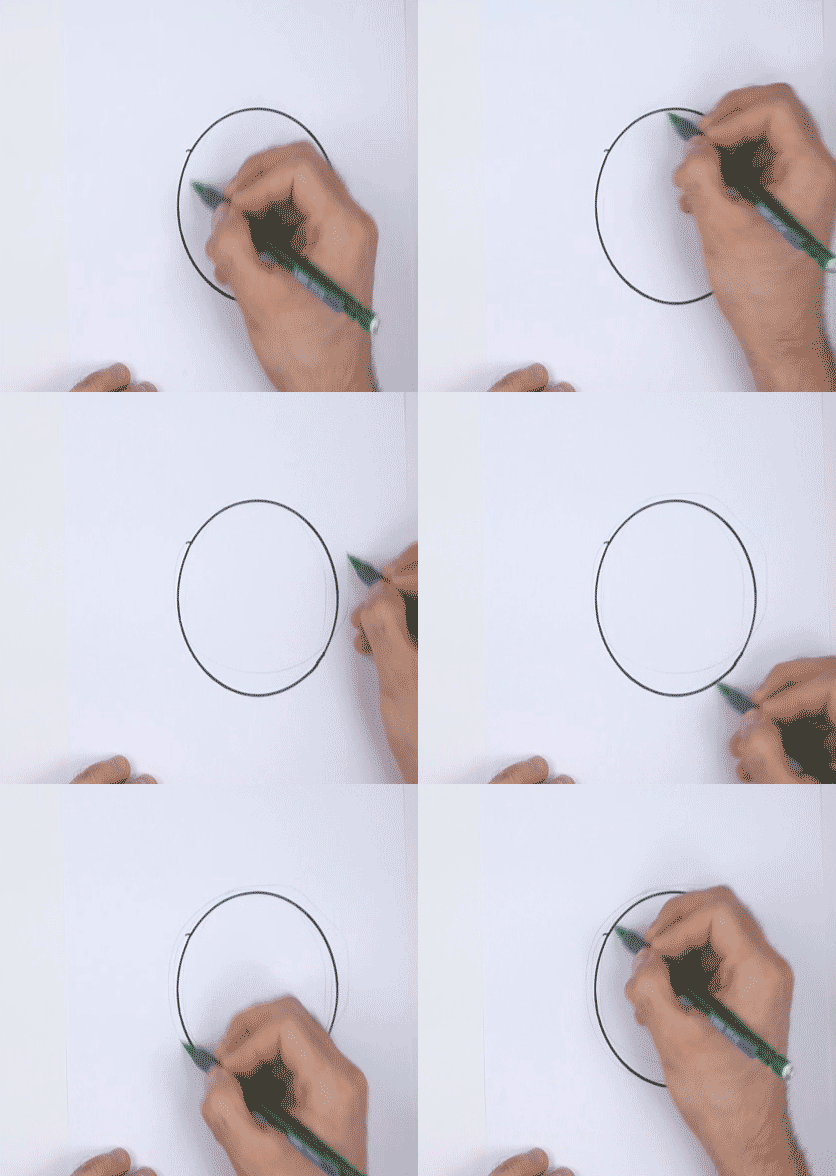
The following is a good exercise to practice the motion of your arm. Using a pen or marker, trace the edge of an object with a round edge like we did in the second method. Now with your pencil, trace over the ink again and again. This may be tedious , but it's a great way to practice the arm movement needed to perfect the third method.
Method 4: The Compass
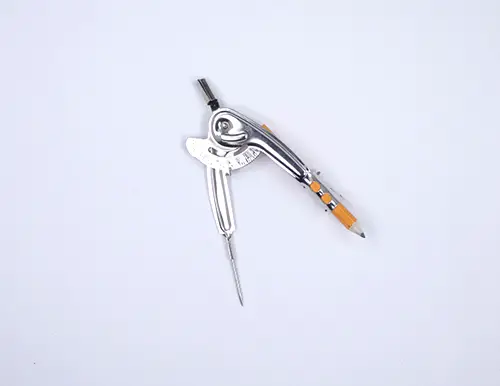
Of course, you can always use a compass! But this is used mainly for technical drawing and drafting. A downside to this is that the compass may create a hole in your paper, and that's not good for drawing. So why was this method included? Because you can actually use your pinky finger as a compass!
Grip your pencil and set the lead and your pinky down on the paper. Then just spin the paper around your pinky to create the circle. After enough practice, you can get very good circles. The tricky part is swiveling the paper. Grip your pencil, set the edge of your pinky down on the paper and swivel the paper a bit to test it out. Then just set the lead down and draw the circle! Turn the paper whichever direction is more comfortable for you. Push down with your pinky hard enough so that the paper doesn't move side to side too much but light enough so that it swivels around freely. This method is great, but it may be tricky if you have to draw multiple circles close to each other.
If you would still like to use a compass for your drawings here are some options you can get from amazon:
- For simple sketching, either one of these is fine - Charles Leonard Compass
or Staedtler Geometry Compass
- For more accurate drafting or technical drawings, this is a good option - Staedtler Masterbow Compass
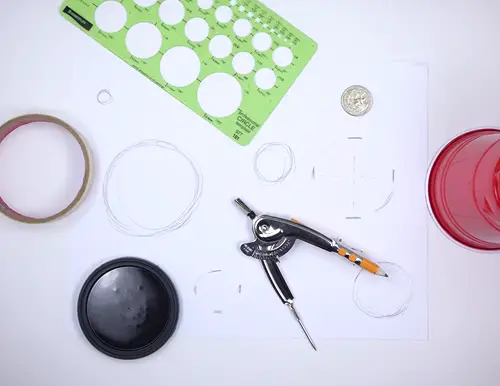
Each method has advantages and drawbacks, so pick whichever suits you best. But above all, remember to practice!
Thanks for visiting! Subscribe to the How2DrawAnimals YouTube Channel for a new tutorial every Saturday.
To learn how to draw popular cartoon characters, visit EasyDrawingTutorials.com.
RELATED TUTORIAL
 |


