







How to Draw a Golden Eagle | Step-by-Step Drawing Tutorial
Use the step-by-step instructions below to learn how to draw a Golden Eagle. Follow along with the video, or use the images in this article. By the end of this tutorial, you will have a completed drawing of this majestic bird!
Love drawing? Keep your artistic streak going and enjoy more free art lessons by:
- Bookmarking the How2DrawAnimals.com homepage for updates
- Subscribing to the How2DrawAnimals YouTube channel
- Visiting EasyDrawingTutorials.com for tons of free cartoon tutorials
This page contains affiliate links. If you choose to purchase through these links, I earn a small commission at no extra cost to you.
RELATED TUTORIALS
 |
 |
 |
To draw this eagle step by step, follow along with the video tutorial below and pause the video after each step to go at your own pace. You may find it easier to follow the step-by-step images below the video. You may want to open the video in a new tab and use both drawing methods.
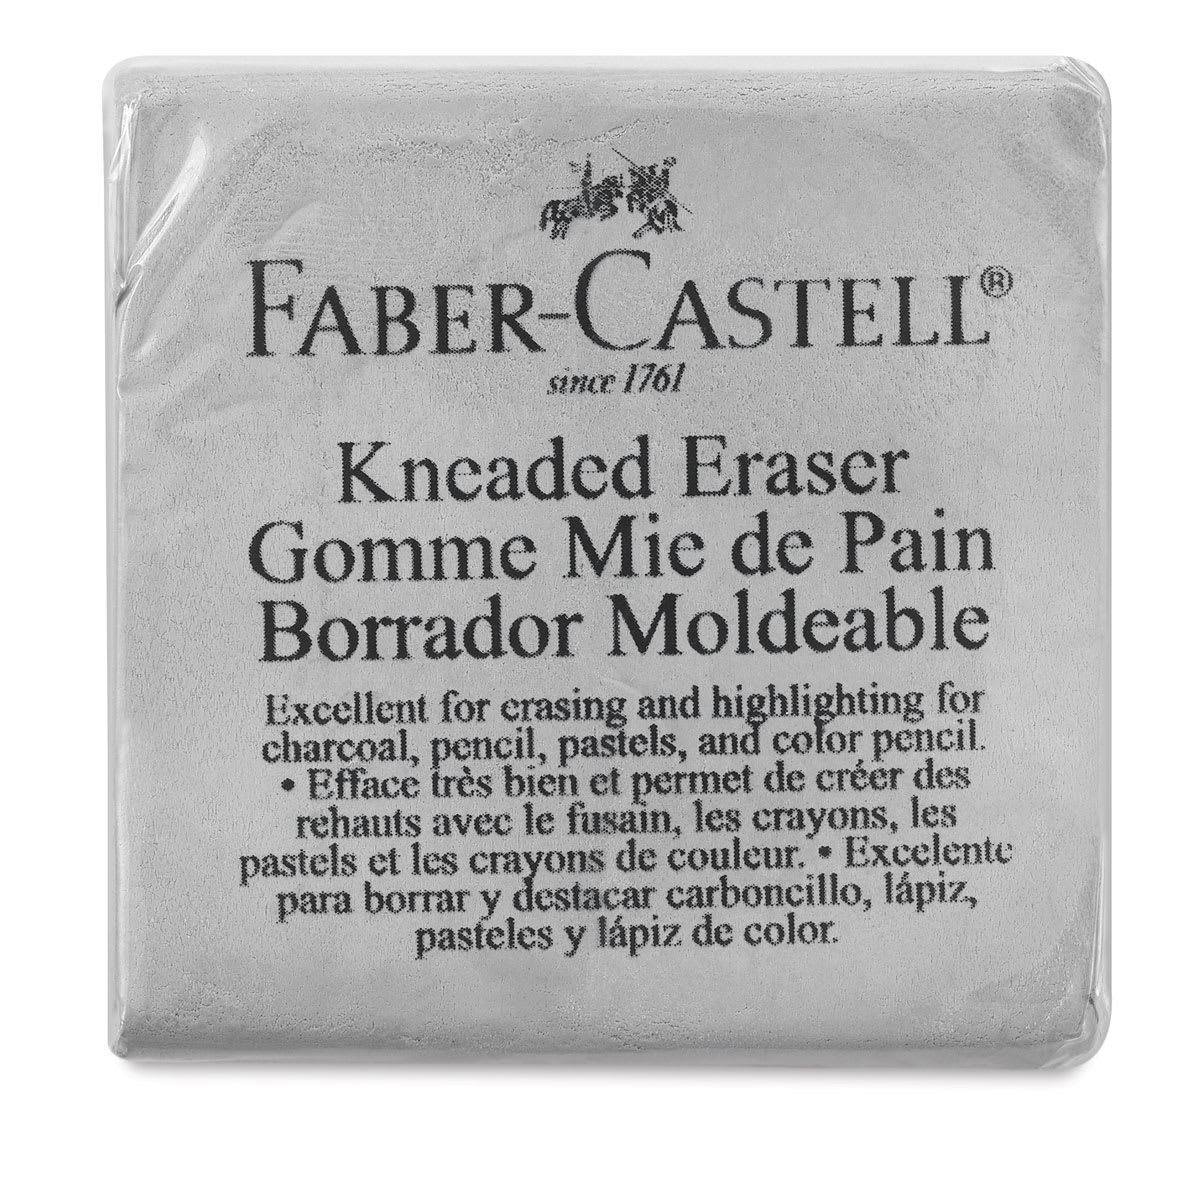
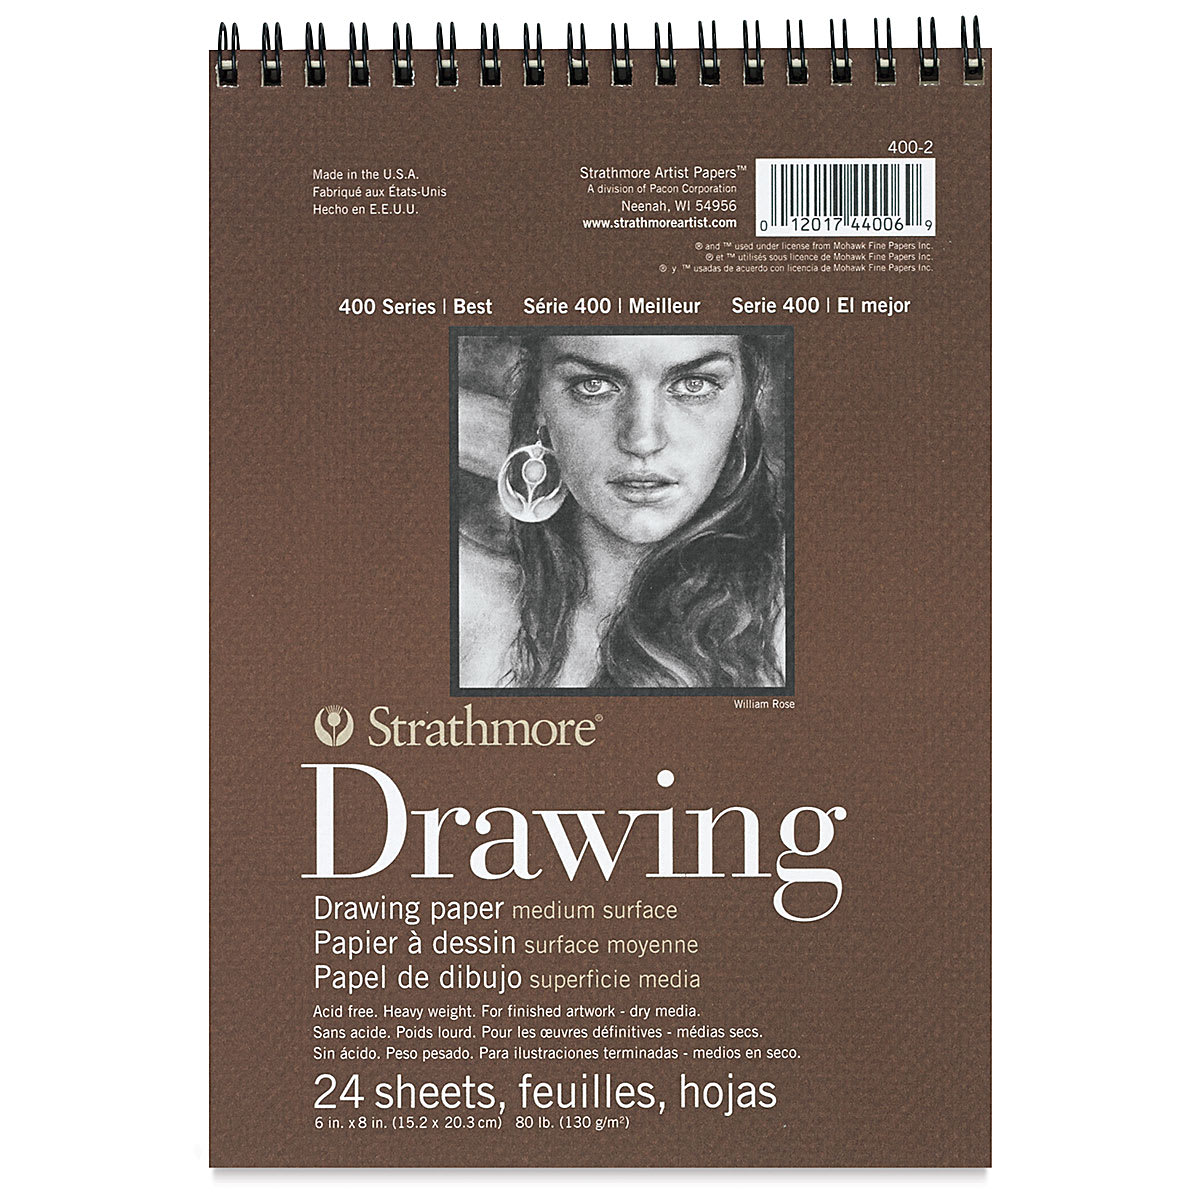
Materials You'll NeedBefore starting, gather these basic drawing supplies from Blick Art Materials. |
||
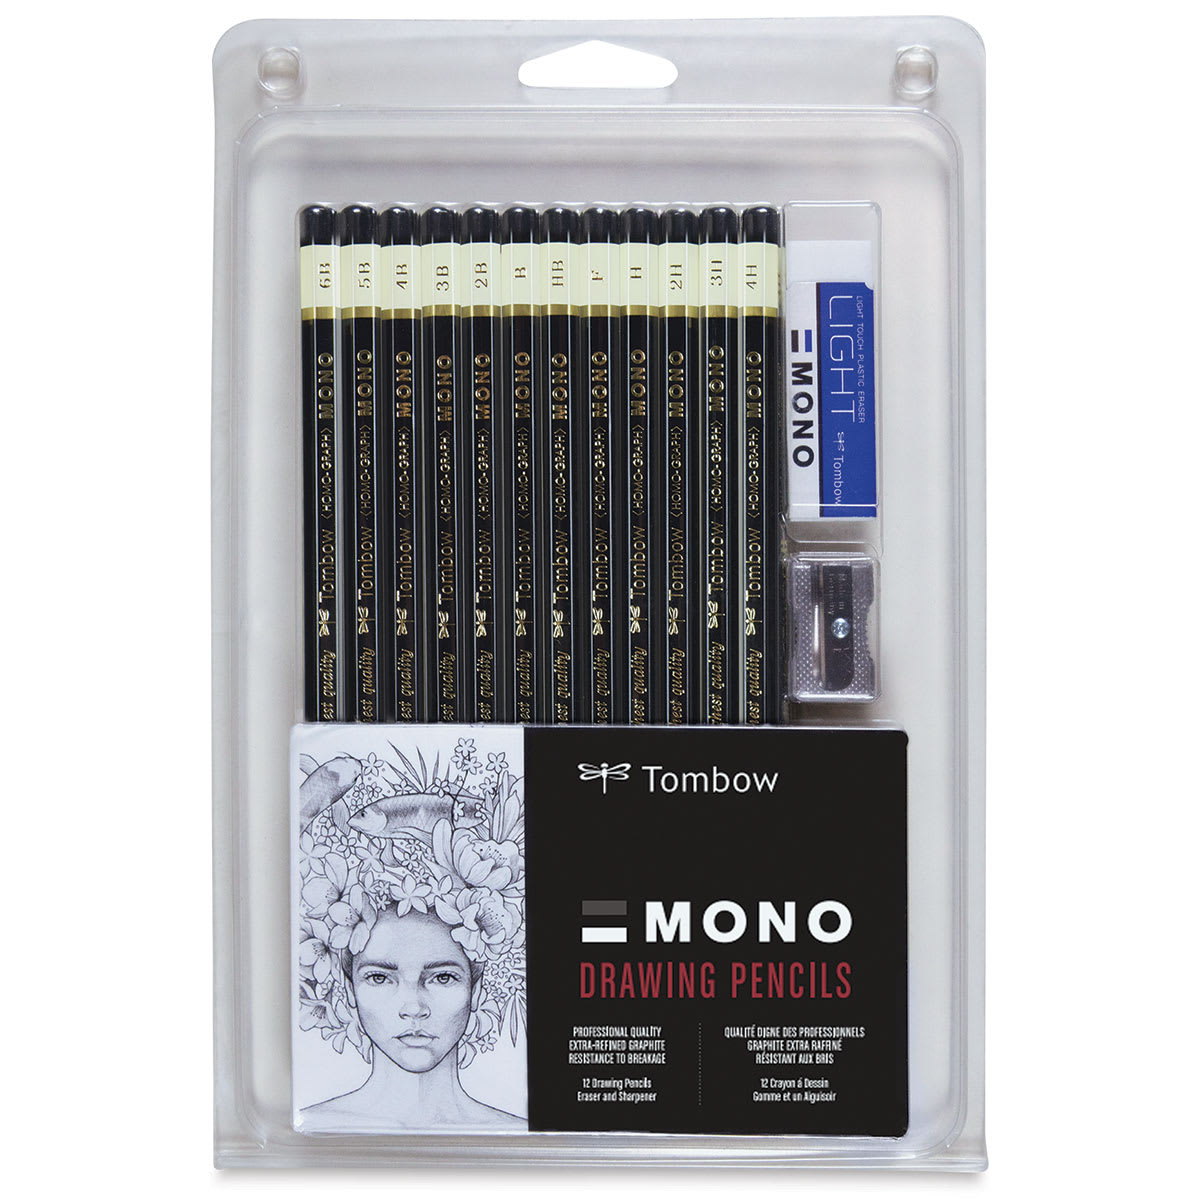 (an HB lead pencil is best for light sketches) |
 |
 |
Step 1: Draw the Body and Head Guidelines
Start by creating the initial sketch. Sketch lightly so pencil marks will be easy to erase.
Proportional Circles
- Body Guide: Establish a large circle to represent the front part of the body. To draw a circle, make two marks for the length and two marks for the width that you want your circle to be. Then connect the marks using curved lines. If you have trouble drawing circles freehand, you can trace an object that has a circular edge, such as a coin or bottle cap.
- Head Guide: On the top right side, sketch a smaller circle that is roughly one-quarter the size of the large body circle.
Facial Guides
- Center Line: Add a horizontal line inside the head circle to help with the placement of the eyes and beak later on.
- Beak Arc: Draw a small curved line on the right side of the head that looks like an arc resting on its side. Notice how small this shape is compared to the head.

Body Guides
- Back Body: Make a small mark to the left of the main circle, then connect it using curved lines to establish the back portion of the body. The full body should look quite large next to the head.
- Neck Lines: Connect the head to the body circle with two short lines to form the neck guide.
Legs and Tail Structure
- Leg Guidelines: Underneath the body, draw a long vertical line for the first leg, keeping it long relative to the torso. Add a shorter horizontal line at the base for the foot. Do the same thing for the second leg.
- Tail Box: Create a large rectangular shape extending from the left side of the body by drawing two sloping lines and closing them off with a short vertical line.

Step 2: Add Facial Details
Begin drawing the final details, starting with the facial features inside the head circle.
The Eye
- Placement: Lightly sketch a small circle for the eye sitting on top of the horizontal construction guide, positioned near the middle of the head.
- Brow and Definition: Define a sloping line over the top of the eye to create a stern brow. Darken the circle while pinching the corners to make them pointy. Add a few short lines around the perimeter to mark the bare skin.
- Pupil and Highlight: Leave a tiny unshaded circle near the edge for a light reflection, then draw and fully shade a larger circle in the center for the pupil.

The Mouth
- Upper Beak: Follow the arc to create a sharp, thin, triangular downward tip on the bottom-right side. Extend the lower edge far back to the left to build the mouth line, ending it directly underneath the eye.
- Beak Features: Add a structural groove line across the upper beak and place a small dark mark for the nostril near the top base.
- Lower Beak and Mouth Interior: Sketch an angled line for the bottom jaw, keeping it proportional to prevent the mouth from looking too large. Darken the lines and place a wavy line inside for the inner edge, followed by small internal curves to define the tongue and far side of the beak.
Head Contours
- Head and Throat: Follow the outer edge of the initial circle to lock in the head shape, making the front slightly larger than the guide. Extend the top contour backward into the neck. Darken the lower line under the beak to define the throat.
- Feather Details: Work a series of short strokes across the neck and inside the head to give the appearance of individual feathers and add physical depth.

Step 3: Sketch the Folded Wing
Draw the wing resting against the side of the bird's body.
Wing Structure
- Wing Shape: Lightly sketch a long, sweeping curve over the length of the torso. Taper the left tip so it becomes narrow and pointy, ending just past the boundary of the tail. Darken the final lines when satisfied.
- Feather Breaks: Sketch an S-shaped curve on the right section to mark the overlapping folds of the wing. Add short, soft curves across the main surface and use layered lines on the left tip to define individual flight feathers.
Step 4: Draw the Legs
Build volume around the lower guidelines to construct powerful, feather-covered legs and sharp claws.
Leg Construction
- First Leg: Sketch a thick form around the line, keeping it quite broad at the top where it connects to the body. When you're happy with the shape, press harder with your pencil for darker lines. Use small curved strokes along the back edge to create a feathery appearance.
- Toes and Claws: Trace the rear-facing guide to form the back toe, capping it with a small, sharp triangle for the talon. Do the same thing for the other visible forward-facing toes, adding a small round shape in the center for the toe pointing directly forward. On every toe, add a long, pointy talon on the tip.
- Second Leg: Use the right-side guides to outline the rear leg, rendering only the visible parts peeking out from behind the front leg. Create this leg the same way as the first, drawing only what should be visible at this perspective.

Step 5: Sketch the Rest of the Body
Complete the remaining anatomical structures and refine your sketch.
Final Profiles and Tail Feathers
- The Body: Darken the remaining exposed lines of the initial body construction guides to solid up the frame.
- The Tail: Follow the perimeter of the rectangular guide on the left side. Draw several sloping internal lines to split the shape into individual feathers, making sure to round off the tips at the far left edge.

Step 6: Add Shading to Your Eagle Drawing
Erase guidelines and apply shading to complete your Golden Eagle illustration.
- Erasing and Cleanup: Carefully lift away the internal construction shapes with an eraser, reinforcing any final lines that were accidentally erased.
- Value and Texture: Begin with a medium tone across the entire body, applying soft pressure first and gradually building up darkness. Orient your strokes horizontally to match the natural direction of the feathers, leaving slight gaps for texture. Use lighter values for banded patterns across the body, and ground the bird with a soft cast shadow underneath.

Buy My Step-by-Step Art Books on Amazon!
If you enjoyed drawing with me and want to expand your artistic skills, please consider checking out my step-by-step drawing books on Amazon! My books break down a wide variety of animals into simple geometric shapes, making it easy and fun for artists of any skill level to follow along. Every purchase directly helps support this site so I can keep creating high-quality, free tutorials for the art community.
Click Here to Order Your Copy Today!
This is an Amazon affiliate links. If you choose to purchase through this link, I earn a small commission at no extra cost to you.

Thanks for visiting! Subscribe to the How2DrawAnimals YouTube Channel for new tutorials every week.
And to learn how to draw cartoons, visit EasyDrawingTutorials.com.
RELATED TUTORIALS
|
|
|