







Use the step-by-step instructions below to learn how to draw a chibi mouse. Follow along with the video, or use the instructions in this article. By the end of this tutorial, even beginners will have a completed drawing of this cartoon animal!
Love drawing? Keep your artistic streak going and enjoy more free art lessons by:
- Bookmarking the How2DrawAnimals.com homepage for updates
- Subscribing to the How2DrawAnimals YouTube channel
- Visiting EasyDrawingTutorials.com for tons of free cartoon tutorials
This page contains affiliate links. If you choose to purchase through these links, I earn a small commission at no extra cost to you.
RELATED TUTORIALS
 |
 |
 |
To draw this cartoon animal step by step, follow along with the video tutorial below and pause the video after each step to go at your own pace. You may find it easier to follow the step-by-step instructions below the video. You may want to open the video in a new tab and use both drawing methods.
Materials You'll NeedBefore starting, gather these basic drawing supplies from Blick Art Materials. |
||
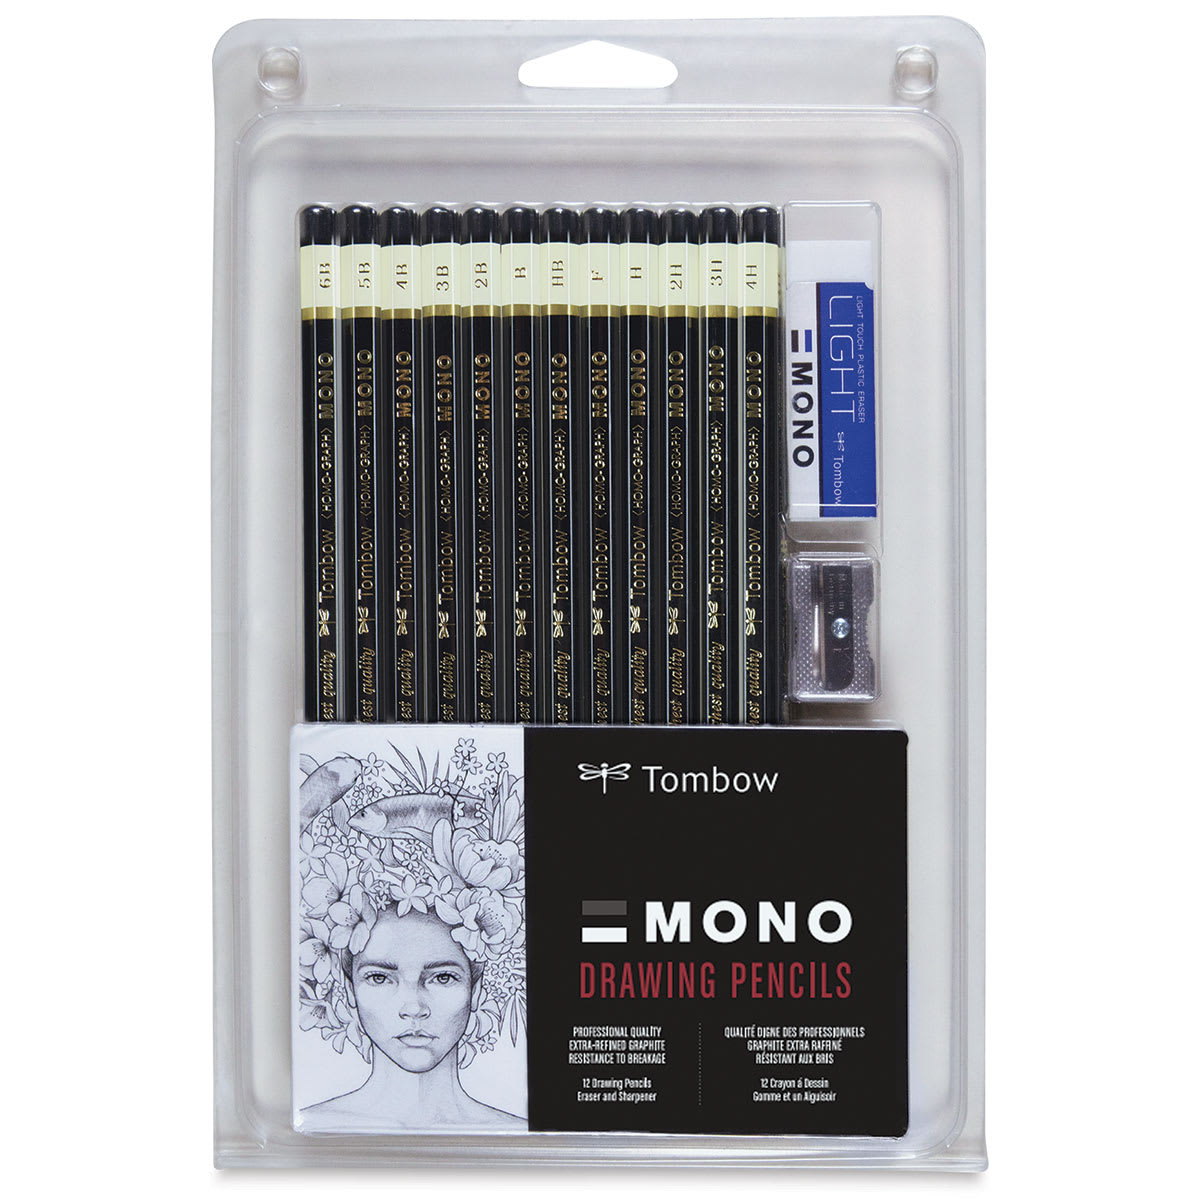 (an HB lead pencil is best for light sketches) |
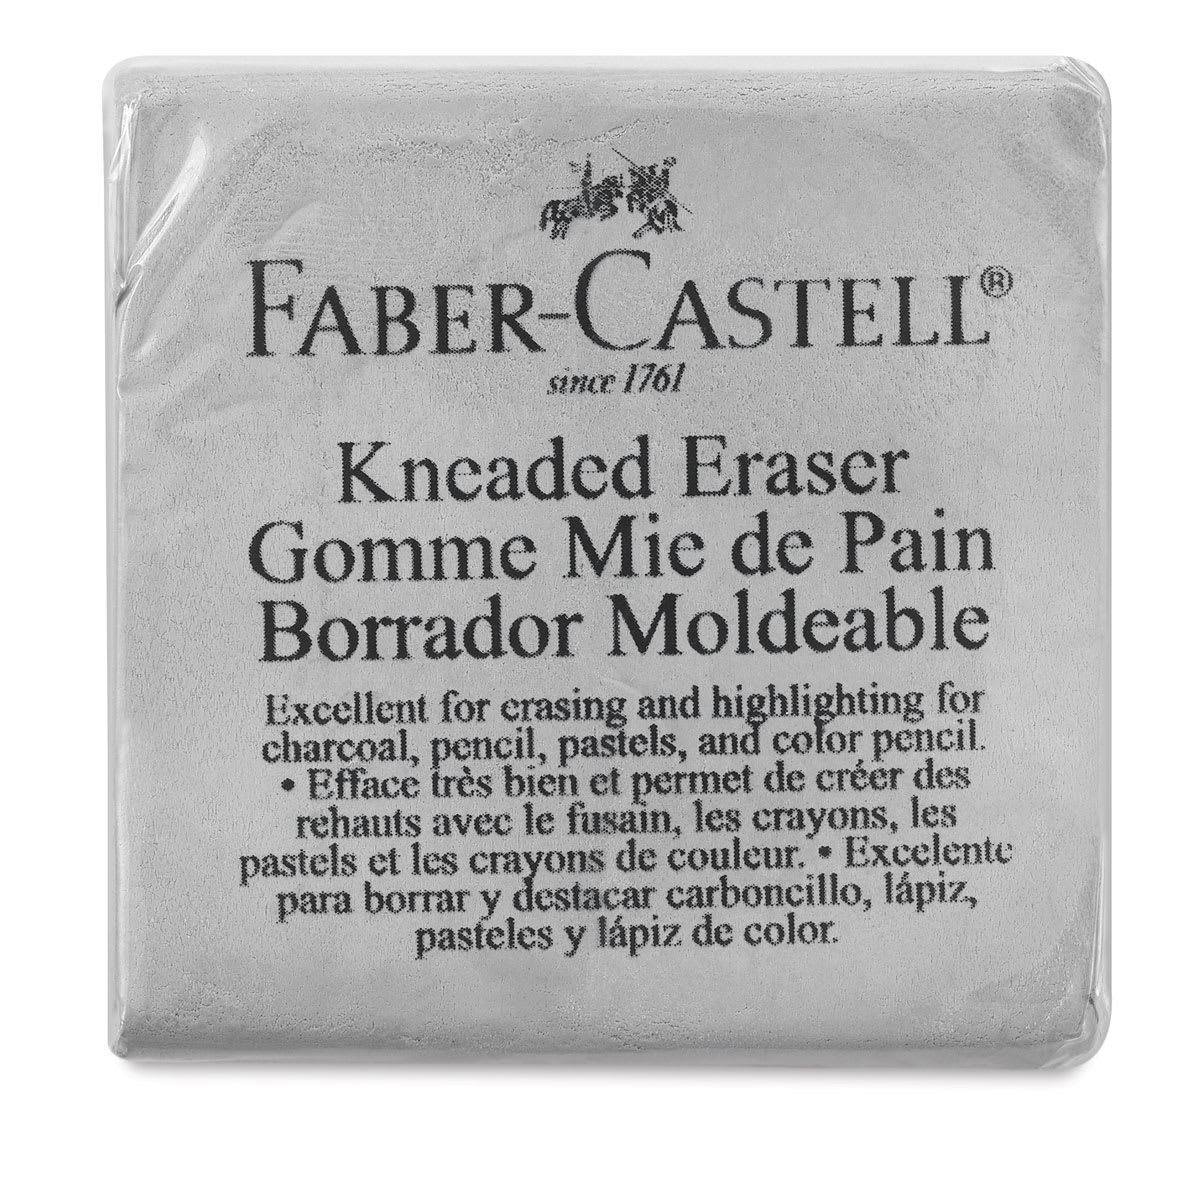 |
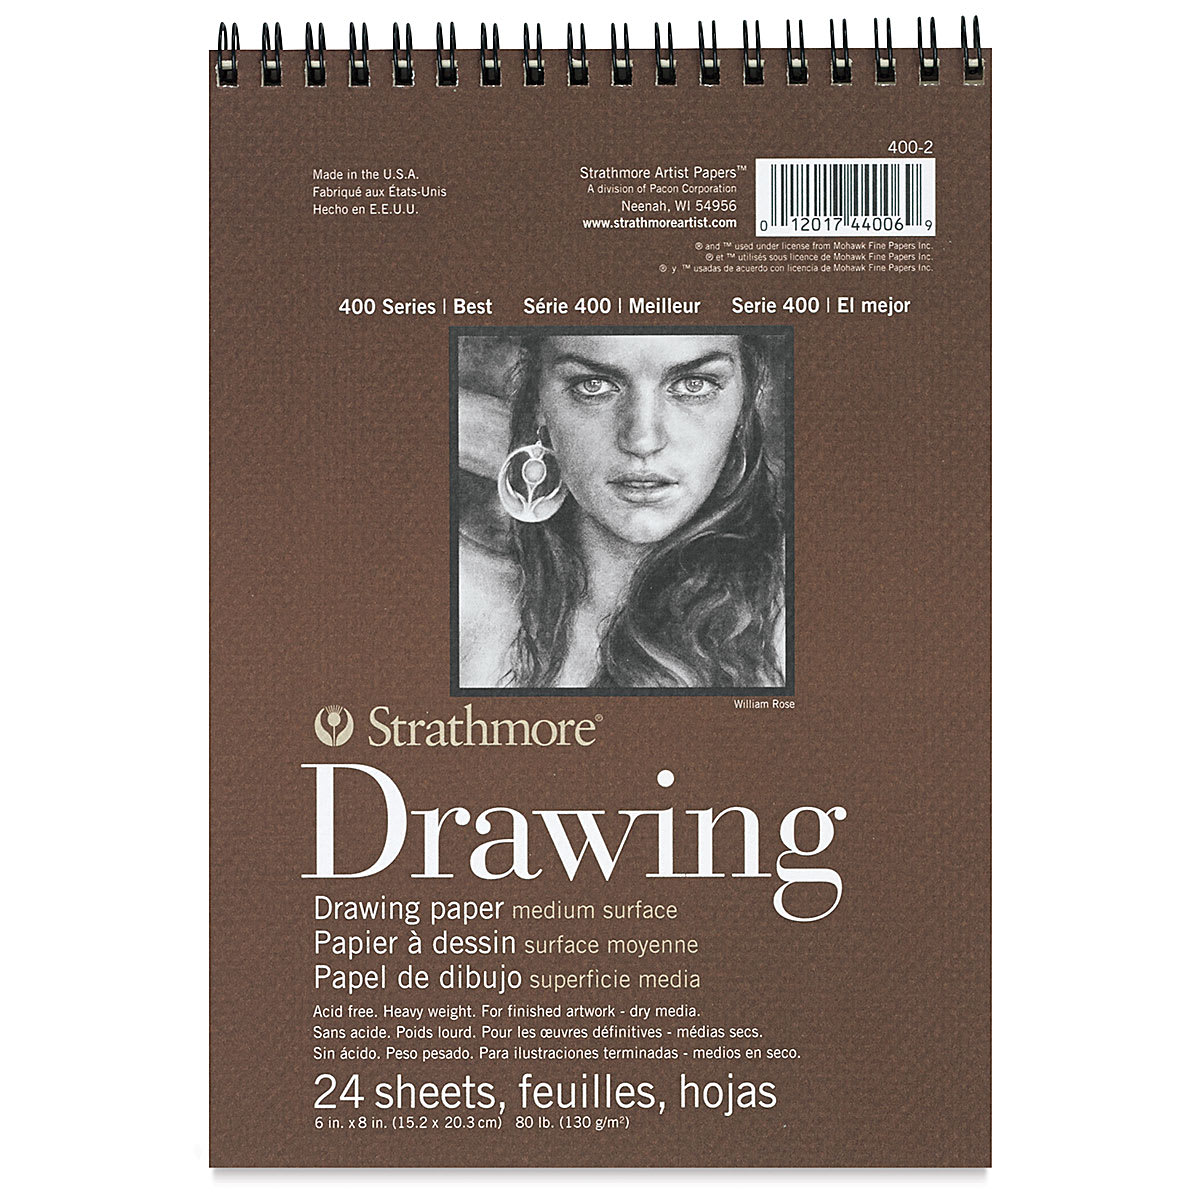 |
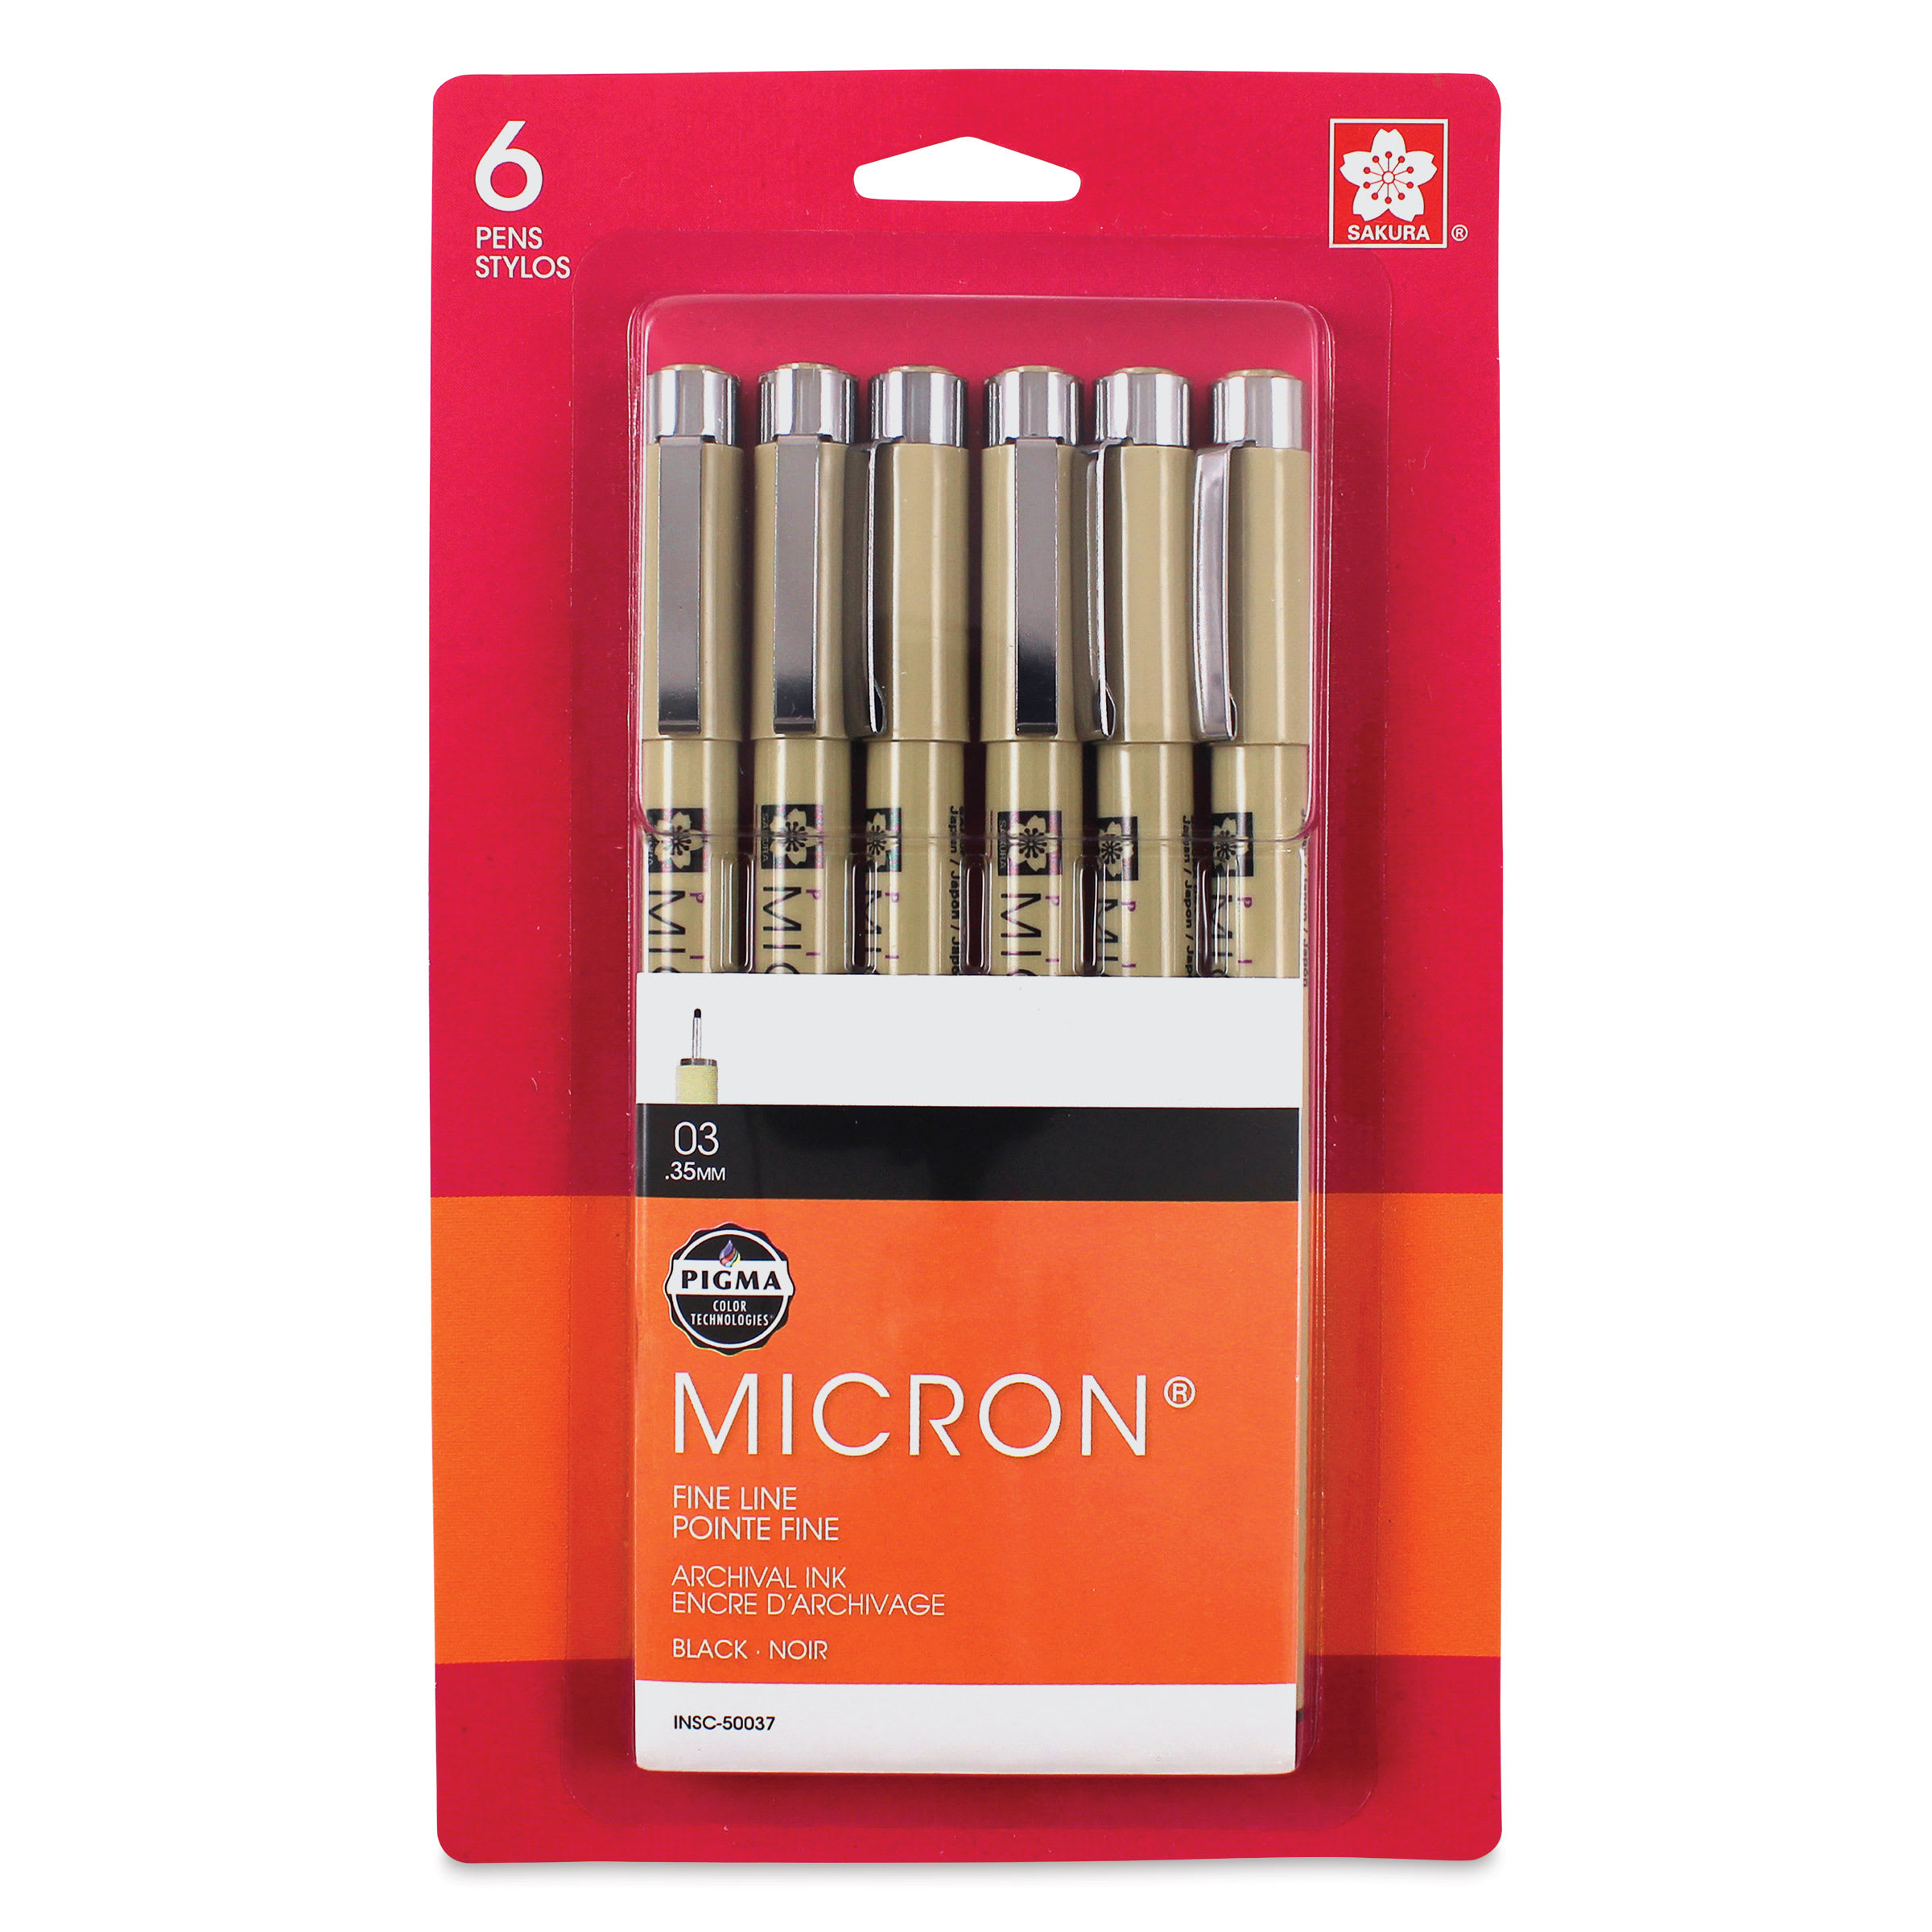 (or Fine-Line Marker) |
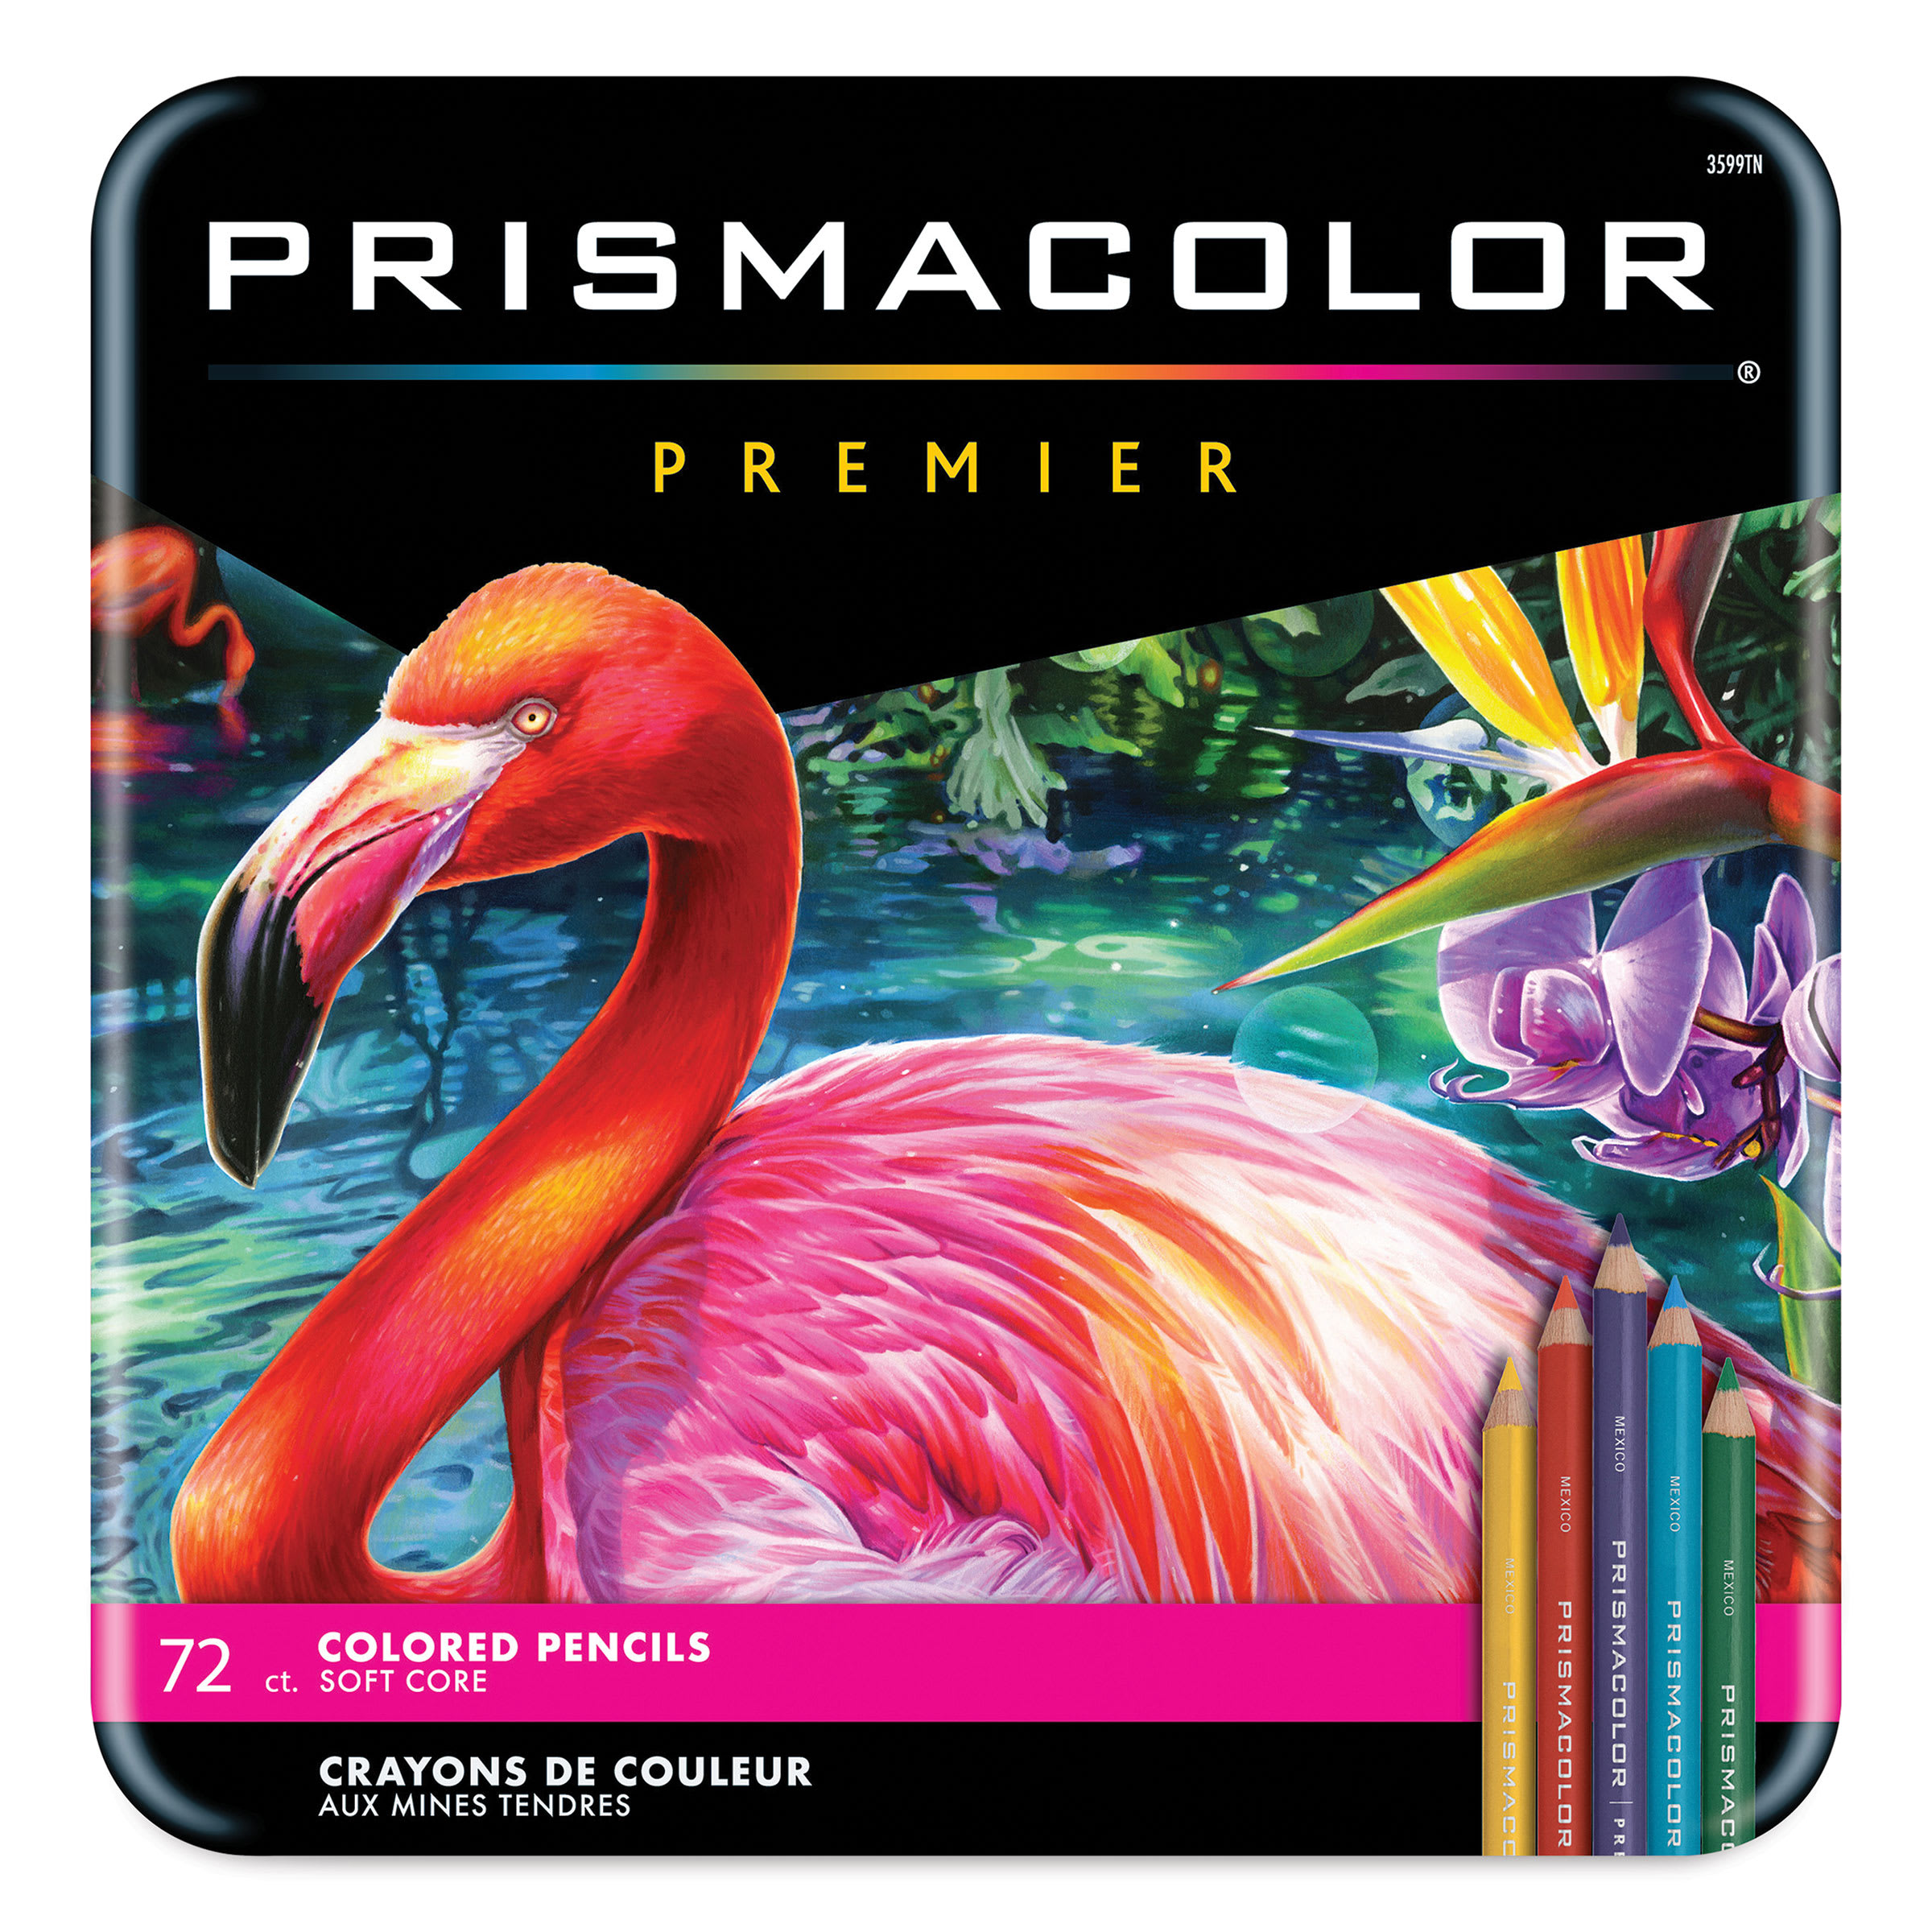 (or Markers) |
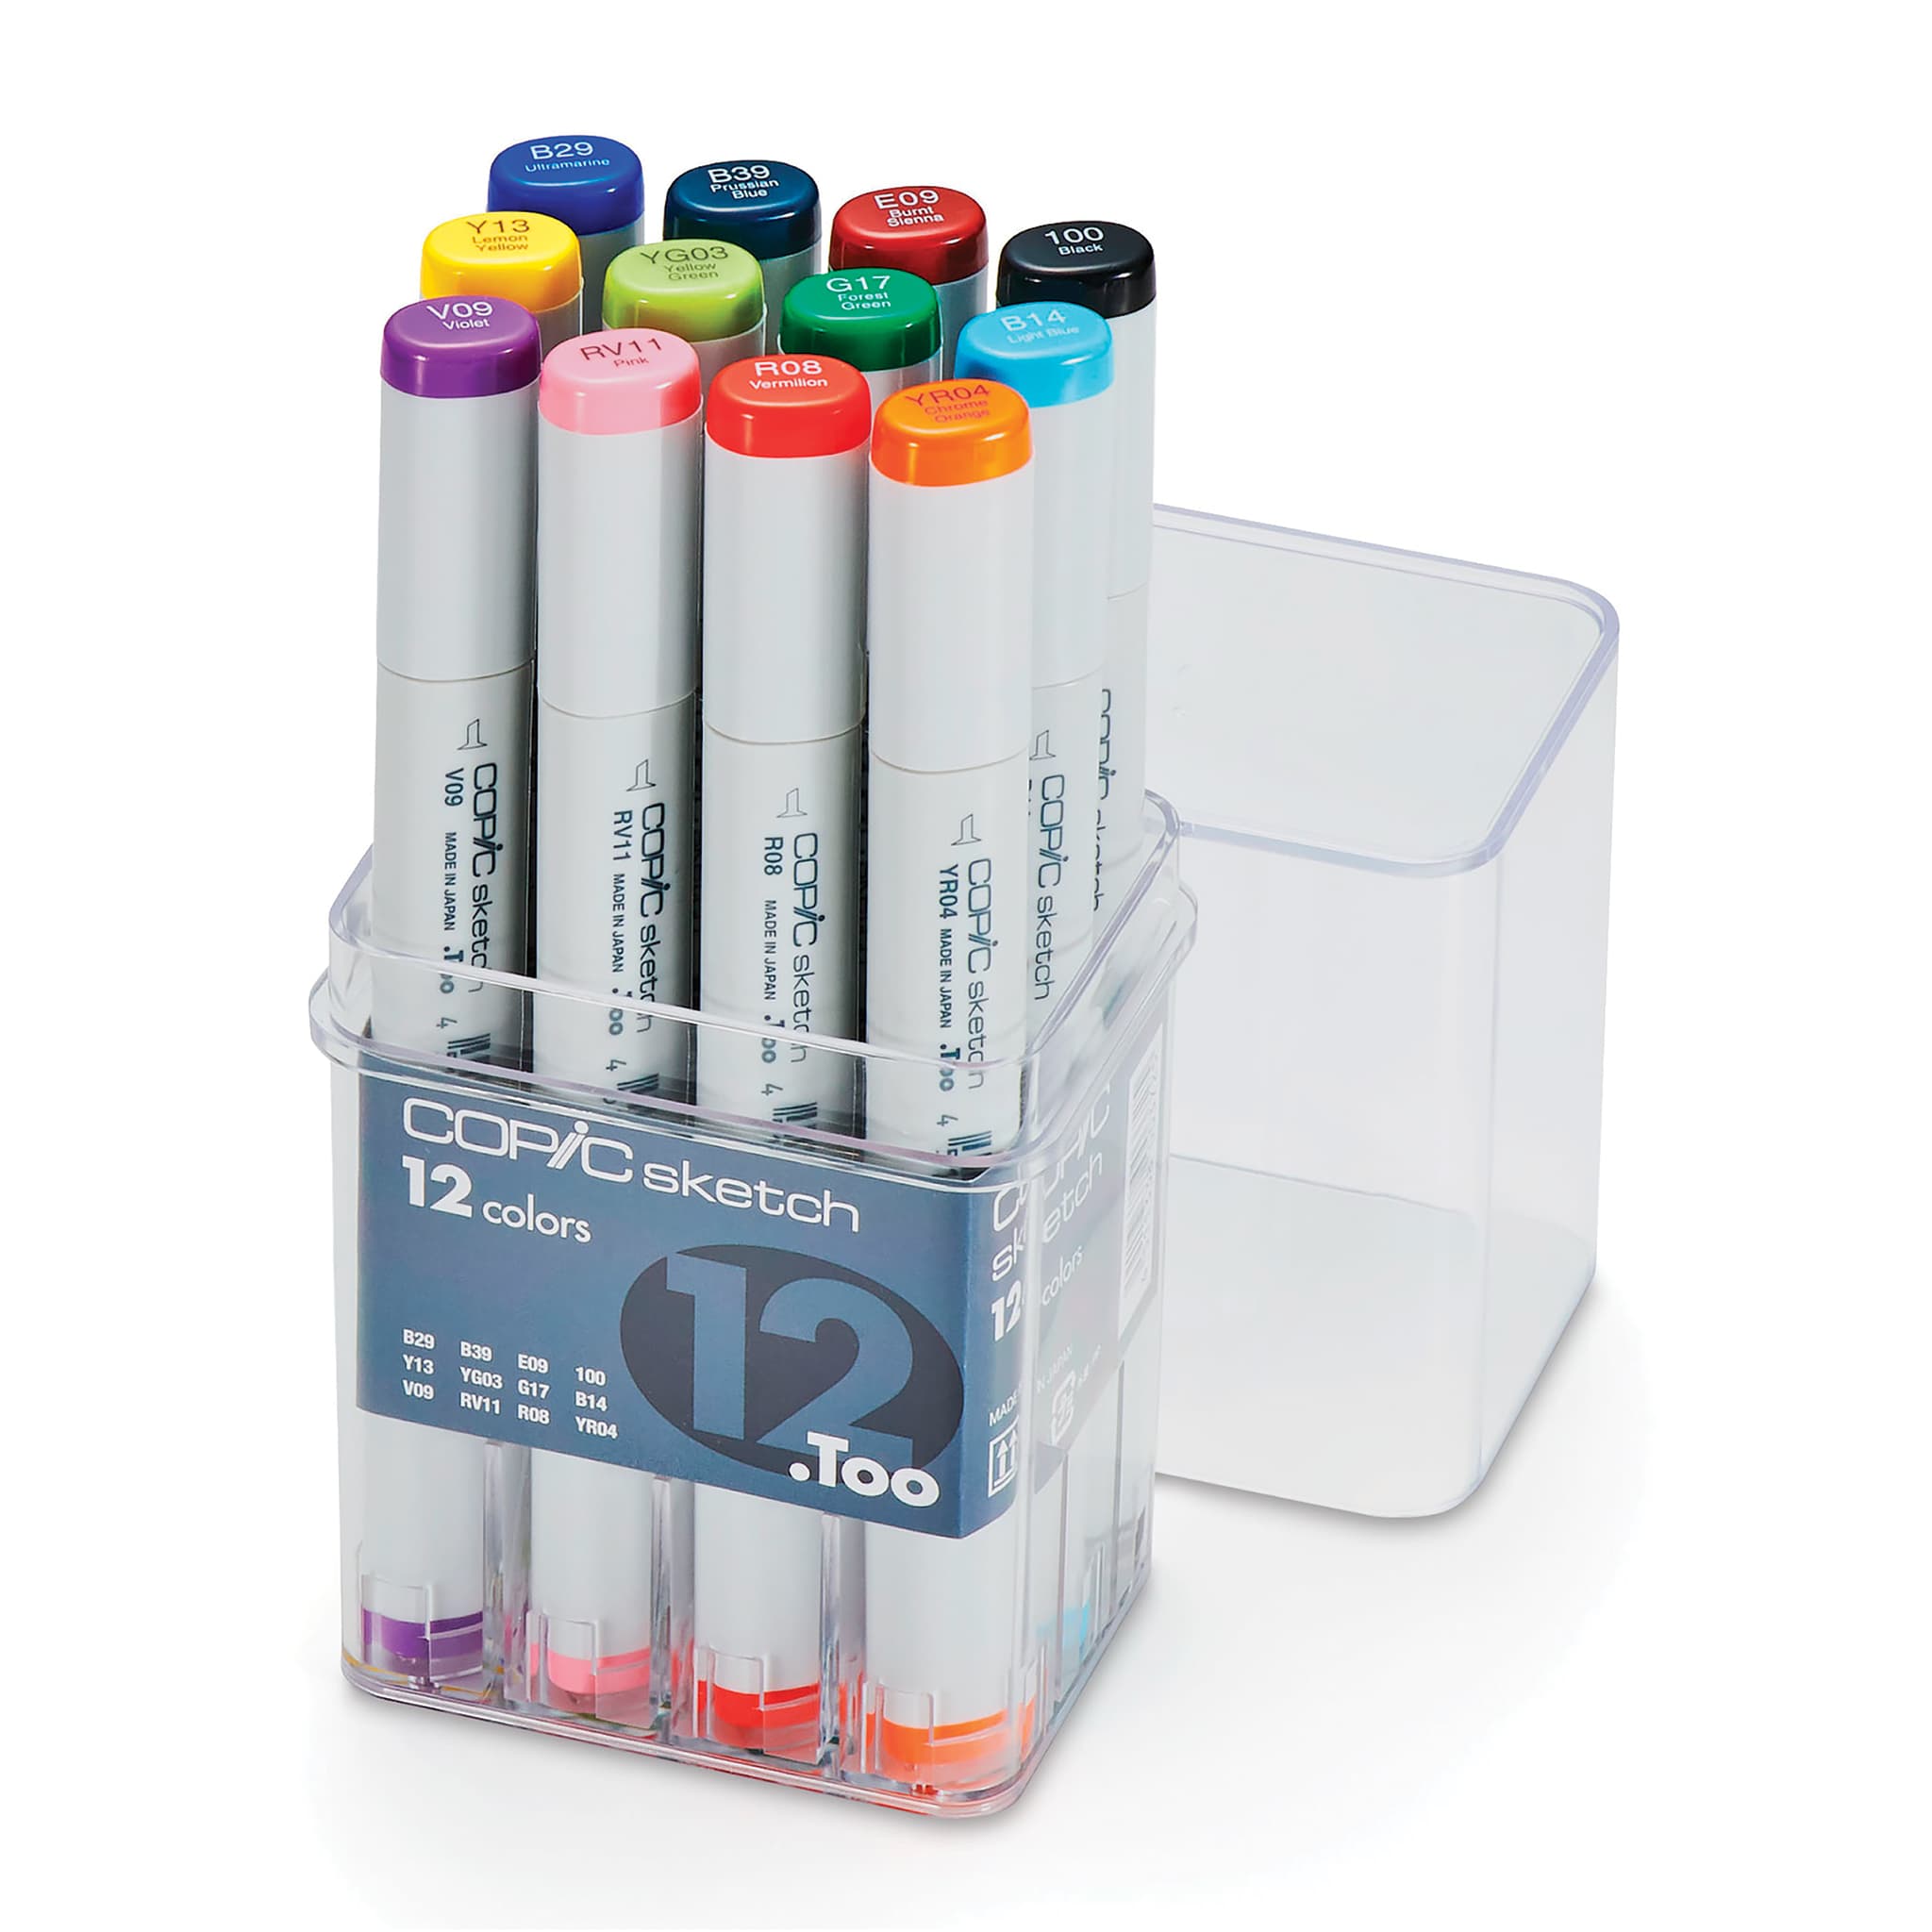 (or Colored Pencils) |

Step 1: Drawing the Structural Guidelines
Start by creating a simple foundation for the character.
Head Circle
- Establish Height and Width: Make a couple of small marks to indicate the circle's height, then draw a couple more small marks on the sides to indicate the width.
- Connect the Marks: Link the marks using curved lines to finish the shape of the circle. Sketch lightly so it is easy to erase later. Tracing a circular edge like a bottle cap or lid is also perfectly fine.
Construction Guides and Body Structure
- Face Guides: Inside the circle, draw a curved horizontal construction line slightly lower than the center. Above that, draw a curved vertical construction line to the left of the center.
- Body Base: Below the circle, make a small mark for the bottom edge of the body and extend it sideways into a long horizontal line that is slightly shorter than the head's width.
- Connect the Body: Connect the horizontal line to the head circle using a couple of vertical lines. The body should be very small in relation to the head.

Step 2: Adding the Facial Features
Bring the character to life by sketching the large eyes, small nose, and wavy mouth.
Eyes and Highlights
- First Eye Shape: Inside the head, sketch a small circular shape for the first eye. Use a curved line for the top edge and a flat line for the bottom edge to create a half-circle look.
- Second Eye and Darkening: To the left of the vertical guide, draw a similar half-circle shape for the other eye. Make the eyes big in relation to the head, keeping a good amount of space between them. Darken the shapes once the position looks correct.
- Highlights and Light: Inside each eye, draw a tiny circle for a highlight. Along the bottom edge of each eye, add a curved line for reflected light.
Nose and Mouth
- Nose: Draw a small triangle where the two construction guides intersect. Keep this shape very small in relation to the large eyes.
- Mouth: Below the nose, draw a short wavy line similar to the letter W. Avoid making the mouth line too long.

Step 3: Defining the Ears and Head Shape
Give the head its final appearance with large round ears and defined cheeks.
Big Chibi Ears
- Right Ear: On the top right side of the head, sketch a big curved shape. The top is a sloping line, and the bottom is a long curved line resembling a sideways arc. Darken the lines and add an inner sloping line for the inner ear. At the bottom, add a couple of short angled lines resembling an M shape for a bit of fur.
- Left Ear: Draw a similar shape on the left side of the head. Since the character is turned, a large portion of this ear will be hidden behind the head, so make it look slightly thinner. Add a short sloping line inside for the inner edge.
Head Outline and Tuft of Fur
- Top Hair: Follow the path of the initial circle and add a few short angled lines at the top for fur. These lines should look like small triangles of different sizes.
- Cheeks and Final Proportions: Darken the left edge close to the eye so the top of the head remains thin, then curve the line outward at the bottom for the cheek. Repeat on the right side, drawing the cheek farther away from the initial circle. The bottom half of the head should end up wider than the top half. Use thick, dark lines for these shapes.

Step 4: Drawing the Body, Limbs, and Tail
Complete the drawing by adding the small arms, feet, and a long curved tail.
Arms and Body Definition
- Right Arm: Inside the body area under the head, draw a long curved line like a sideways arc. Add an angled line on the right side for structure. Notice how tiny the arm is compared to the body.
- Left Arm and Torso: Draw another small arc on the left for the other arm, making it slightly smaller due to the turn of the body. Darken the main shape under the head to finalize the body, making the edges more curved.
Feet and S-Shaped Tail
- Feet: On the bottom right side, draw a small oval-like shape for the foot. Since most of it stays hidden, only show the front as a small circle. To the left, draw a short horizontal line to create the other thin foot.
- Tail: Starting from the bottom right of the body, lightly sketch a long curved line resembling the letter S. Once the path looks right, darken it and draw a second parallel line to add thickness. Make the tip thin and pointy, while keeping the base wide. Go over your lines one last time to emphasize the shapes.

Step 5: Erase Guidelines and Ink Your Drawing
Clean up your pencil sketch to get your artwork ready for coloring. This keeps your finished illustration looking crisp and professional.
Permanent Ink Outlines
- Trace the Lines: Carefully go over your final pencil lines with a fine black ink pen or marker. Try to use smooth, continuous lines.
- Clean the Page: Allow the ink to dry completely to protect your drawing from smudging. Then use an eraser to clean away all remaining pencil guidelines.

Step 6: Color Your Drawing
Adding color gives your chibi mouse character its personality. Choose your favorite art medium to bring the piece to life.
Coloring Tools and Choice
- Select Your Media: Markers work wonderfully for a bright look, but you can use colored pencils, too. Feel free to use different shades of brown to fill in the mouse's fur, or color your mouse differently if you'd like to make it unique!

Buy My Step-by-Step Art Books on Amazon!
If you enjoyed drawing with me and want to expand your artistic skills, please consider checking out my step-by-step drawing books on Amazon! My books break down a wide variety of animals into simple geometric shapes, making it easy and fun for artists of any skill level to follow along. Every purchase directly helps support this site so I can keep creating high-quality, free tutorials for the art community.
Click Here to Order Your Copy Today!
This is an Amazon affiliate link. If you choose to purchase through this link, I earn a small commission at no extra cost to you.
Thanks for visiting! Subscribe to the How2DrawAnimals YouTube Channel for new tutorials every week.
And to learn how to draw cartoons, visit EasyDrawingTutorials.com.
RELATED TUTORIALS
|
|
|