







Use the step-by-step instructions below to learn how to draw a seagull. Follow along with the video, or use the images in this article. By the end of this tutorial, even beginners will have a completed drawing of this coastal bird!
Love drawing? Keep your artistic streak going and enjoy more free art lessons by:
- Bookmarking the How2DrawAnimals.com homepage for updates
- Subscribing to the How2DrawAnimals YouTube channel
- Visiting EasyDrawingTutorials.com for tons of free cartoon tutorials
This page contains affiliate links. If you choose to purchase through these links, I earn a small commission at no extra cost to you.
RELATED TUTORIALS
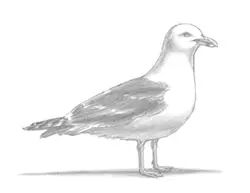 |
 |
 |
To draw this seagull step by step, follow along with the video tutorial below and pause the video after each step to go at your own pace. You may find it easier to follow the step-by-step images below the video. You may want to open the video in a new tab and use both drawing methods.
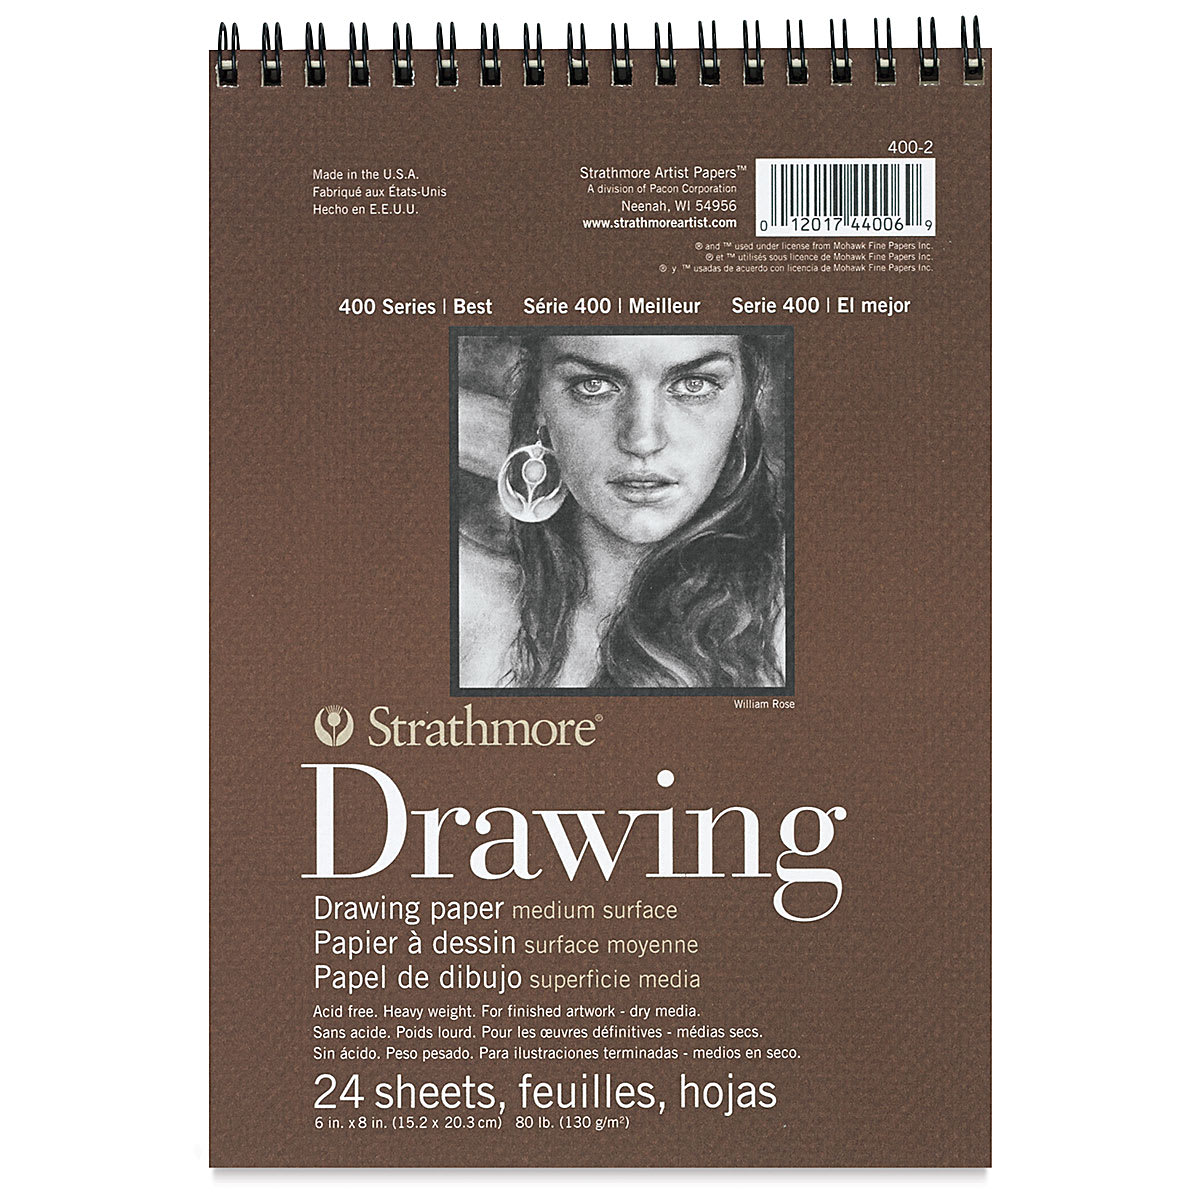
Materials You'll NeedBefore starting, gather these basic drawing supplies from Blick Art Materials. |
||
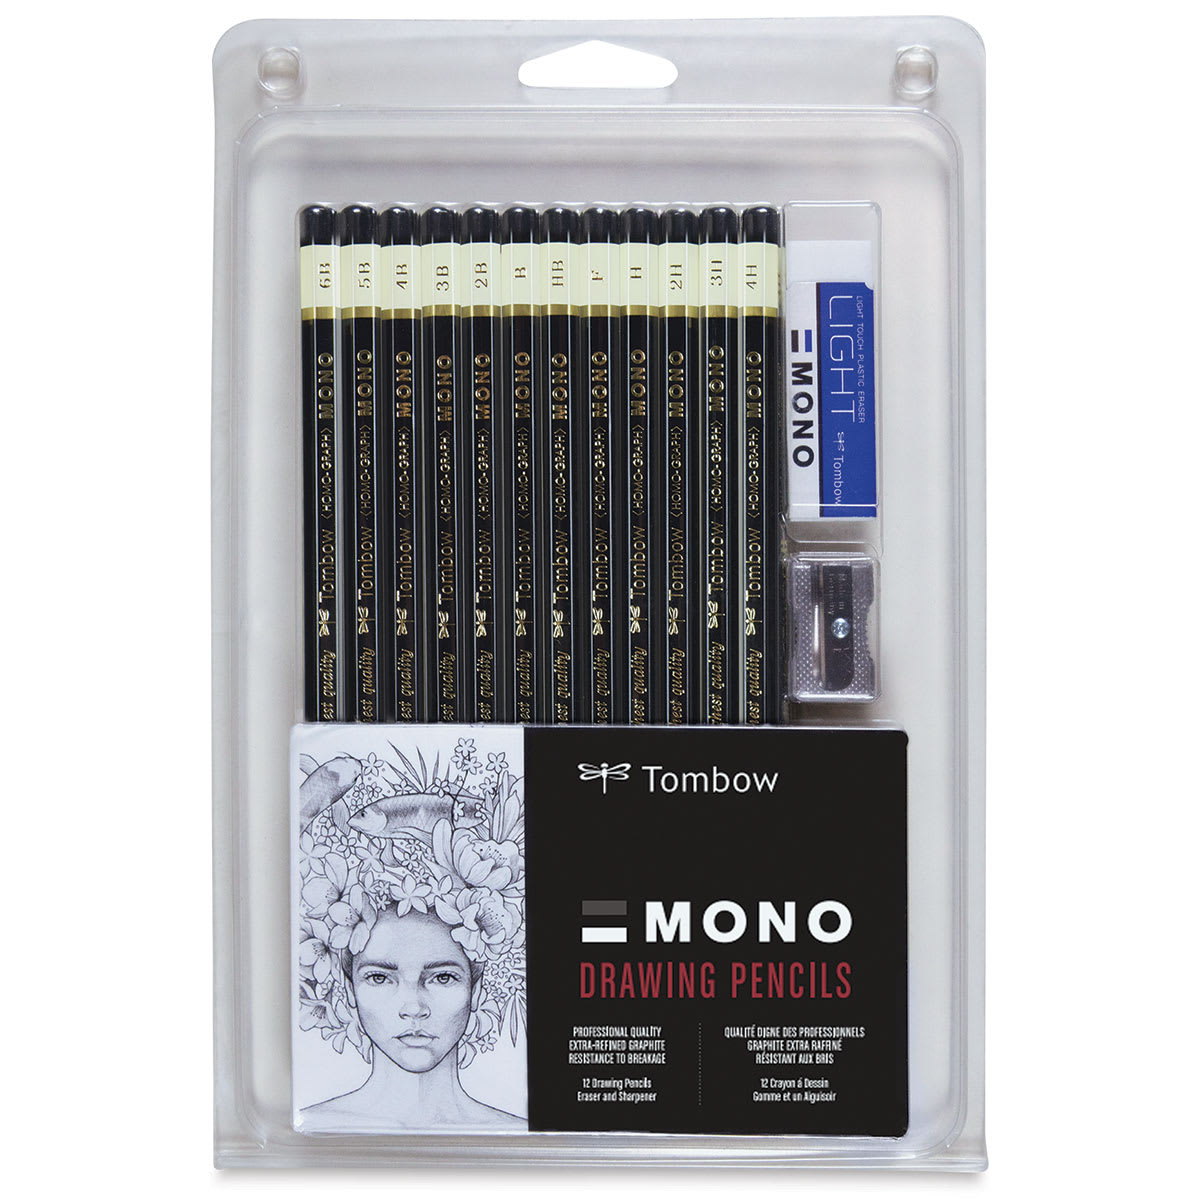 (an HB lead pencil is best for light sketches) |
 |
 |
 (or Fine-Line Marker) |
 (or Markers) |
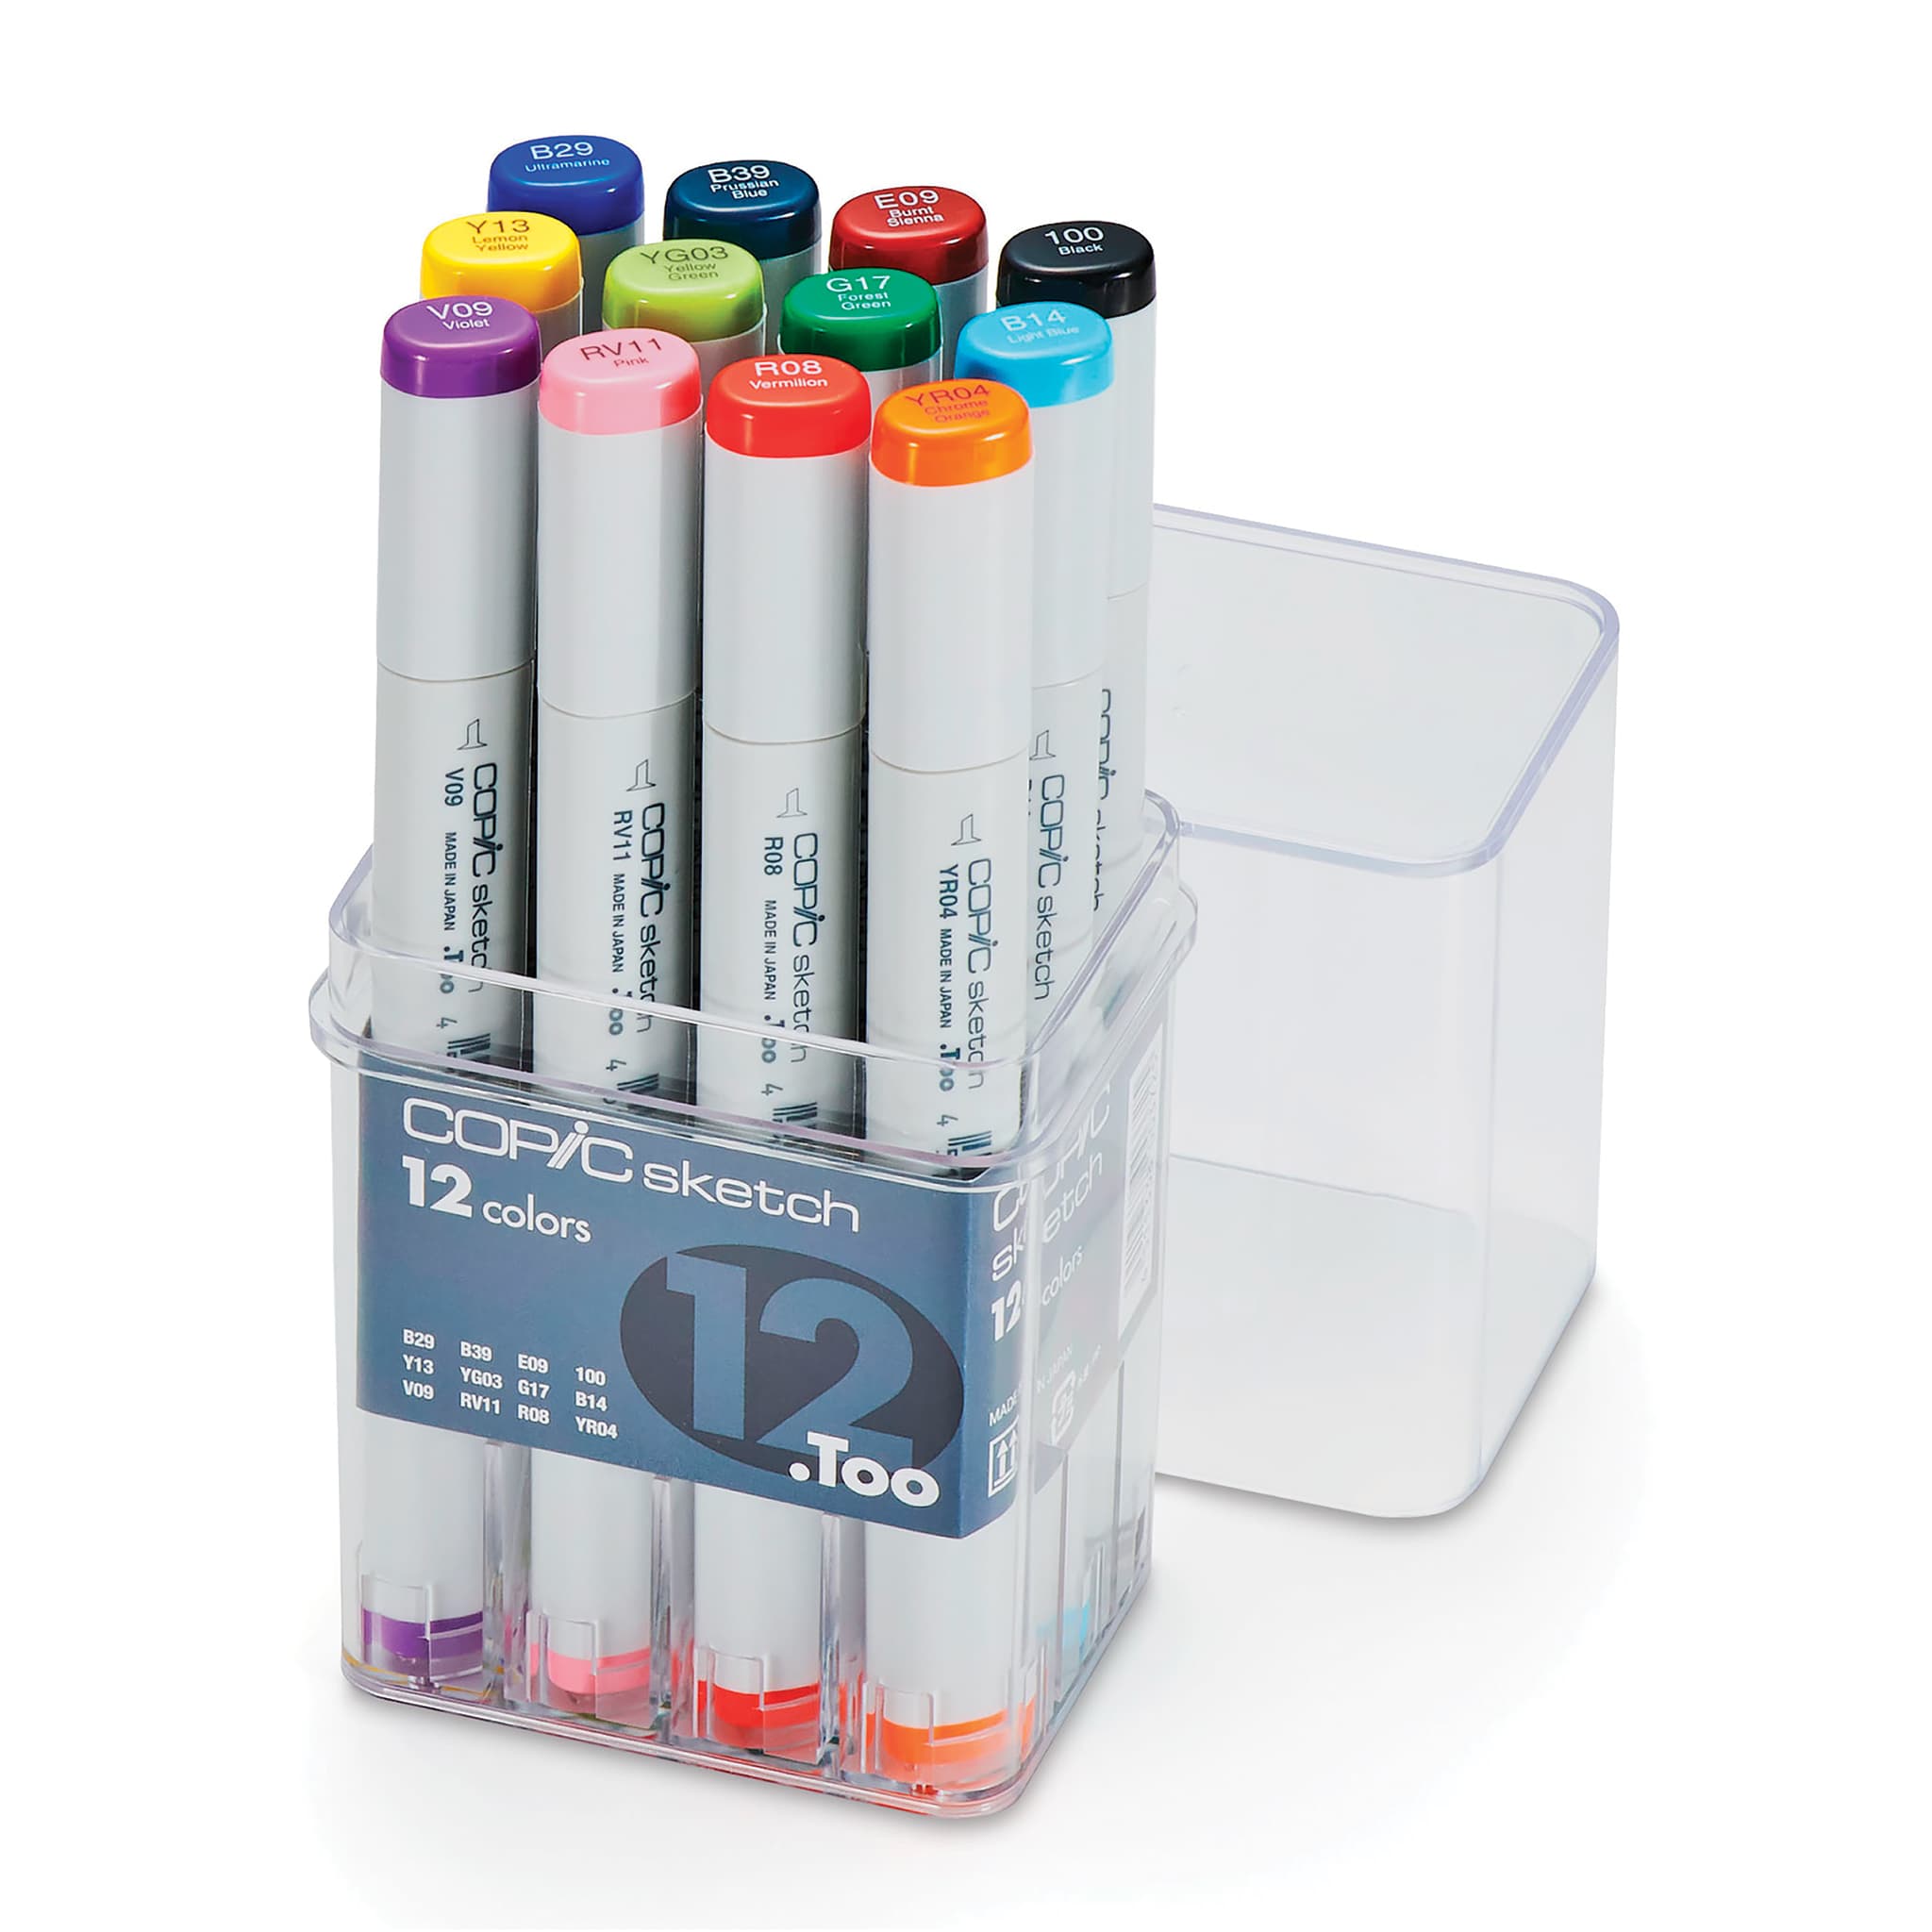 (or Colored Pencils) |
Step 1: Creating the Initial Sketch
First draw the guidelines for the seagull using light lines.
Proportional Circles
- The Body Circle: Create a circle as a guide for the front section of the bird. To easily draw a circle, first mark the height and width limits with small ticks, and connect your marks with curved lines. If you have trouble drawing circles freehand, trace the edge of a circular edge, such as a lid or cap.
- The Head Circle: Sketch a second, smaller circle slightly to the left and directly above the main body. Keep this shape roughly one-third the scale of the original circle, leaving enough vertical gap to prevent the neck from appearing stubby.
Facial and Beak Outlines
- Horizontal Axis: Draw a straight horizontal line across the center of the head circle. This will help you place the facial features later on.
- Beak Foundation: Sketch two slanting lines outward from the left side of the head. Close the shape at the tip with a short, rounded curve, keeping the total length slightly shorter than the head's total width.

Step 2: Finishing the Guidelines
Expand upon the primary circles by adding the back, neck, tail, and leg guides.
More Basic Shapes
- Back: To the right of the body circle, sketch a curved arc resting on its side.
- Neck Profile: Connect the head and body using two curves. Extend the rightmost border line outward slightly to add width.
- Tail and Legs: Form a large triangle projecting from the lower right body using two converging lines. Keep the shape relatively short to create the standard seagull silhouette. Finally, draw an angled line beneath the torso resembling an inverted "L" as a guide for the leg.

Step 3: Add Facial Details
Begin drawing details now, using the initial sketch lines as guides for placement.
Facial Line Work
- Eye: Draw a tiny circle above the horizontal line, keeping it below the upper border of the head. Make the corners pointy, and add small skin creases outside of the eye. Create a tiny circular pupil in the middle of the eye.
- Beak: Finalize the shape of the beak, adding the top and bottom beak, extending it into the internal head circle. Make the lower beak line slightly thinner than the guide. Add small skin texture details at the base and a tiny nostril opening up top.
- Head Shape: Darken the head line, adding a slight slant along the forehead and widening the back of the head beyond the initial circle sketch.

Step 4: Drawing the Rest of the Body
Flesh out the rest of the body, including the wing, tail, and feet, over your initial sketch lines.
Wing and Body Construction
- Folded Wing: Draw a long arc low along the torso that intersects the tail guide. Use jagged, short angles to build a soft feather look on the left. The tail tip should have narrow, distinct feathers.
- Legs: Flesh out the first leg around your inverted "L" guide line, adding a subtle round ankle joint while keeping the overall shape slender. Draw a wavy edge at the front for the webbed feet. Draw the second leg the same way right beside it, leaving a very small space between the two limbs.
- Torso Silhouette: Finalize the outer body lines, adding a few narrow, layered feather tips along the tail tip.

Step 5: Clean Inking and Coloring Your Seagull
Now turn your sketch into a finished piece!
Finishing and Color Application
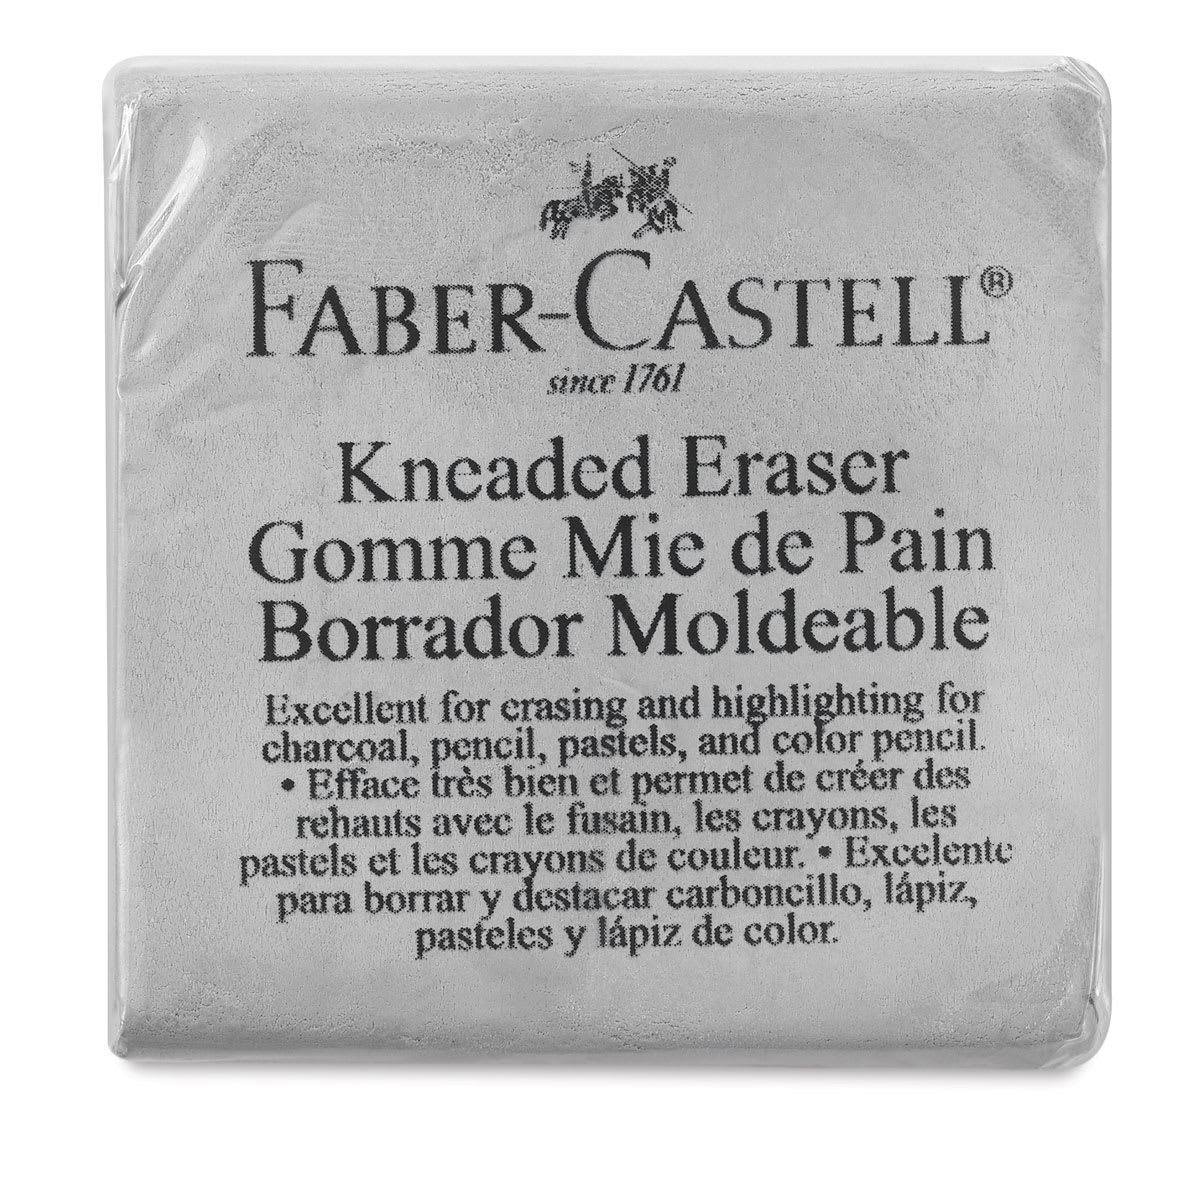
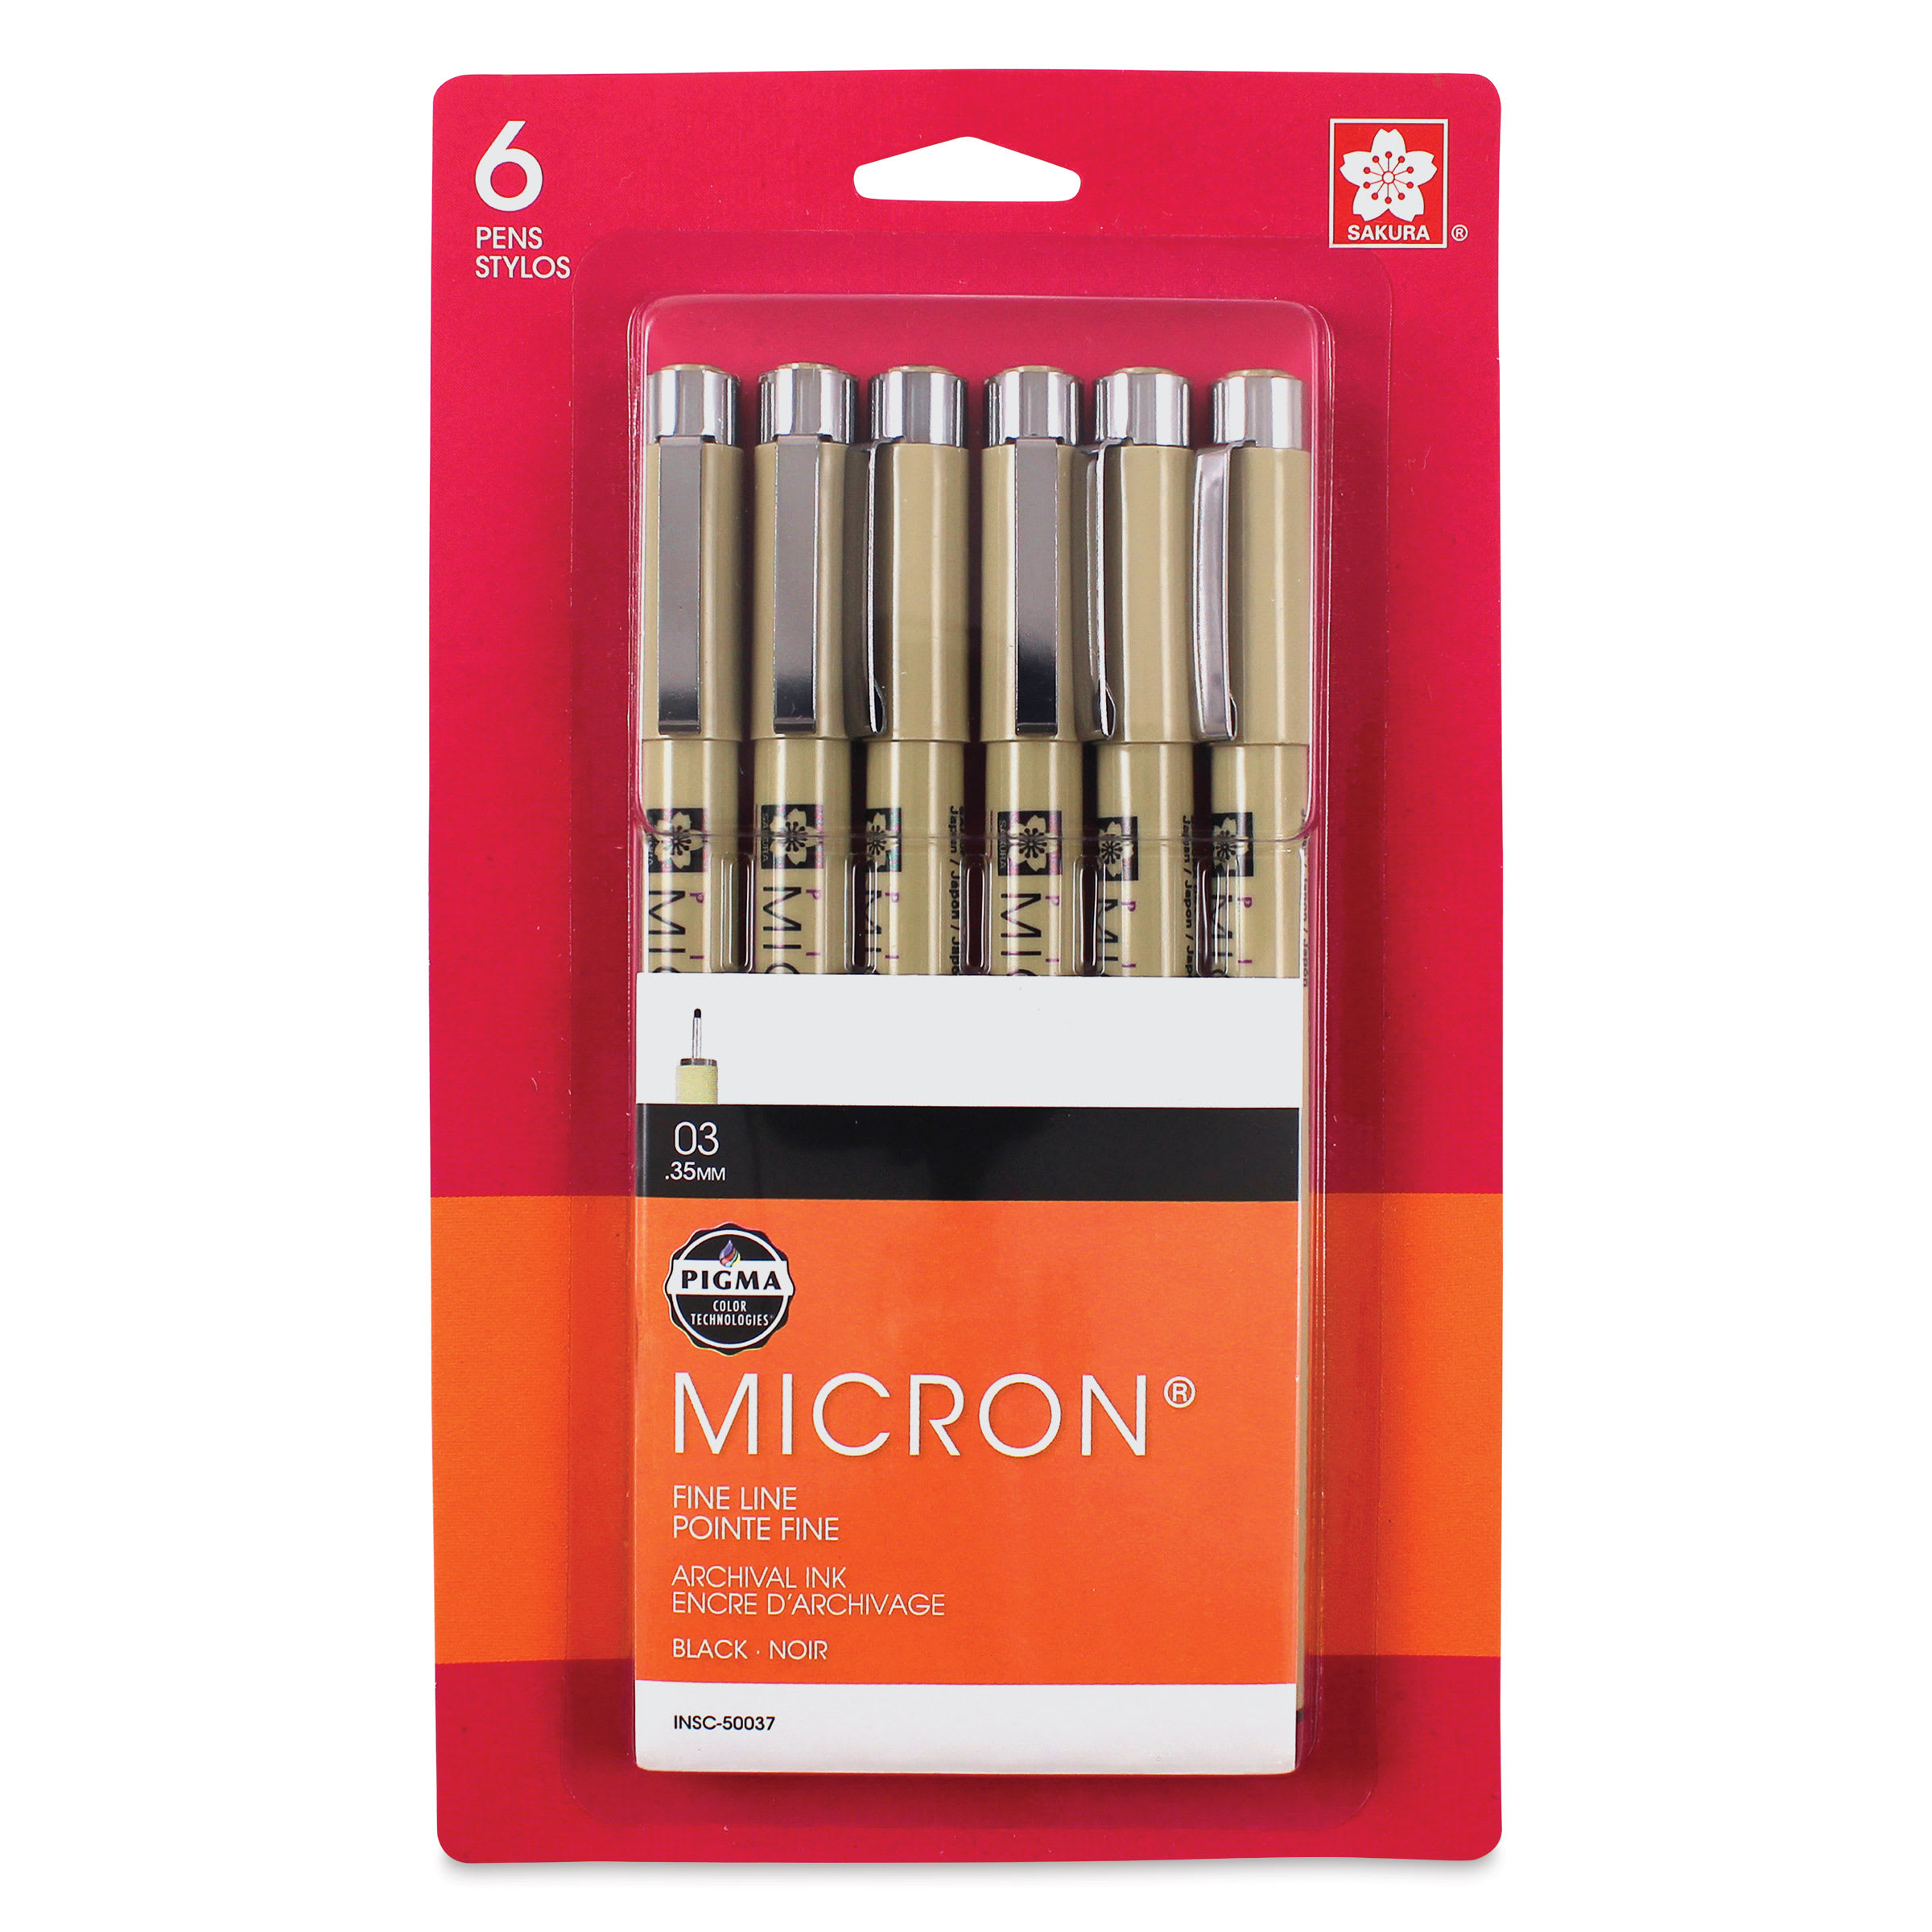
- Inking and Cleanup: Go over your pencil lines with permanent ink pen. Allow the ink to dry completely, and then use a click eraser or kneaded eraser to pick up the extra pencil marks that you don't ink over.
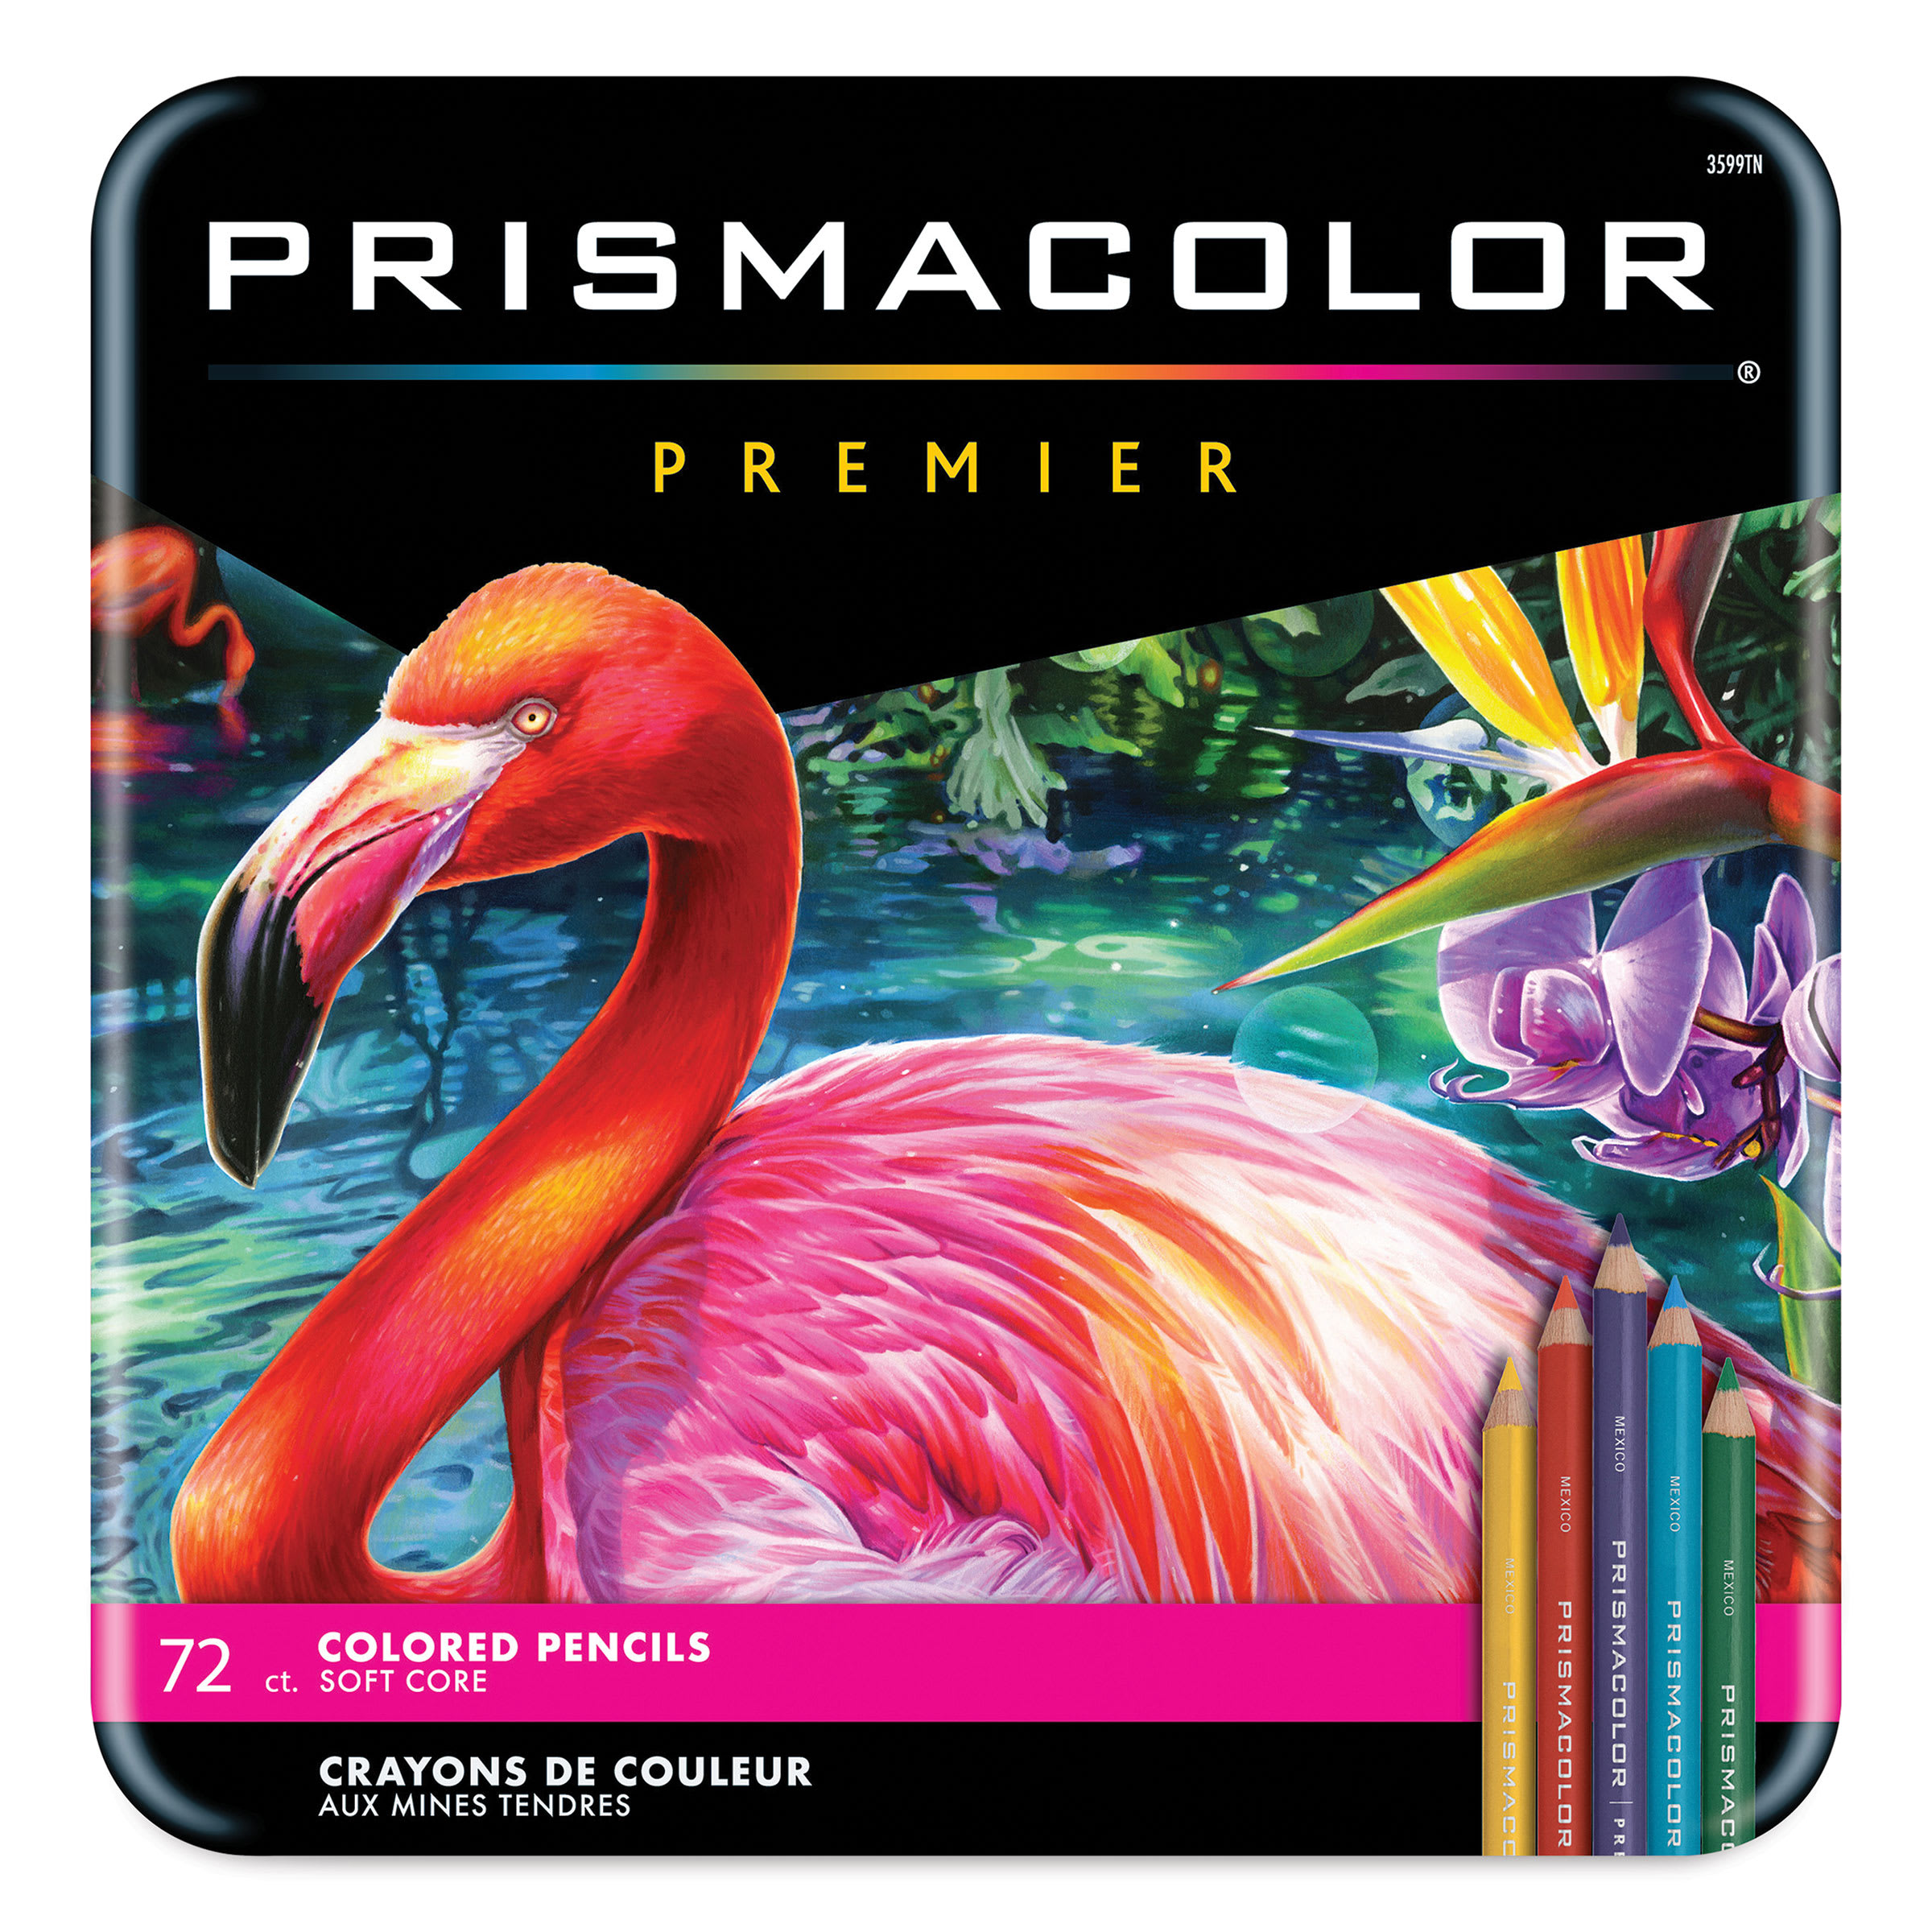
- Color Palettes: Grab your favorite markers or colored pencils and add color! The beak and eyes are orange, with soft brown tones for shadows. Color the wings and tail with gray and black. Darker black, along with areas left blank on the tail will create the white accents. Add soft light gray around the body to create shadow, which will make your seagull more three-dimensional. Use pinks on the legs to finish coloring the bird.
- Cast Shadow (Optional): If you want to stop here, add a shadow under your bird so it doesn't look like it's floating on your page.

Step 6: Adding the Beach Background
Place your seagull in a beach scene by carefully adding more color behind the bird. Be patient and take your time as you finish this scene.
Tape, Color, and Remove the Tape!
- Frame the Seagull: To create a full background, add masking tape to frame your seagull on the page. You'll remove the tape later and find you have crisp color edges.
- Sand: Lay down deep browns and yellows across the lower foreground to produce textured sand. Dark brown closer to the water will look like wet sand.
- Breaking Waves: Blend blues and greens where the sand meets the white breaking wave.
- Horizon and Sky: Create a straight horizon line with a ruler. Here are the deepest blues, which will steadily lighten as they reach the breaking wave line. The sky is one shade of light blue.
- Final Details: Accent the ocean surface with a white gel pen to generate a sun-drenched water effect before lifting the tape away.

Buy My Step-by-Step Art Books on Amazon!
If you enjoyed drawing with me and want to expand your artistic skills, please consider checking out my step-by-step drawing books on Amazon! My books break down a wide variety of animals into simple geometric shapes, making it easy and fun for artists of any skill level to follow along. Every purchase directly helps support this site so I can keep creating high-quality, free tutorials for the art community.
Click Here to Order Your Copy Today!
This is an Amazon affiliate link. If you choose to purchase through this link, I earn a small commission at no extra cost to you.

Thanks for visiting! Subscribe to the How2DrawAnimals YouTube Channel for new tutorials every week.
And to learn how to draw cartoons, visit EasyDrawingTutorials.com.
RELATED TUTORIALS
|
|
|