







Use the step-by-step instructions below to learn how to draw a pig. Follow along with the video, or use the images in this article. By the end of this tutorial, even beginners will have a completed drawing of this farm animal!
Love drawing? Keep your artistic streak going and enjoy more free art lessons by:
- Bookmarking the How2DrawAnimals.com homepage for updates
- Subscribing to the How2DrawAnimals YouTube channel
- Visiting EasyDrawingTutorials.com for tons of free cartoon tutorials
This page contains affiliate links. If you choose to purchase through these links, I earn a small commission at no extra cost to you.
RELATED TUTORIALS
 |
 |
 |
To draw this animal step by step, follow along with the video tutorial below and pause the video after each step to go at your own pace. You may find it easier to follow the step-by-step images below the video. You may want to open the video in a new tab and use both drawing methods.
Materials You'll NeedBefore starting, gather these basic drawing supplies from Blick Art Materials. |
||
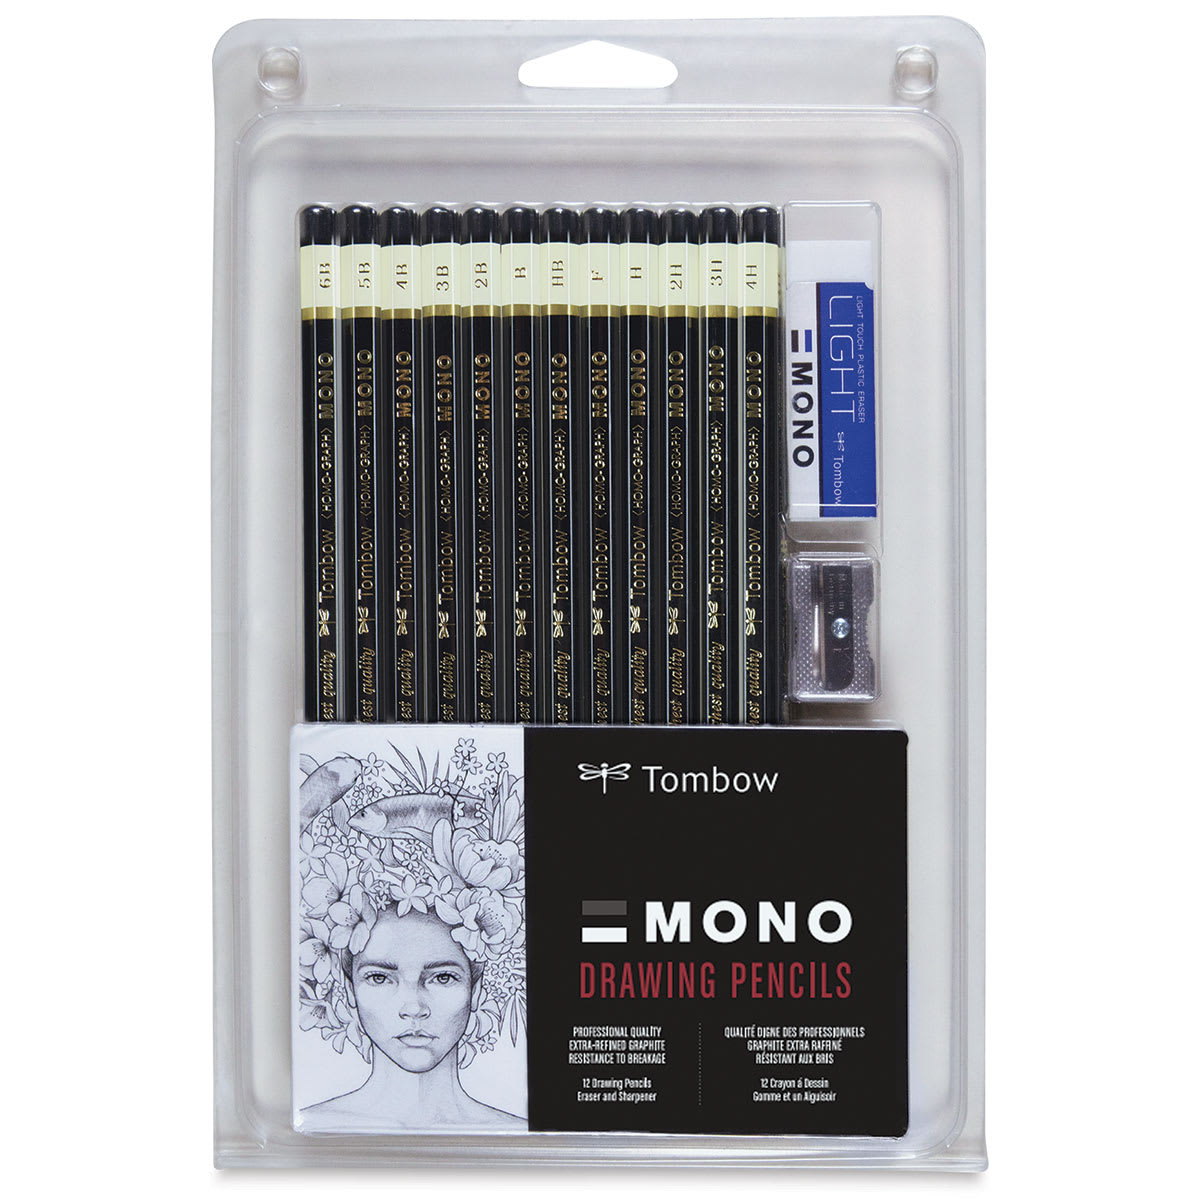 (an HB lead pencil is best for light sketches) |
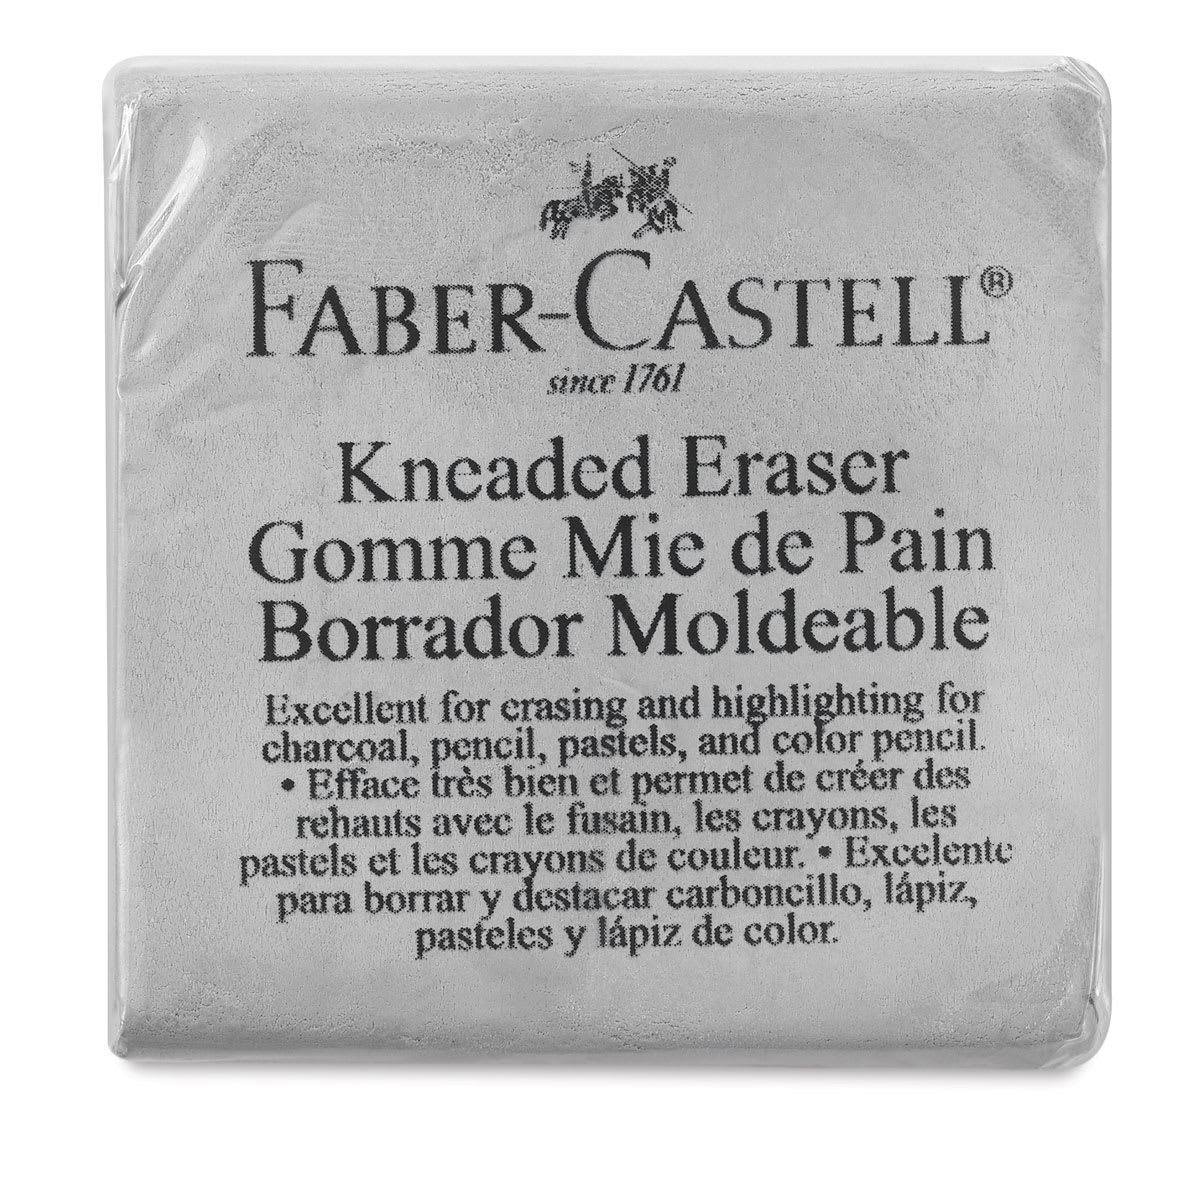 |
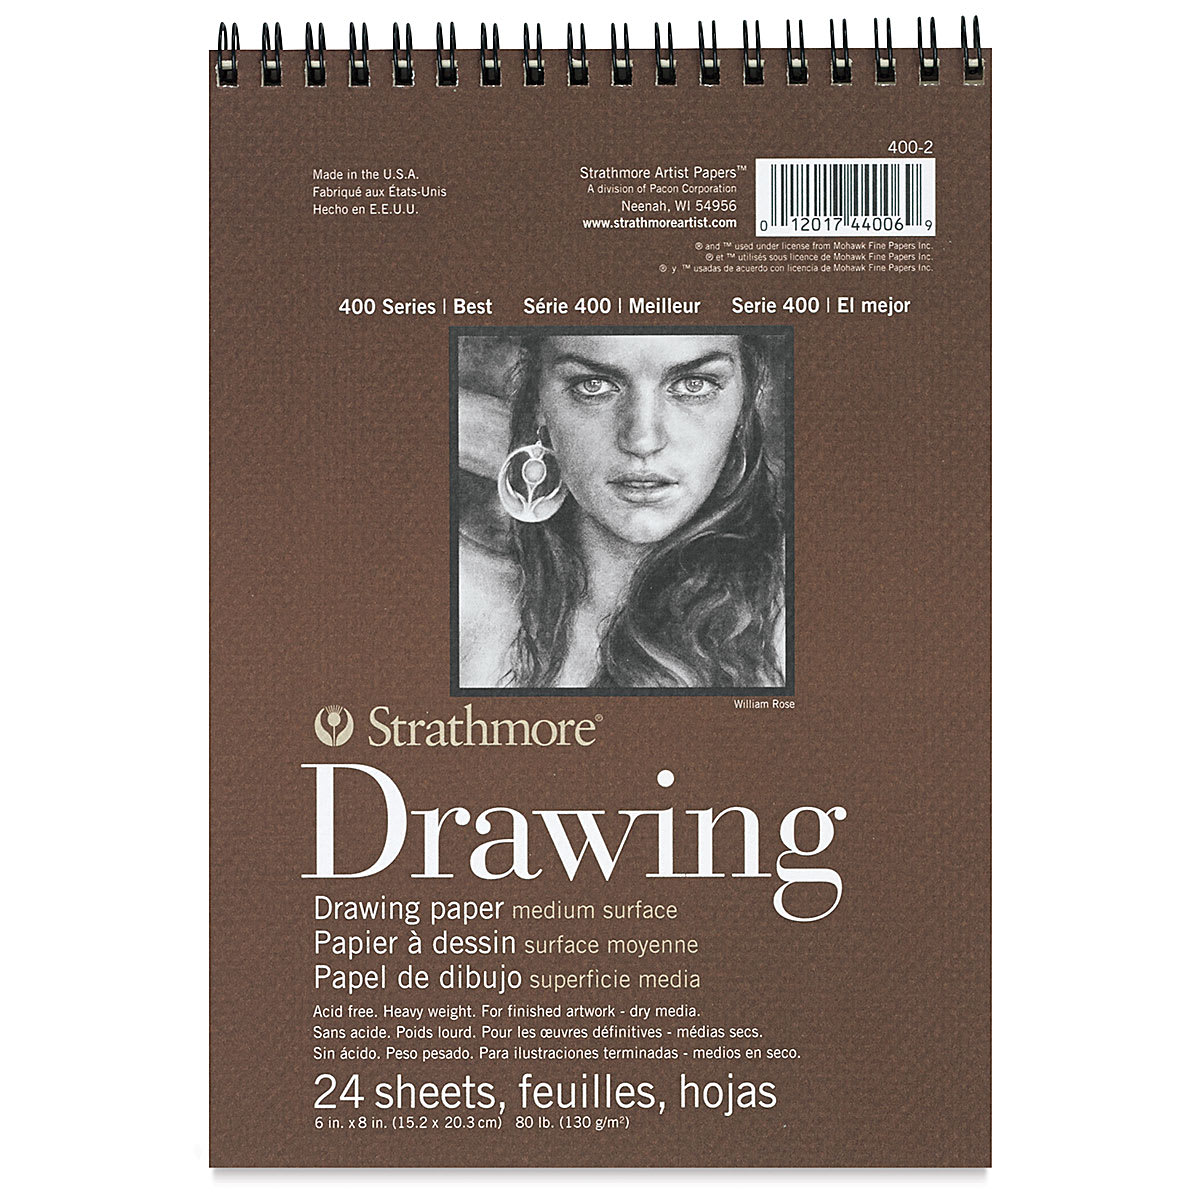 |
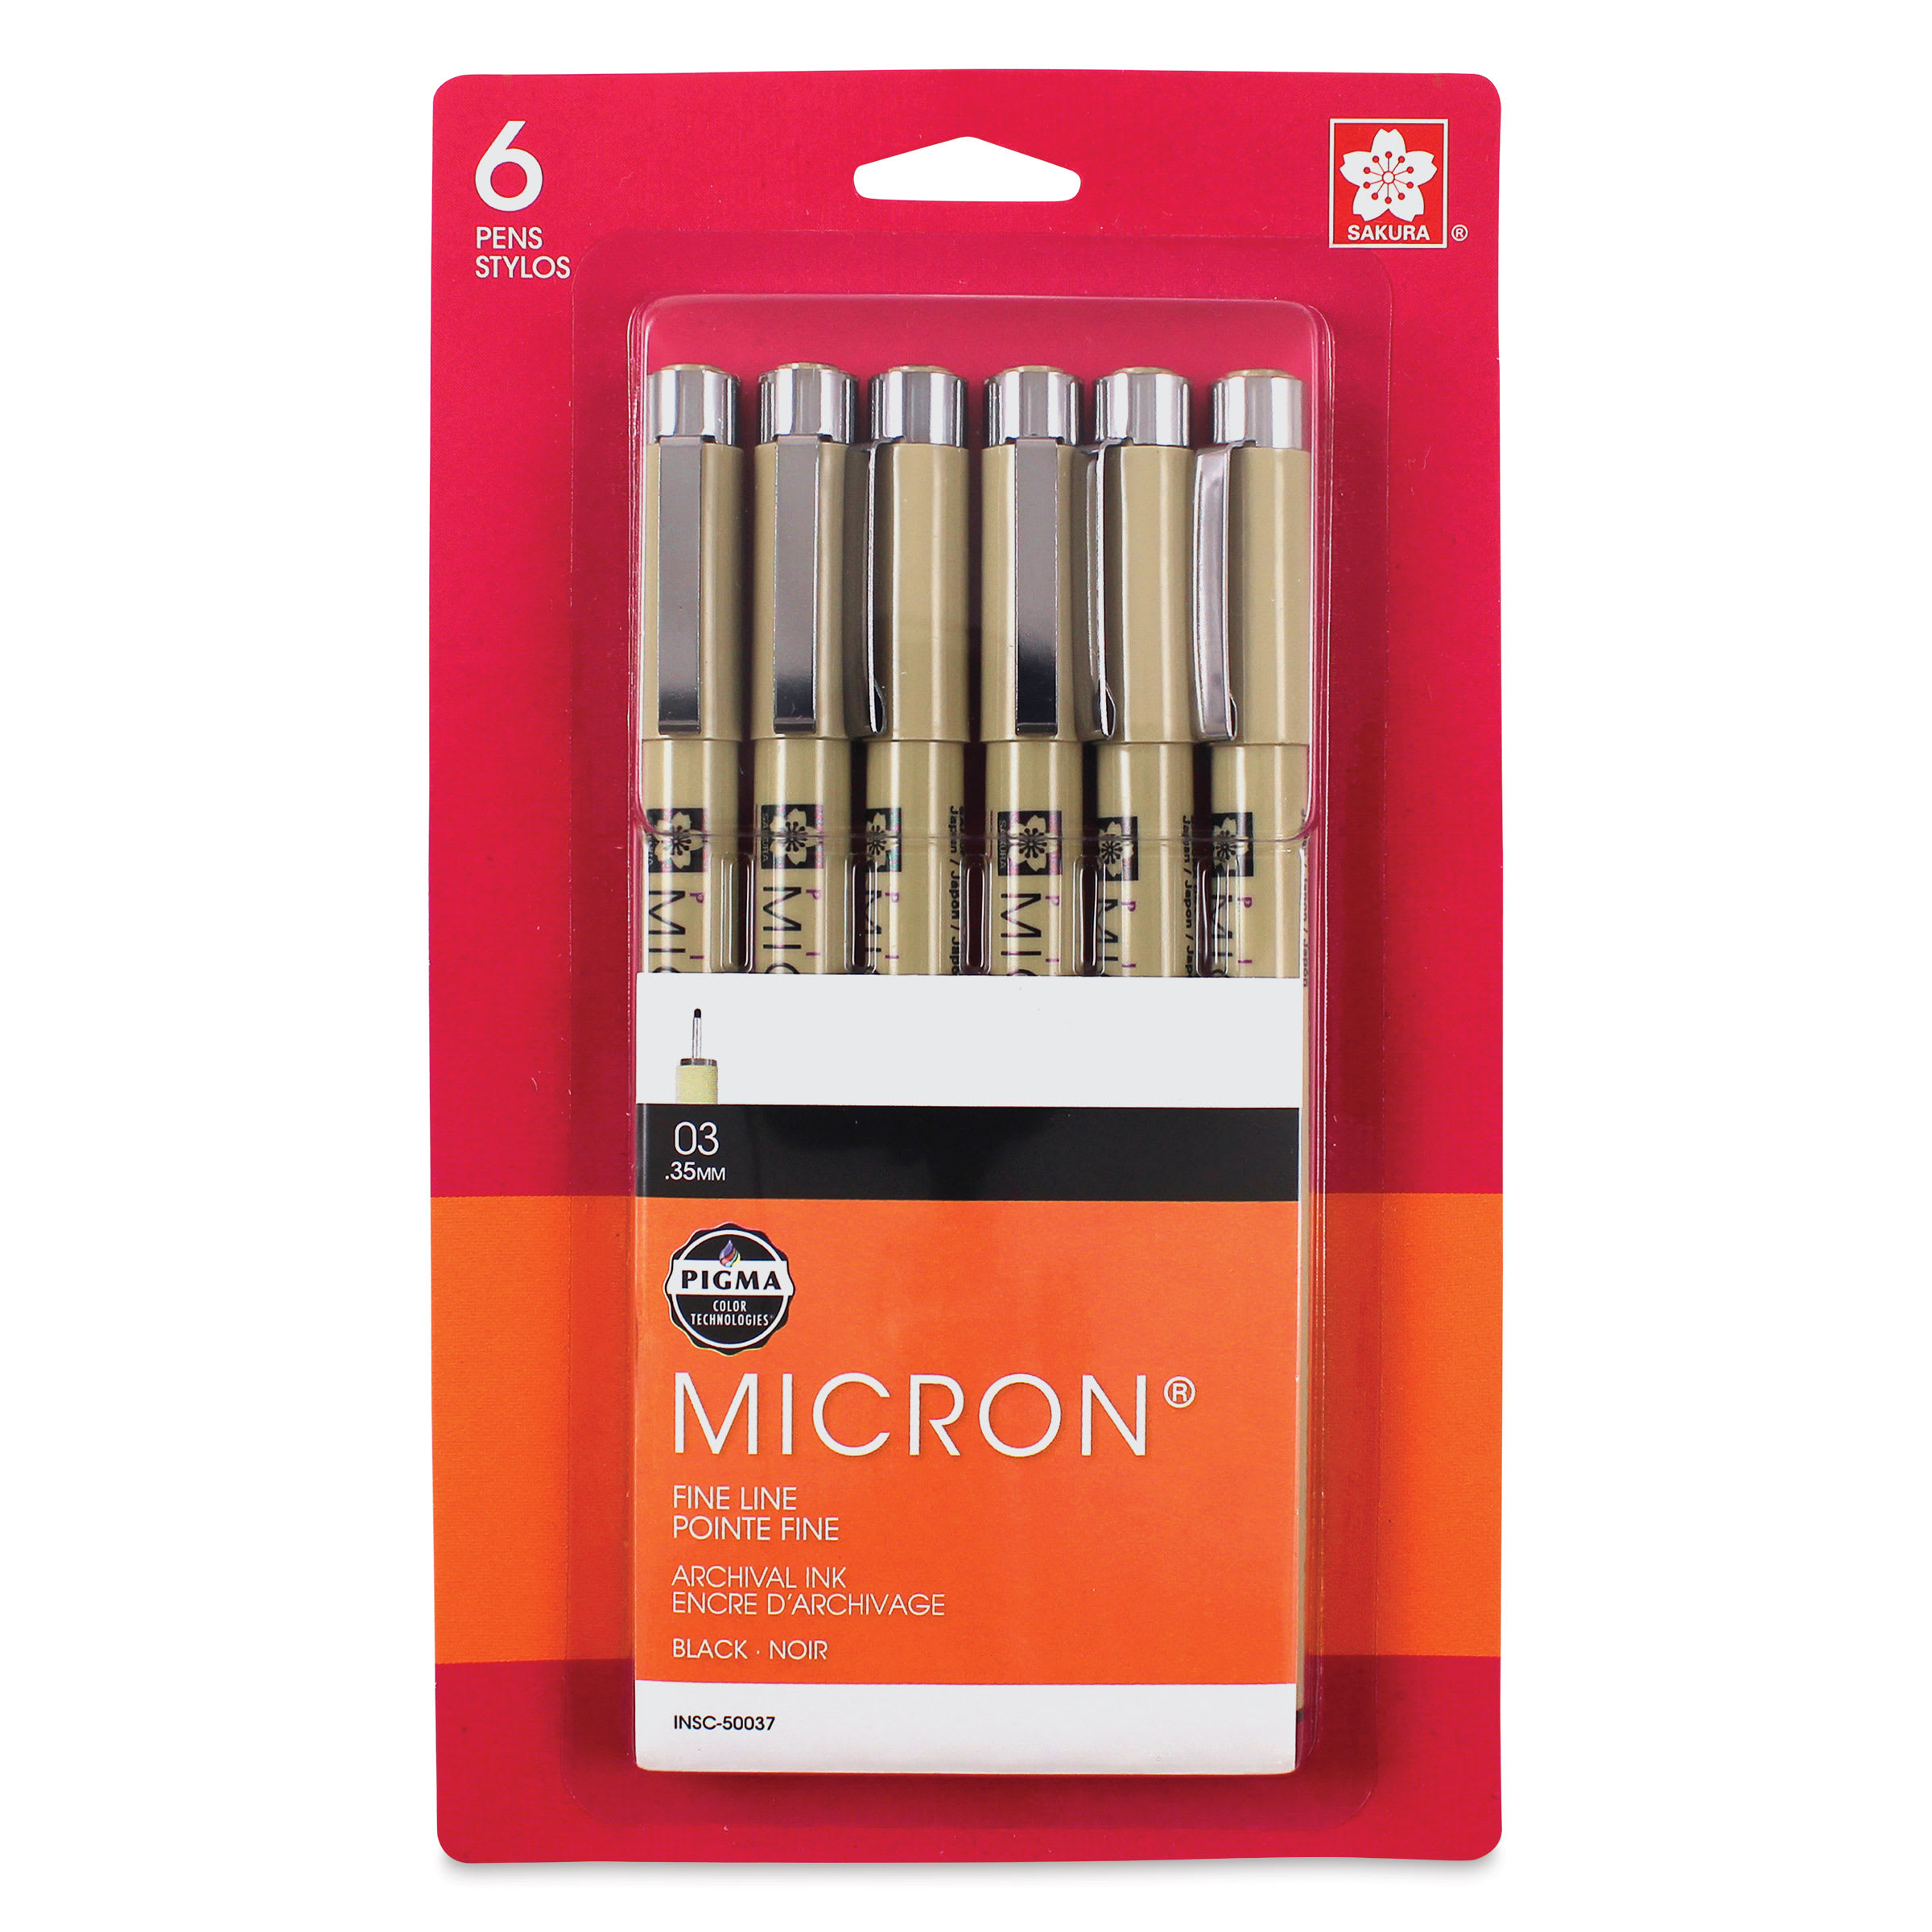 (or Fine-Line Marker) |
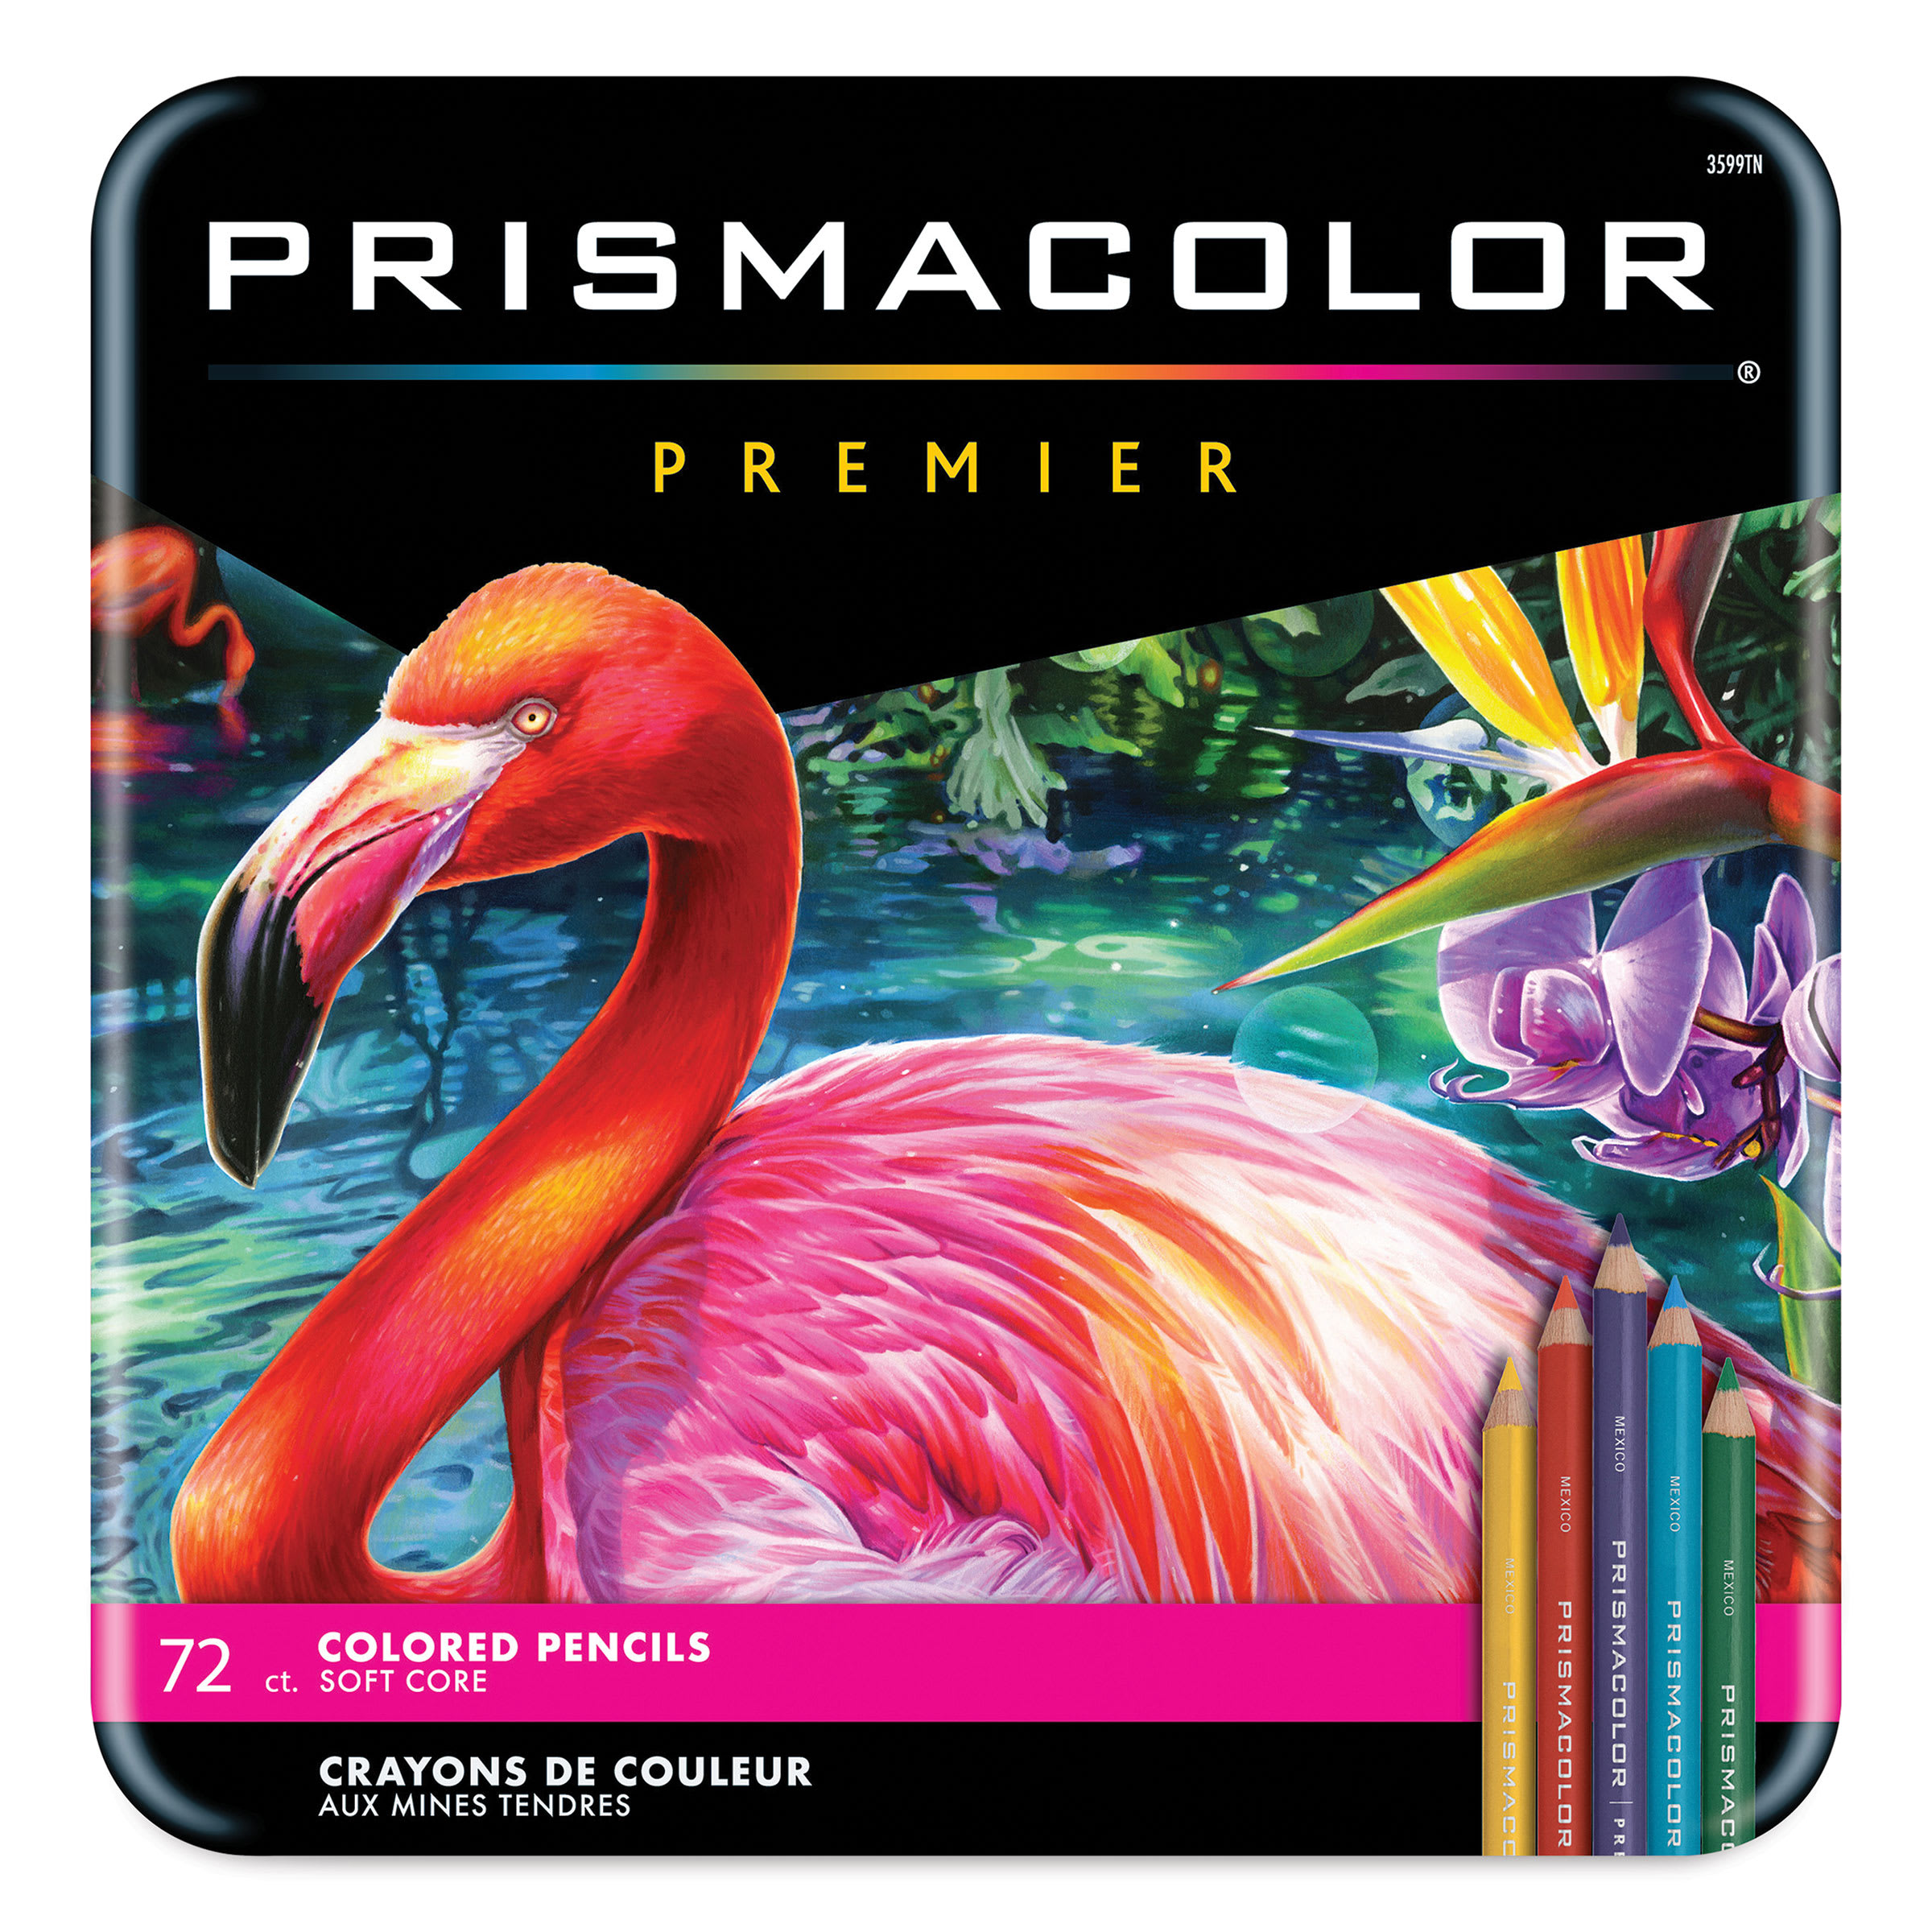 (or Markers) |
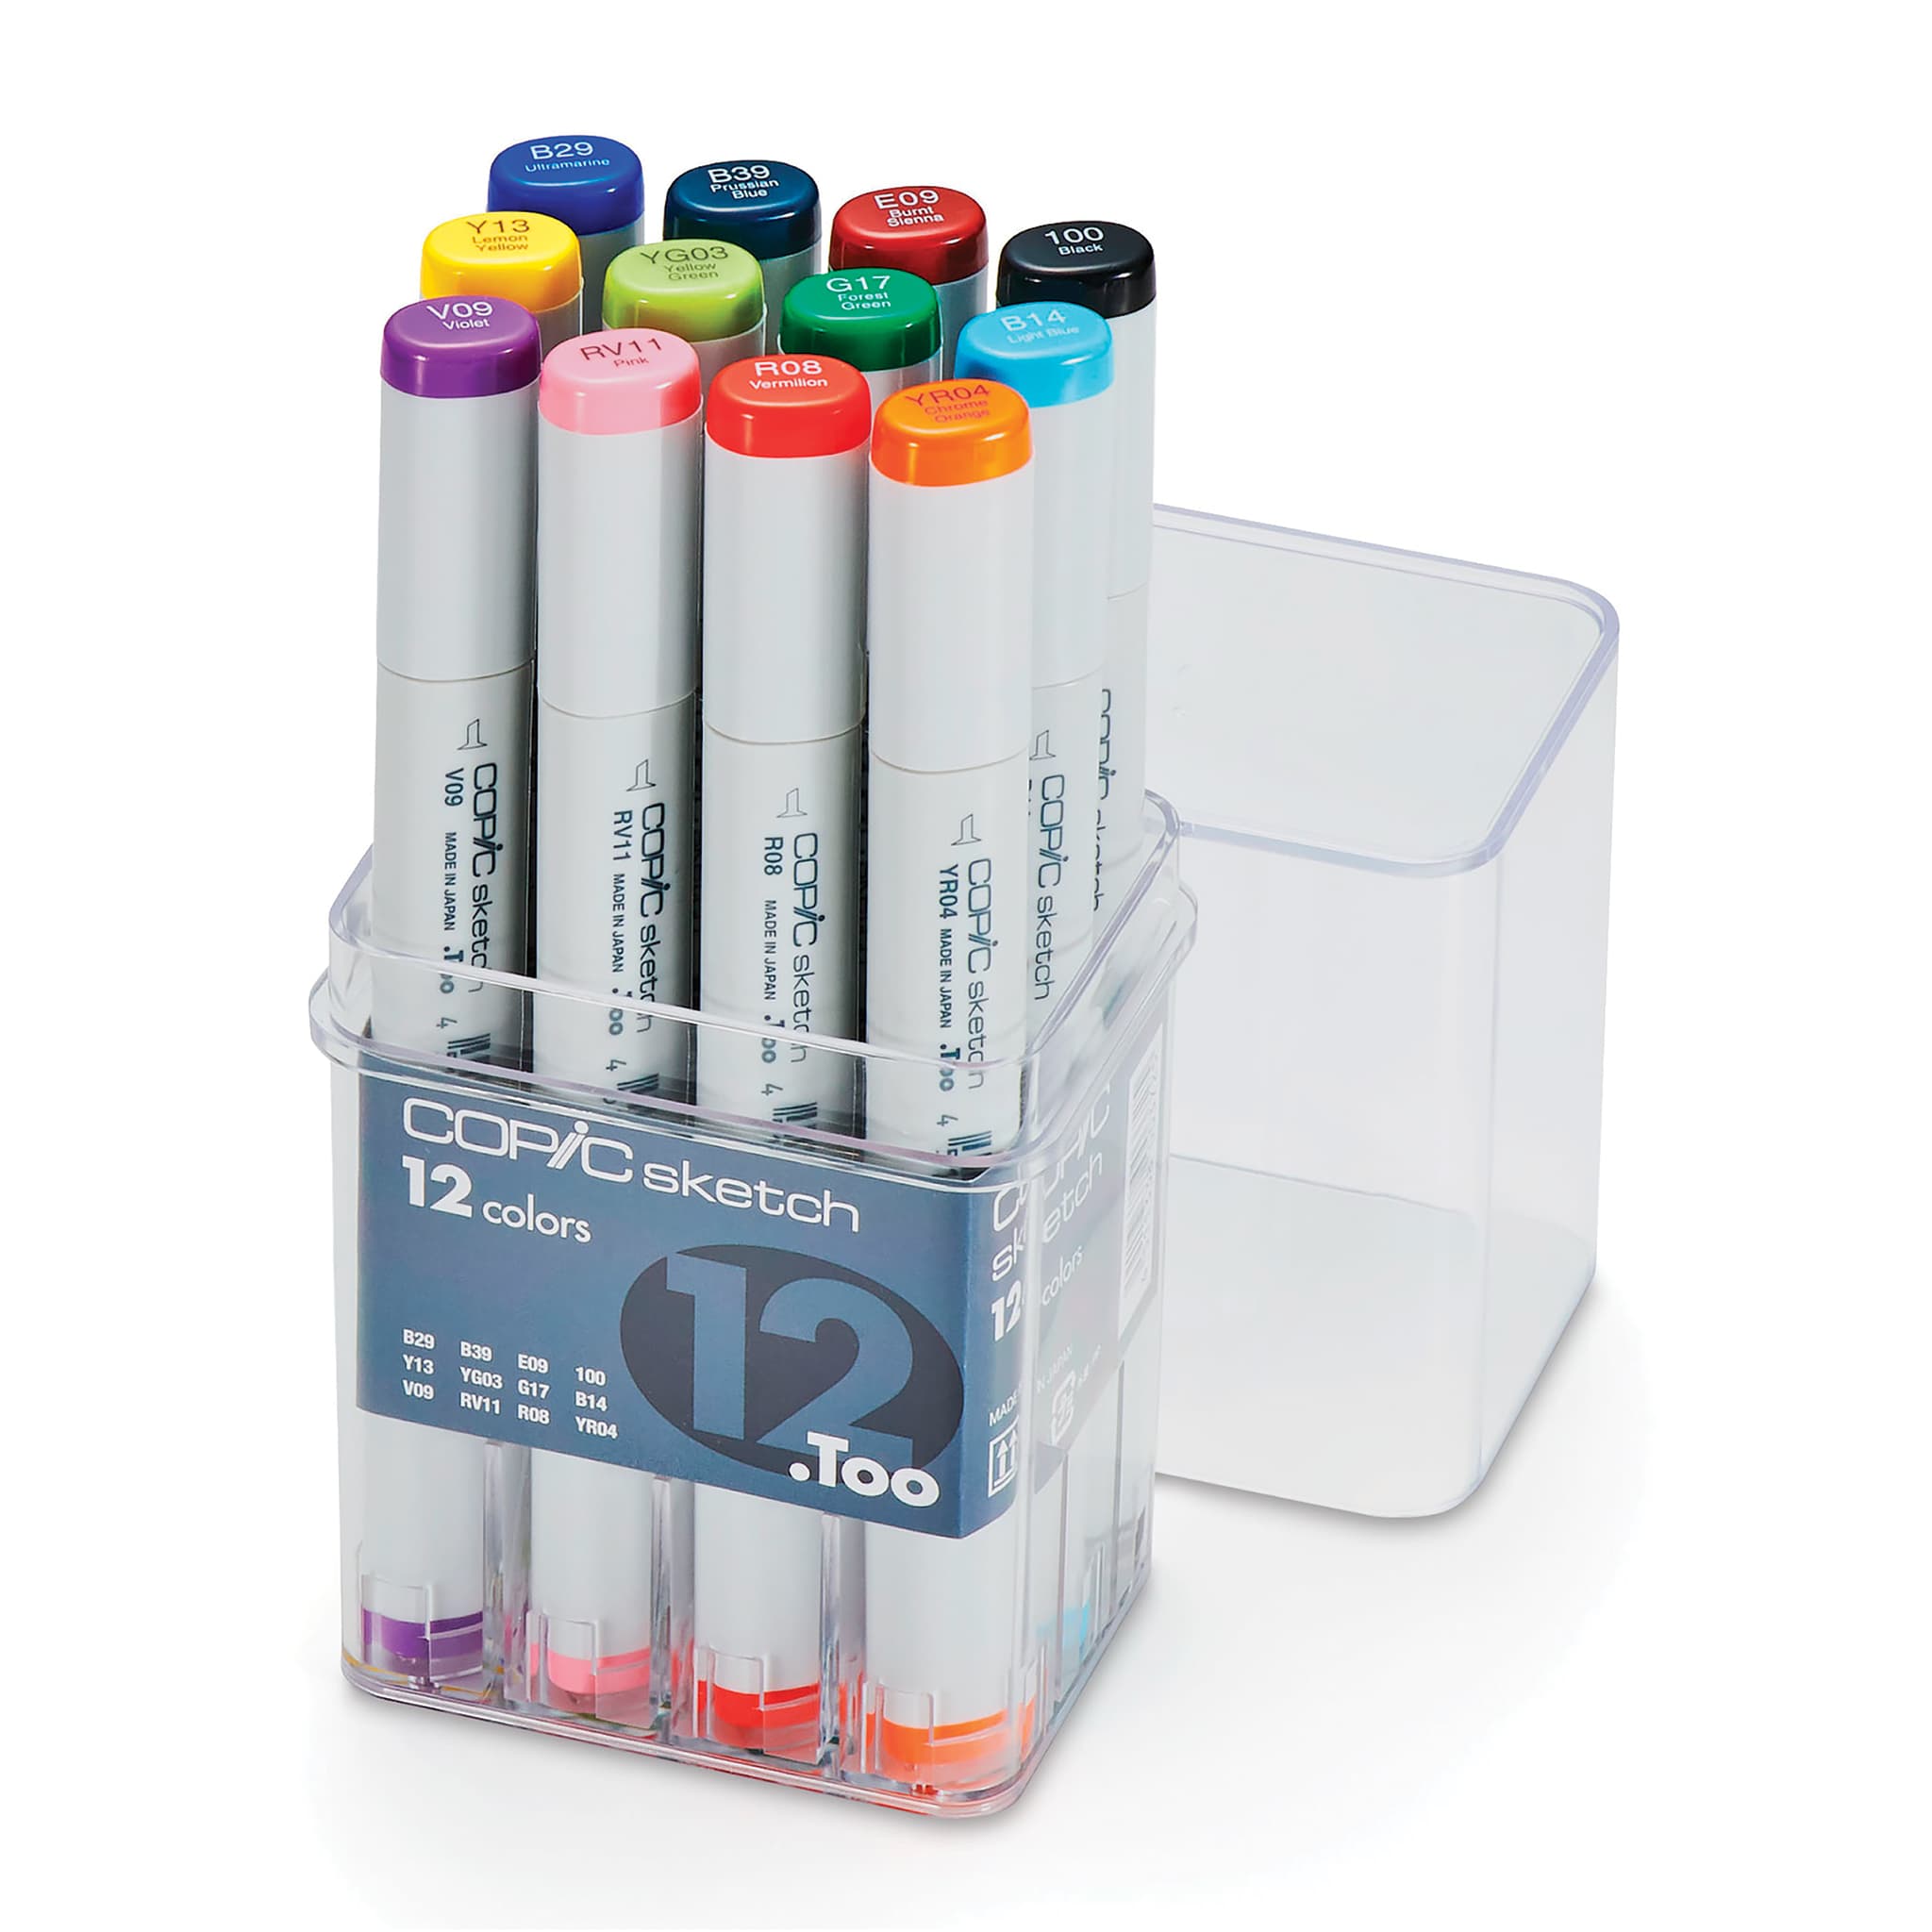 (or Colored Pencils) |

Step 1: Initial Guidelines
Begin by lightly sketching the initial guidelines. Do not press down too hard at the start so that any mistakes are easy to erase.
Proportional Circles
- Head Circle: Mark small dashes to establish the height and width of your circle. Then connect the marks with curved lines to finish the circle. If you have trouble drawing circles freehand, trace the edge of a circular object, like a coin or bottle cap.
- Front Body Circle: Use the same four-mark technique to create a circle to the left of the head. Make it slightly larger than the head circle, but avoid overlapping the paths.
- Rear Body Circle: Sketch a smaller circle to the far left to represent the receding hindquarters. A large portion stays hidden behind the front body section.
Facial Guidelines and Structural Points
- Construction Lines: Add a curved horizontal line slightly above the center of the head and a curved vertical line close to the right edge.
- Snout Guide: Sketch a small circle on the lower half of the head, positioning it very close to the right edge.
- Ear Triangles: Draw two large, sloping triangular shapes. The one on the top-left represents the closer ear, while the one on the right should be slightly smaller due to the angle of the head.
- Leg Guidelines: Sketch two vertical lines below the front body, bending the bottom points to mark the joints. Add a vertical line below the rear body and an angled line to the right of it for the back legs. Keep the length proportional to the body circle depth.

Step 2: Draw the Facial Features
Begin adding the details of the face and head.
Facial Features and Profile
- Eyes: Sketch two small circles on top of the horizontal guide line. Space them out appropriately to match the head angle, making the right eye thinner. Elongate the corners, add small brow creases, leave tiny highlight spots, and darken the pupils.
- Snout and Mouth: Follow the small guide circle but narrow the top section to build a rounded triangular snout. Draw two small vertical oval nostrils inside. Below the snout, draw a short, curved mouth line to the left, ending below the left eye. Add a curved line for the chin.
- Ears: Soften the straight edges of the triangular guides into smooth curves. Round the tips and add lines inside to define the structure of the ear.
- Head Contour: Darken the head circle, curving the profile inward at the eye and back out for the rounded cheek.

Step 3: Add the Front Legs
Form the shapes of the two front legs by working around the vertical lines under the front part of the torso.
Front Limbs Outline
- First Front Leg: Sketch the leg around the vertical guideline. Extend the upper thigh up into the body. Taper the leg so the ankle is narrower than the top. Add a small raised toe joint on the back-left side, flatten the bottom of the foot, and use a small inverted V-shape to split the hoof. Add a horizontal line near the bottom of the hoof.
- Second Front Leg: Draw the second leg the same way as the first. Include the upper shoulder with a soft curve.

Step 4: Complete the Legs
Use the guidelines beneath the rear section of the body to flesh out the back legs.
Hind Limbs Outline
- First Hind Leg: Build a thicker leg shape around the far-left guideline. Draw this leg the same as the first, adding the raised toe on the back and the toes at the bottom.
- Second Hind Leg: Outline the final leg around the remaining guide. It looks smaller than the others due to the perspective.

Step 5: Finish Up the Body and Tail
Using smooth lines, draw the rest of the body to complete your sketch of a pig.
Torso and Tail Construction
- Body: Trace the outer perimeters of the framework circles to join the back, underbelly, and neck. Use gentle variations in the line path to suggest the animal's muscle structure. Add a sloping line beneath the throat for the neck.
- Tail: At the rump, draw a small circle. Then outline a larger circle around it. Extend a short, curved tip to the left to complete the classic corkscrew tail.

Step 6: Ink Your Sketch
Inking and coloring will complete this drawing.
Final Contour Work
- Line Work: Carefully trace all final lines using a permanent pen or marker. Avoid inking any parts of the initial sketch that you don't want in the final piece. Thicken the underbelly and lower leg lines to create cast shadows.
- Let it Dry: Allow the ink to dry completely. Then erase all remaining pencil marks to clean up the inked drawing.

Step 7: Begin Adding Color
Grab your favorite markers or colored pencils and begin coloring your pig!
Base Tone Application
- Base Coat: Lay down a uniform light pink base coat across the entire surface of the body. Keep the color application clean and even.

Step 8: Continue Adding Color to Your Pig
Develop deep volume by noting where the light source is coming from and including highlights and shadows.
Shading and Shifting Values
- Coloring and Shading: Establish an overhead light source and apply mid-tone pinks along the undersides of the body, head, and legs. Mix brown into the deepest creases to create soft shadow transitions. Tint the snout a deeper pink, and fill the eyes with brown while keeping the white highlights white.

Step 9: Add Final Details
Ground your subject by placing a natural setting underneath its hooves. Draw a small patch of grass below the hooves using varied green values to ground the animal. Re-ink any final outlines as needed to maximize contrast and structure. Review your completed artwork, make any final adjustments, and enjoy your finished piece!

Buy My Step-by-Step Art Books on Amazon!
If you enjoyed drawing with me and want to expand your artistic skills, please consider checking out my step-by-step drawing books on Amazon! My books break down a wide variety of animals into simple geometric shapes, making it easy and fun for artists of any skill level to follow along. Every purchase directly helps support this site so I can keep creating high-quality, free tutorials for the art community.
Click Here to Order Your Copy Today!
This is an Amazon affiliate link. If you choose to purchase through this link, I earn a small commission at no extra cost to you.
Thanks for visiting! Subscribe to the How2DrawAnimals YouTube Channel for new tutorials every week.
And to learn how to draw cartoons, visit EasyDrawingTutorials.com.
RELATED TUTORIALS
|
|
|