







Use the step-by-step instructions below to learn how to draw an Allosaurus. Follow along with the video, or use the images in this article. By the end of this tutorial, even beginners will have a completed drawing of this prehistoric dinosaur!
Love drawing? Keep your artistic streak going and enjoy more free art lessons by:
- Bookmarking the How2DrawAnimals.com homepage for updates
- Subscribing to the How2DrawAnimals YouTube channel
- Visiting EasyDrawingTutorials.com for tons of free cartoon tutorials
This page contains Amazon affiliate links. If you choose to purchase through these links, I earn a small commission at no extra cost to you.
RELATED TUTORIALS
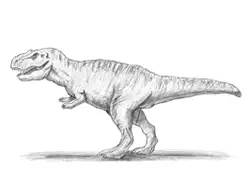 |
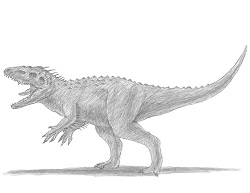 |
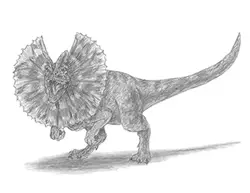 |
To draw this dinosaur step by step, follow along with the video tutorial below and pause the video after each step to go at your own pace. You may find it easier to follow the step-by-step images below the video. You may want to open the video in a new tab and use both drawing methods. Take your time and create art at your own pace.
Materials You'll NeedBefore starting, gather these basic drawing supplies from Blick Art Materials. |
||
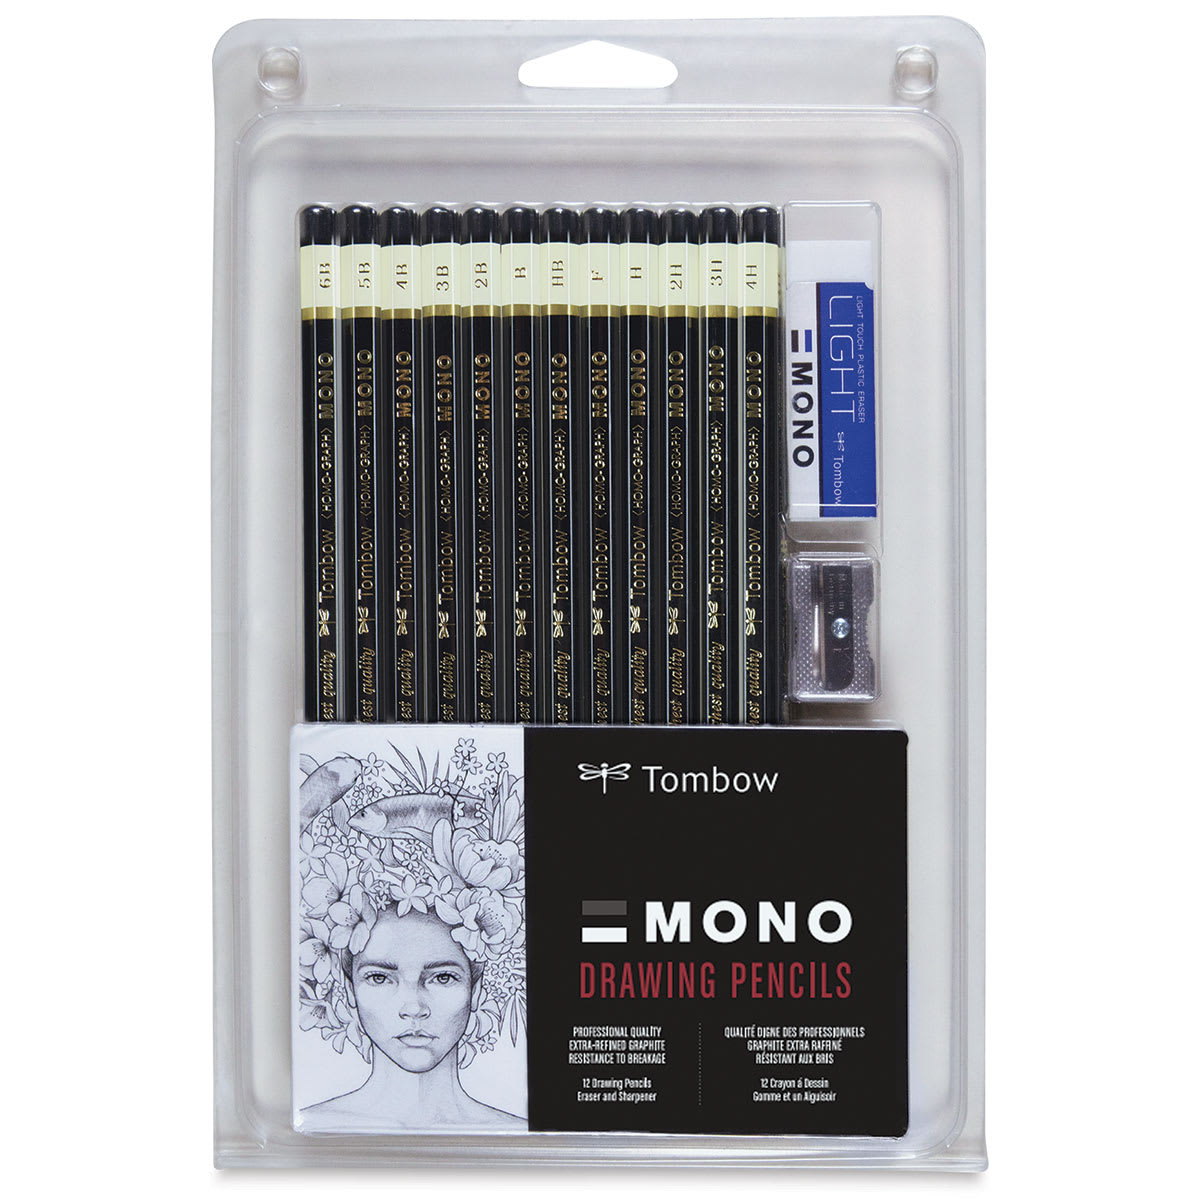 (an HB lead pencil is best for light sketches) |
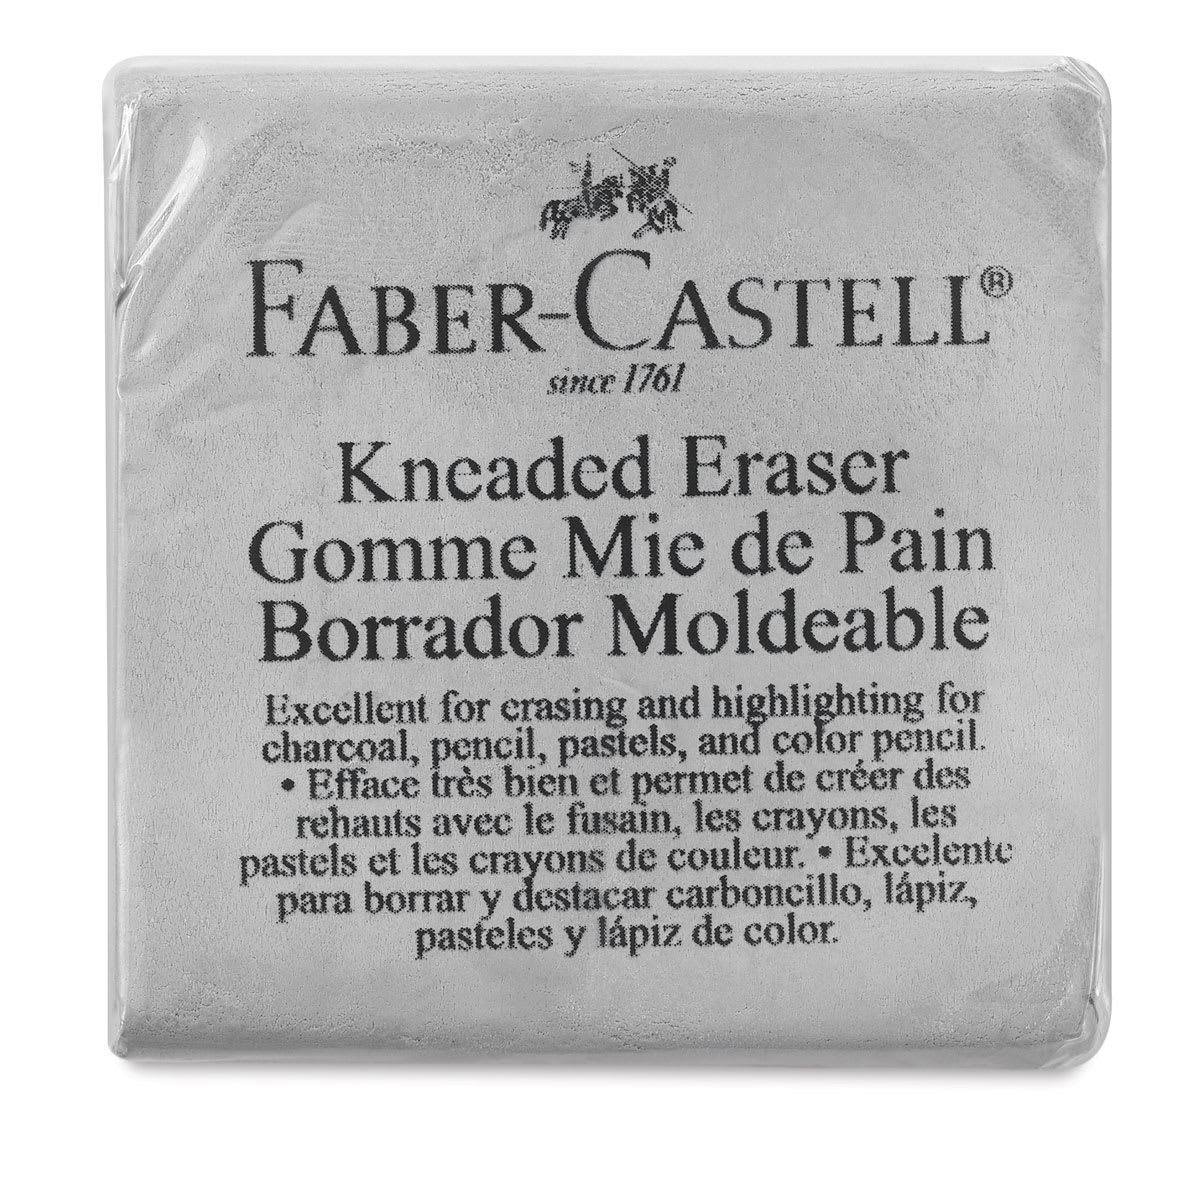 |
 |

Step 1: Create the Initial Sketch
Establish the core proportions of the dinosaur body using basic shapes. Sketch lightly so you can easily modify these foundations.
Proportional Circles
- Draw a circle for the front part of the body. Indicate the circle's height and width with small marks first, then connect them with curved paths. If you have trouble drawing circles freehand, you can trace the edge of a circular object, like a coin or a bottle cap.
- Place a second body circle on the bottom right side. Do not let this circle overlap the first one.
- Add a smaller head circle near the top, making it half the size of the front body circle. Keep it low enough to avoid making the neck look too long.
Facial Layout Guides
- Draw a straight horizontal line across the center of the head circle to set a guide for when you draw the features.
- Sketch a thin rectangular guide on the right side of the head circle as a guide for the upper jaw.
- For the lower jaw guide, add a slightly narrower rectangular frame directly underneath the top jaw, angling it downward.
Appendage and Tail Placements
- Construct a long angled line under the rear body circle for the first hind leg. Bend this line in the middle for the joints. Then finish the base with a short horizontal mark for the foot and toes.
- Map out the second hind leg farther to the left with an angled line. Keep both leg paths long in comparison to the body.
- Draw a short angled stroke inside the main body circle to serve as a guide for the first arm, and add a brief sloping line on the left side for the second arm.
- Link the head frame to the front body circle with two curved lines to set the neck. Keep the right line shorter than the left line.
- Extend a long, curved line out from the right side of the main body frame for the long tail guide.

Step 2: Draw the Facial Features
Transition from the basic shapes sketch into the definitive line work by layering anatomical structures, organic textures, and precise contours.
Facial Elements and Crest Structure
- Place a small circle near the upper right quadrant of the head guide for the eye. Darken the path when you are satisfied with its position, add a short sloping line across the top for a prominent brow, drop a small pupil dot inside, and add small skin creases surrounding it.
- Flesh out a thick, sloping, horn-like shape above the eye for this dinosaur's iconic bony skull crest. Use rough, jagged lines to produce an organic texture, and add a wavy line to the left for the brow ridge. Create a second pointy crest fragment peeking out from the opposite side.
- Define the upper jaw by turning the rectangular guide into a smooth, organic shape. Create a long wavy curve for the upper lip line that sits further back than the eye, and draw a small curved nostril opening near the front of the snout.
- Create the lower jaw structure using curved strokes along the base guide, framing a long curved line on the far left to define the jaws.
- Line the interior edges of both jaws with sharp, varying triangular shapes for the teeth. Build depth by drawing a second line of teeth on the opposite side of the mouth.
- Finalize the head shape with wavy lines to suggest a hard, rugged bone frame, adding looser skin folds directly on the throat area.

Step 3: Add the Legs
Flesh out the Allosaurus's powerful rear limbs around the angled construction lines.
Hind Leg Construction
- When drawing the first leg, keep the upper thigh wide inside the body and taper the lines dynamically near the joints before finishing with a three-clawed foot frame that features short forward-facing toe segments.
- Form the second leg around the left guide line. Don't draw the upper hip area, which is blocked by the torso. Incorporate muscle definitions along the edges, add a small V-shaped mark higher up on the back for a dewclaw, and cap off the front toes with sharp triangular claws.

Step 4: Add the Arms
Draw the relatively small, three-fingered forelimbs using the initial guidelines.
Forelimb Elements
- Trace the front arm around the guide line, keeping the limb small and slender. Create the elbow bend in the middle and draw three sharp, elongated fingers at the end.
- Follow the same process to define the visible portion of the forearm on the opposite side.

Step 5: Finish the Body and Tail
Complete the main torso structure and the sweeping tail.
Torso and Tail Definition
- Solidify the main torso linework by following the outer limits of the body circles with angular strokes that emphasize heavy muscles. Don't draw lines over the foreground arm and leg.
- Trace the long tail line on the right side. Then add another curve below that that starts thick at the hip base and steadily narrows down to a fine point.

Step 6: Erase Guidelines and Clean Up the Drawing
Gently clear away your initial construction guides with an eraser. Touch up your sketch and redraw any final lines you want to keep.

Step 7: Begin Shading
Coat the dinosaur with a smooth, light- to medium-value graphite base layer, taking note where the light source hits the body.

Step 8: Continue Adding Shading and Details
Add heavy shadow values along the underside of the neck, belly, and tail to create depth. Add some long, wavy lines across throughout to show skin folds.

Step 9: Add a Pattern and Outlines
Scatter tiny curved skin strokes across the torso for a reptilian skin texture, and add dark custom pattern spots or stripes along the back and tail if desired.

Step 10: Add Finishing Touches, and You're Done!
Blend your values smoothly, sharpen any final contours to emphasize the forms, and place a cast shadow on the ground underneath the feet so your Allosaurus Dinosaur doesn't look like it's floating.
Buy My Step-by-Step Art Books on Amazon!
If you enjoyed drawing with me and want to expand your artistic skills, please consider checking out my step-by-step drawing books on Amazon! My books break down a wide variety of animals into simple geometric shapes, making it easy and fun for artists of any skill level to follow along. Every purchase directly helps support this site so I can keep creating high-quality, free tutorials for the art community.
Click Here to Order Your Copy Today!
Thanks for visiting! Subscribe to the How2DrawAnimals YouTube Channel for new tutorials every week.
And to learn how to draw cartoons, visit EasyDrawingTutorials.com.
RELATED TUTORIALS
|
|
|