







Use the step-by-step instructions below to learn how to draw a Cheetah. Follow along with the video, or use the images in this article. By the end of this tutorial, even beginners will have a completed drawing of this amazing big cat!
Love drawing? Keep your artistic streak going and enjoy more free art lessons by:
- Bookmarking the How2DrawAnimals.com homepage for updates
- Subscribing to the How2DrawAnimals YouTube channel
- Visiting EasyDrawingTutorials.com for tons of free cartoon tutorials
This page contains affiliate links. If you choose to purchase through these links, I earn a small commission at no extra cost to you.
RELATED TUTORIALS
 |
 |
 |
To draw this animal step by step, follow along with the video tutorial below and pause the video after each step to go at your own pace. You may find it easier to follow the step-by-step images below the video. You may want to open the video in a new tab and use both drawing methods. Take your time and create art at your own pace.
Materials You'll NeedBefore starting, gather these basic drawing supplies from Blick Art Materials. |
||
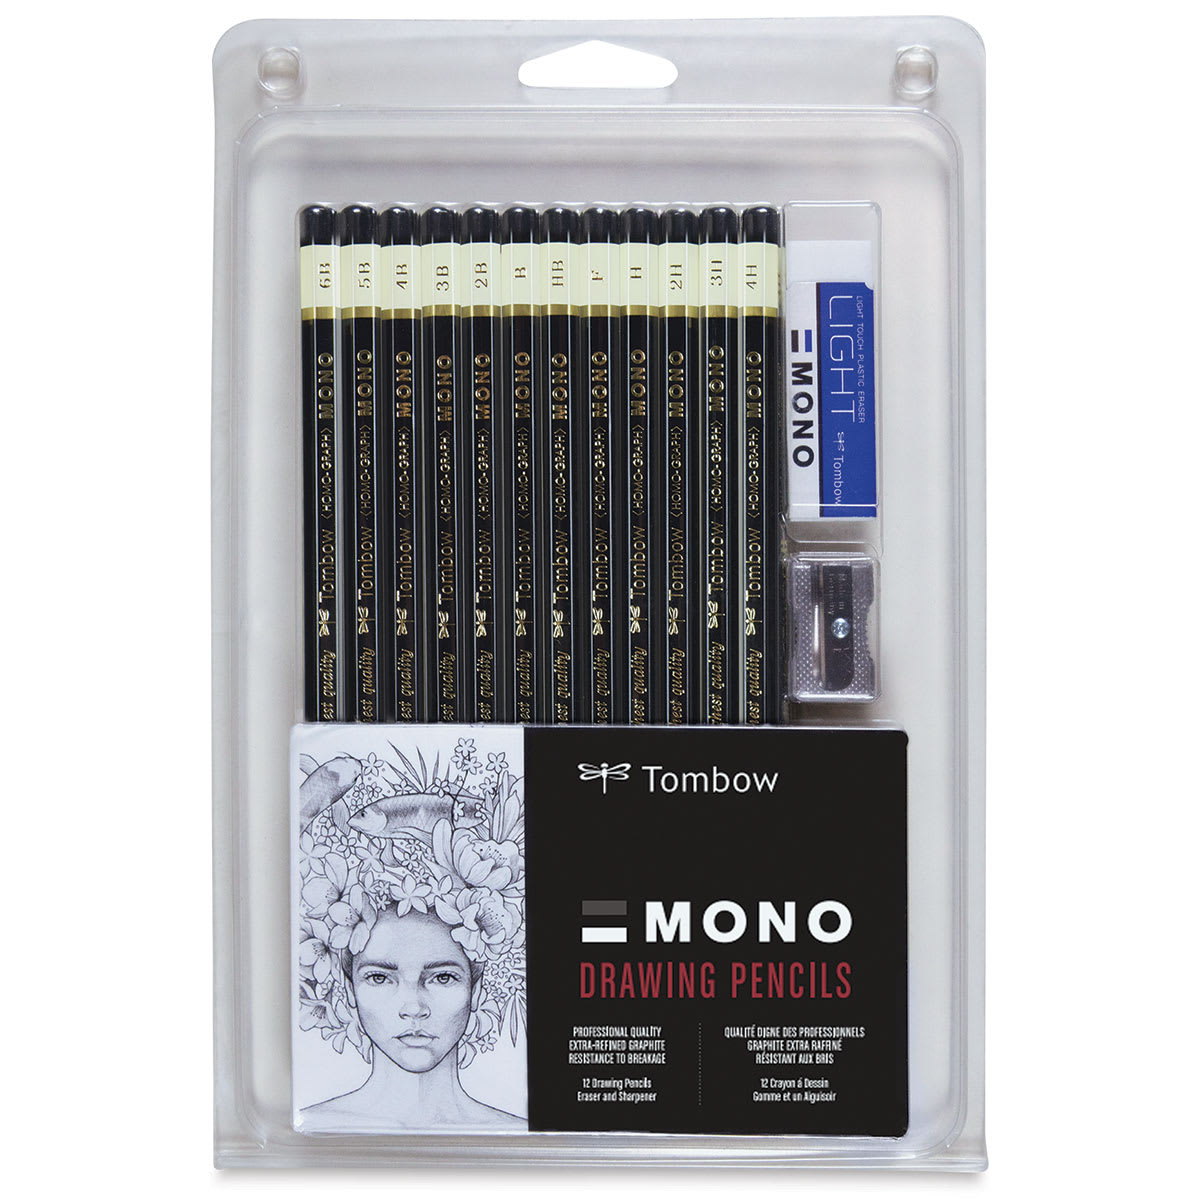 (an HB lead pencil is best for light sketches) |
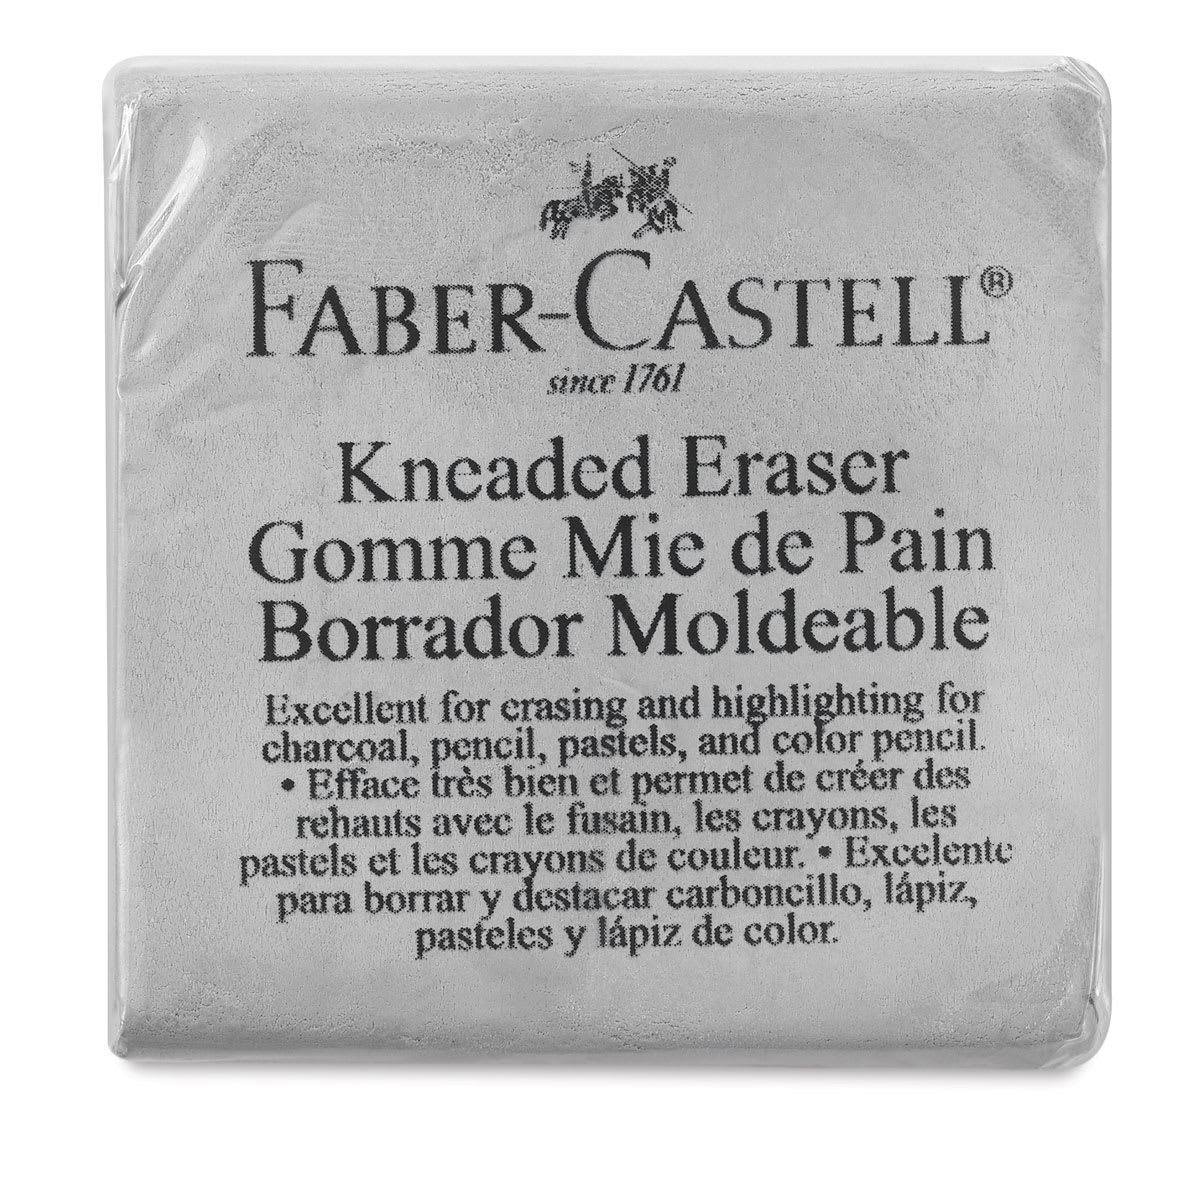 |
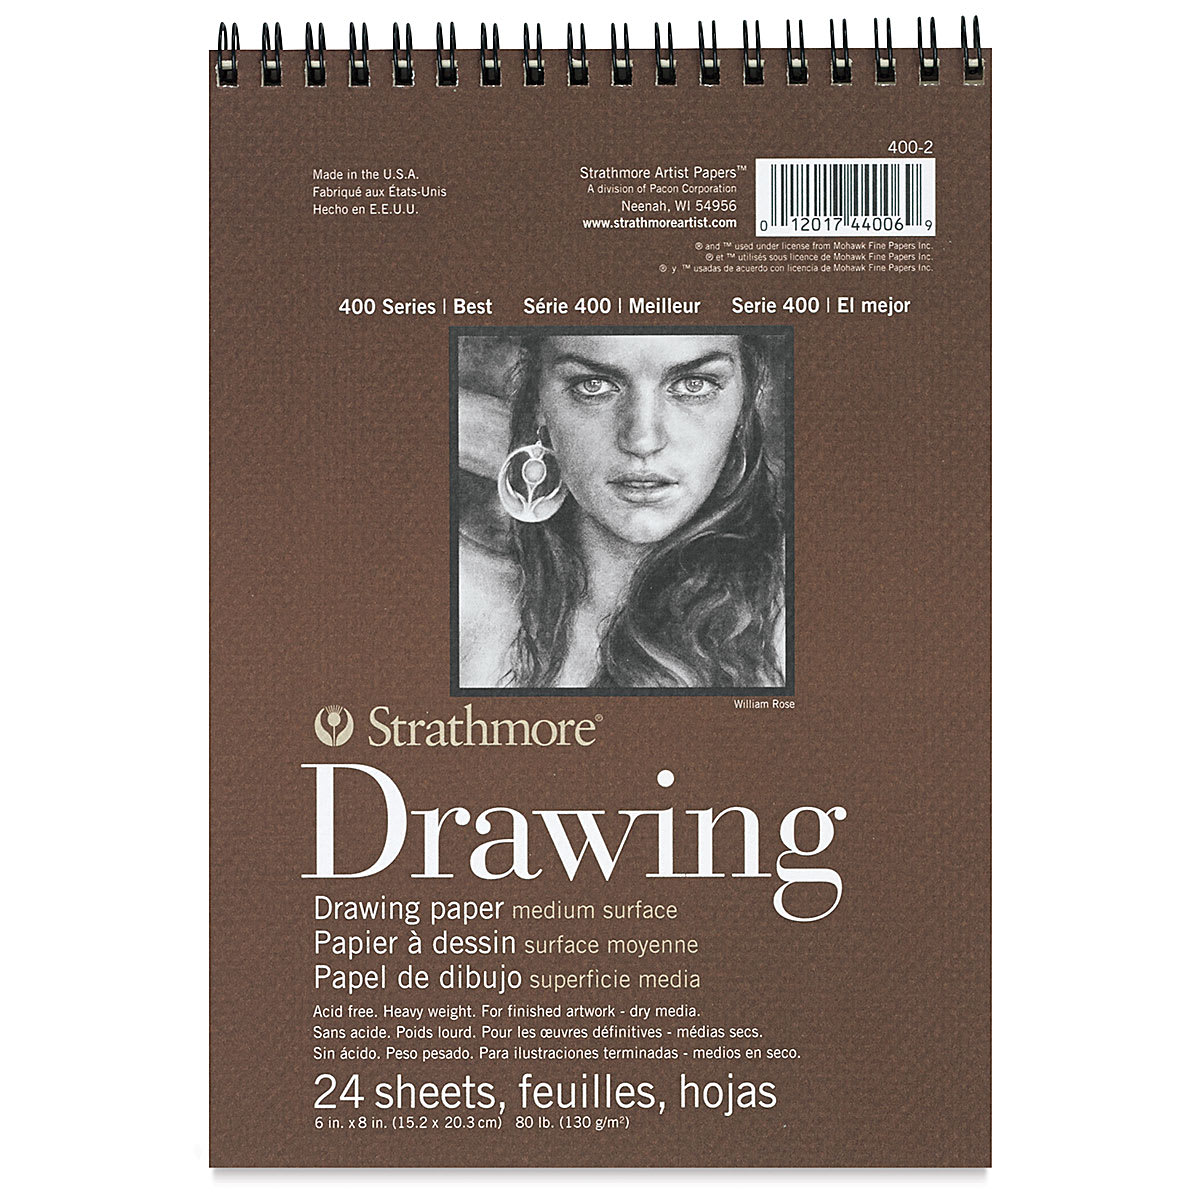 |
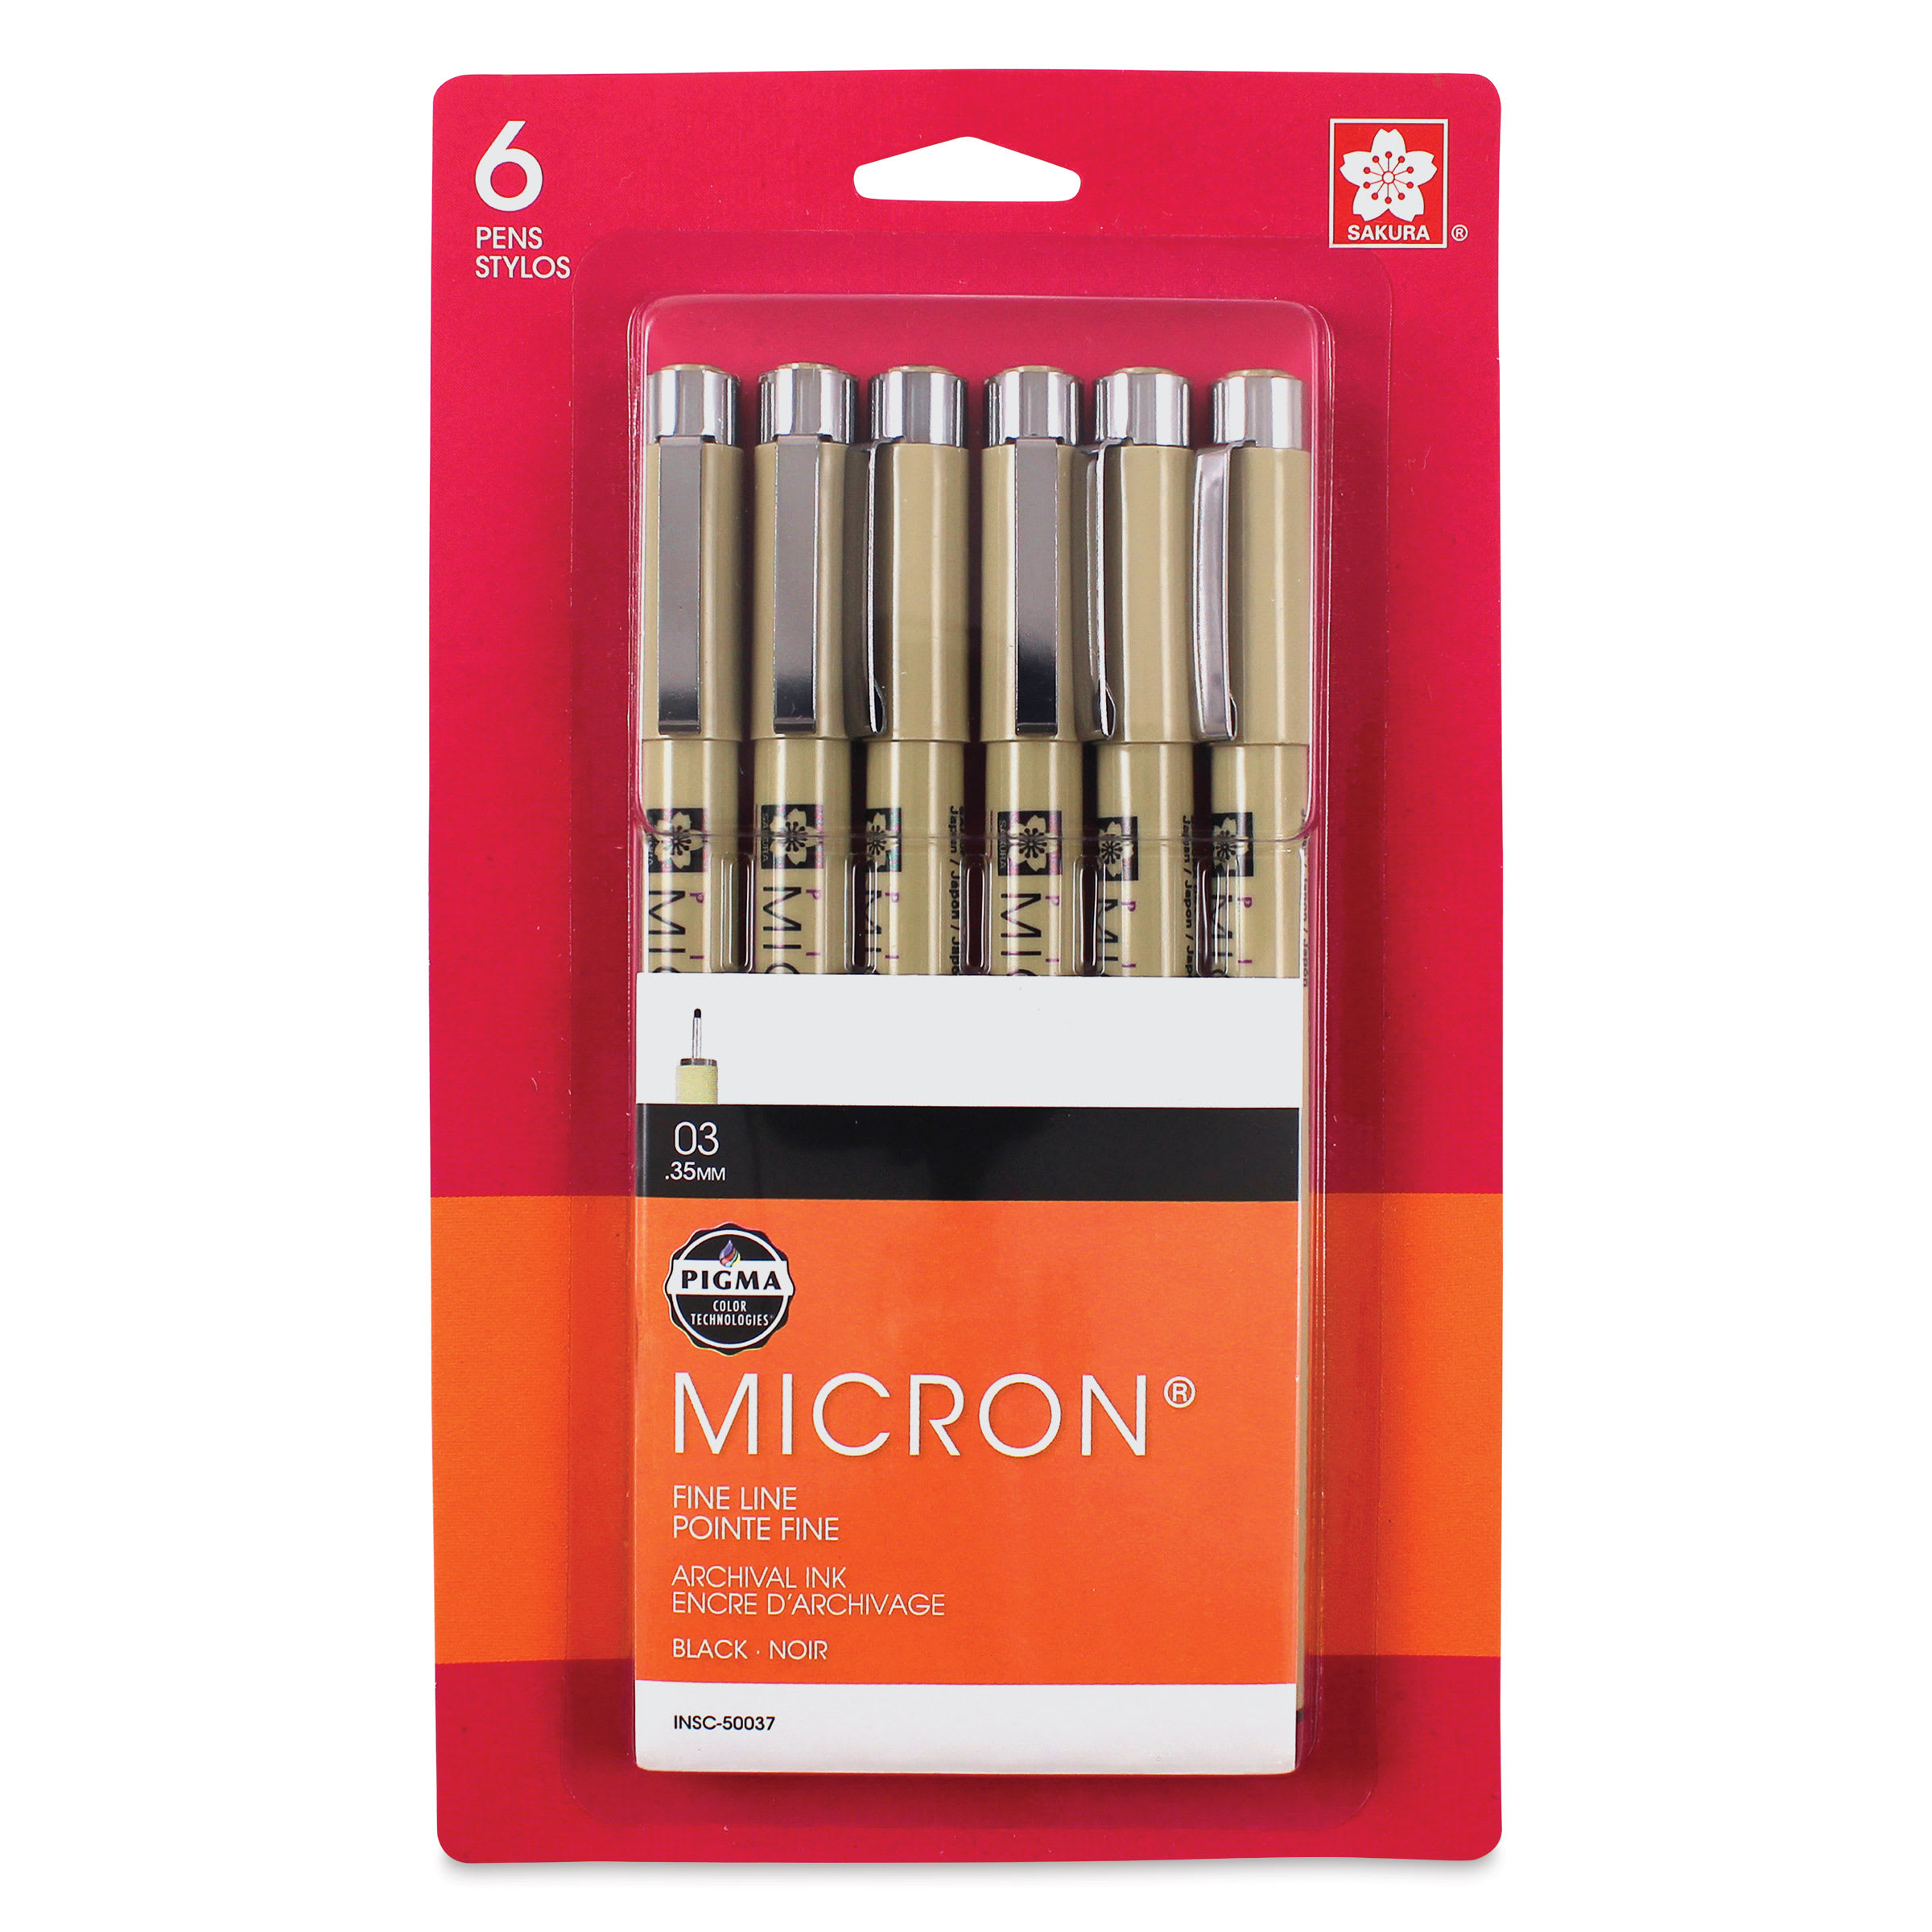 (or Fine-Line Marker) |
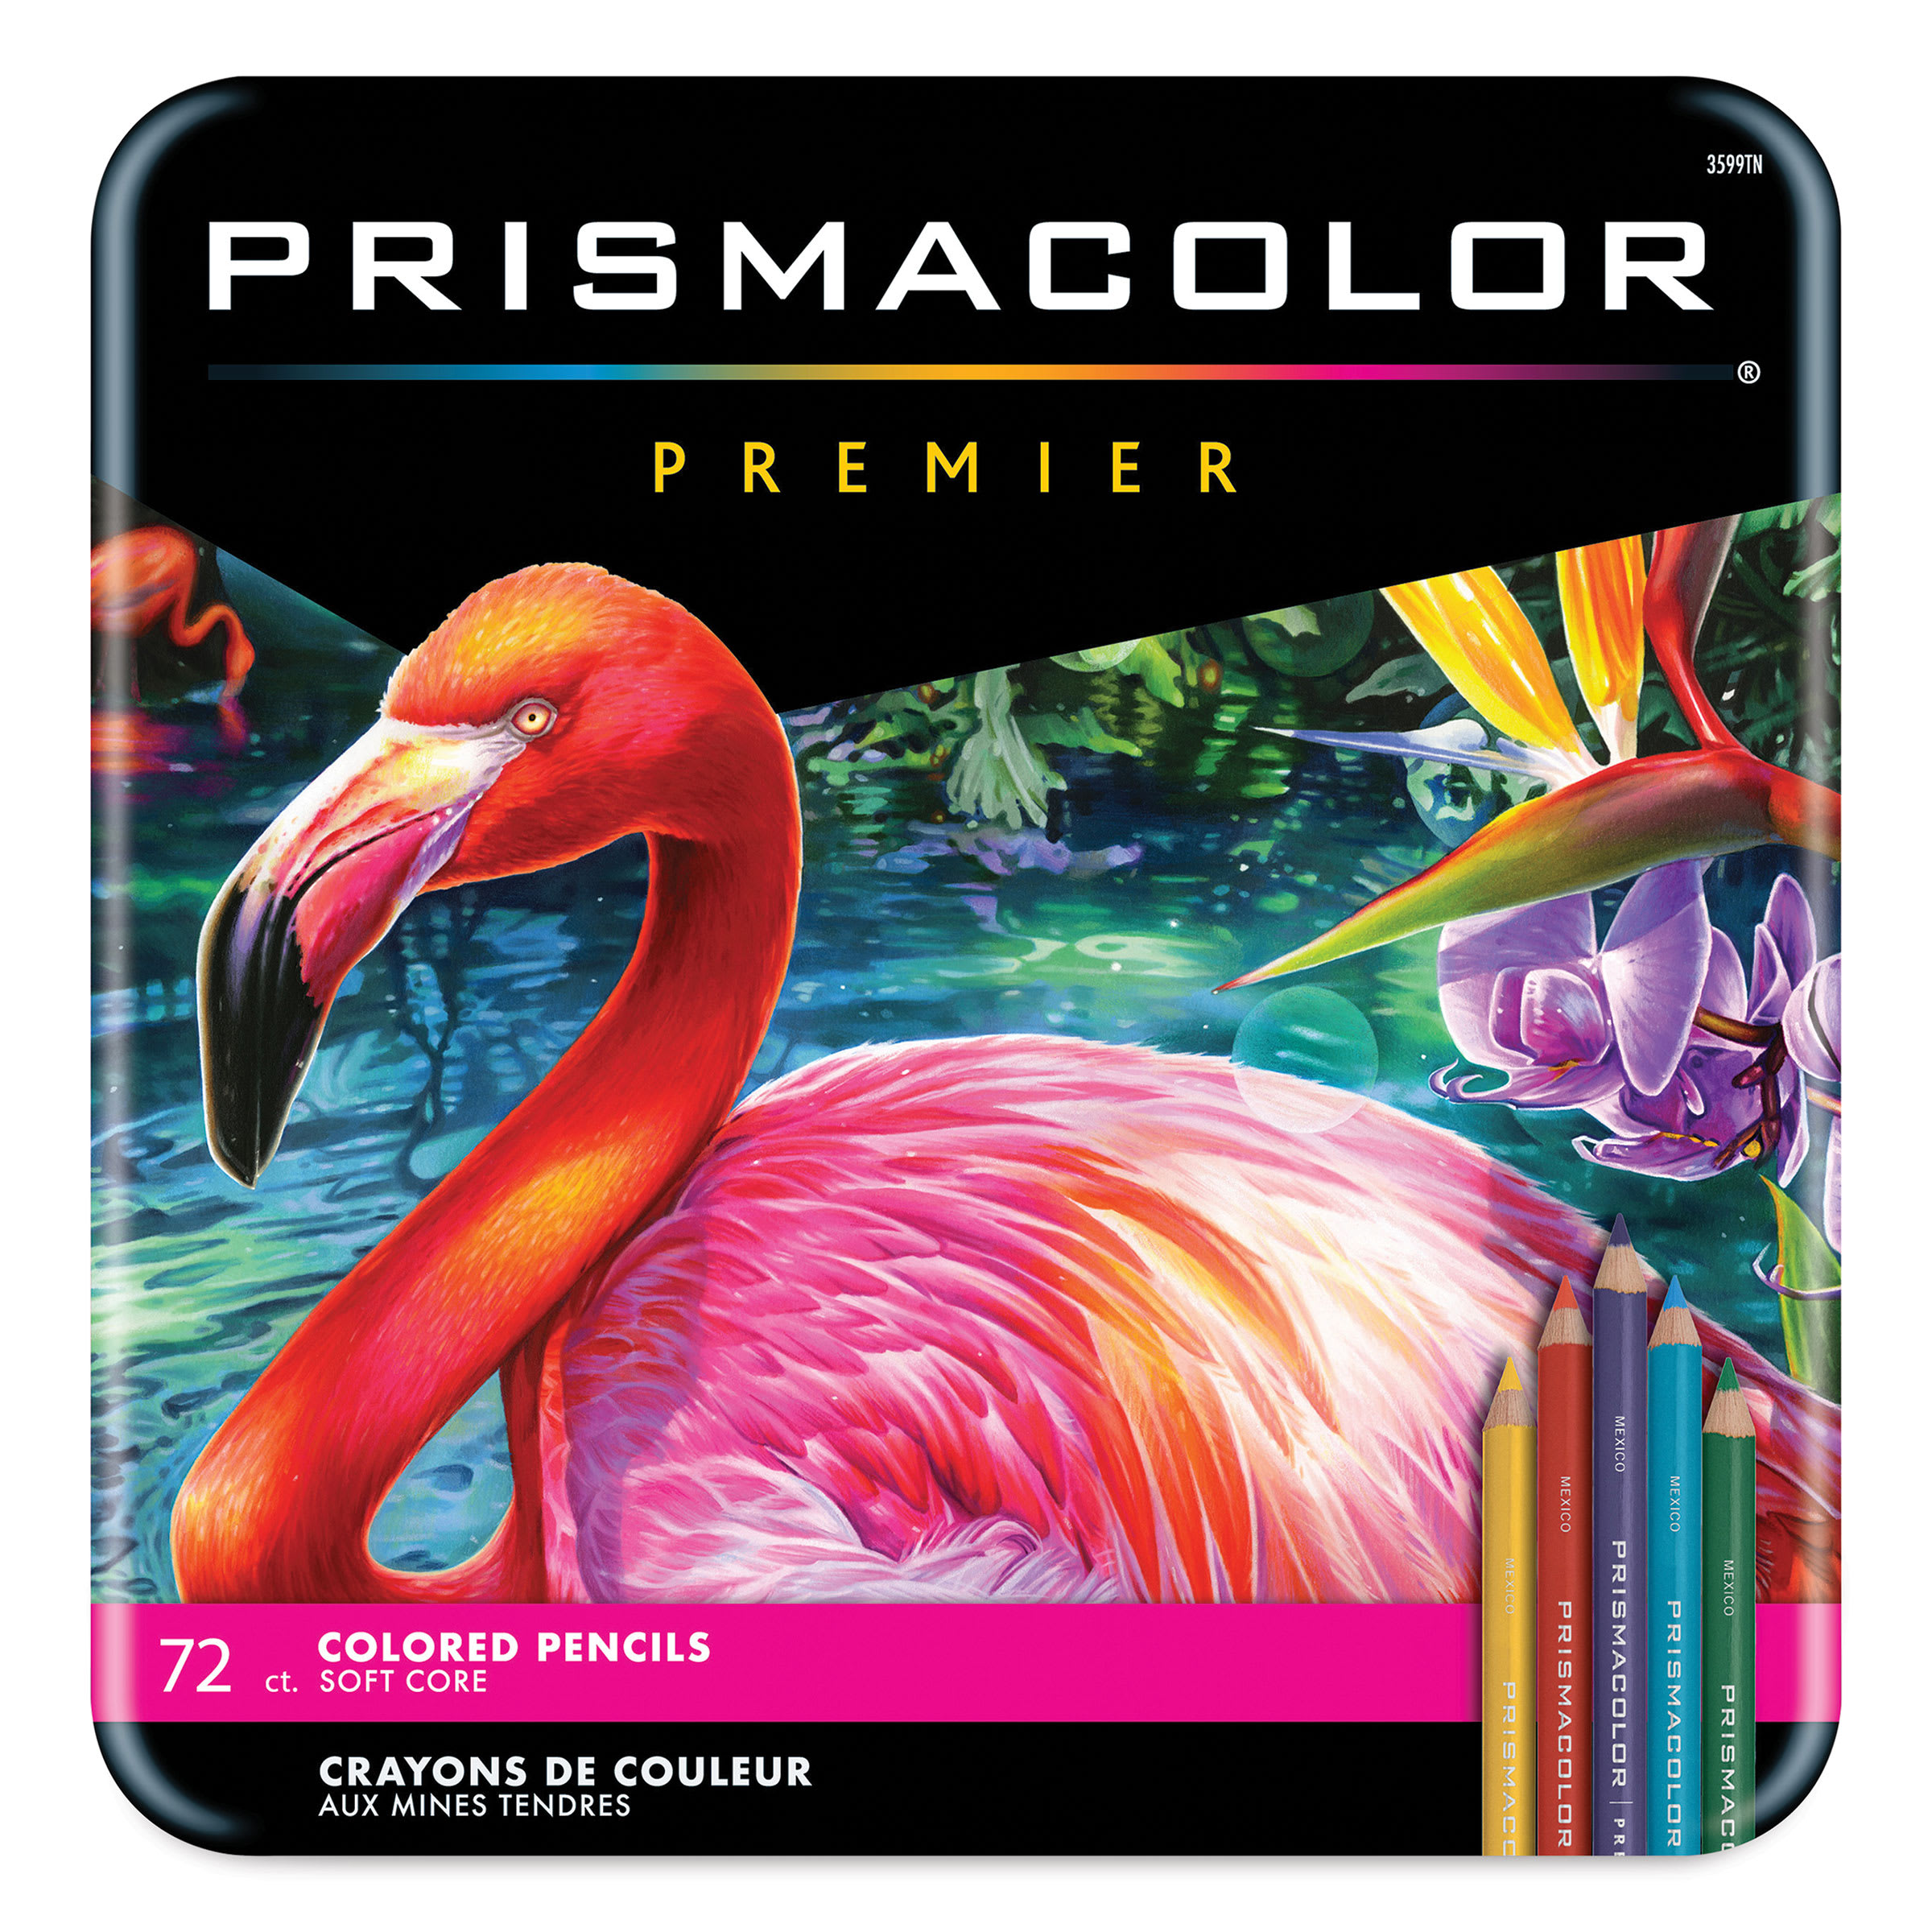 (or Markers) |
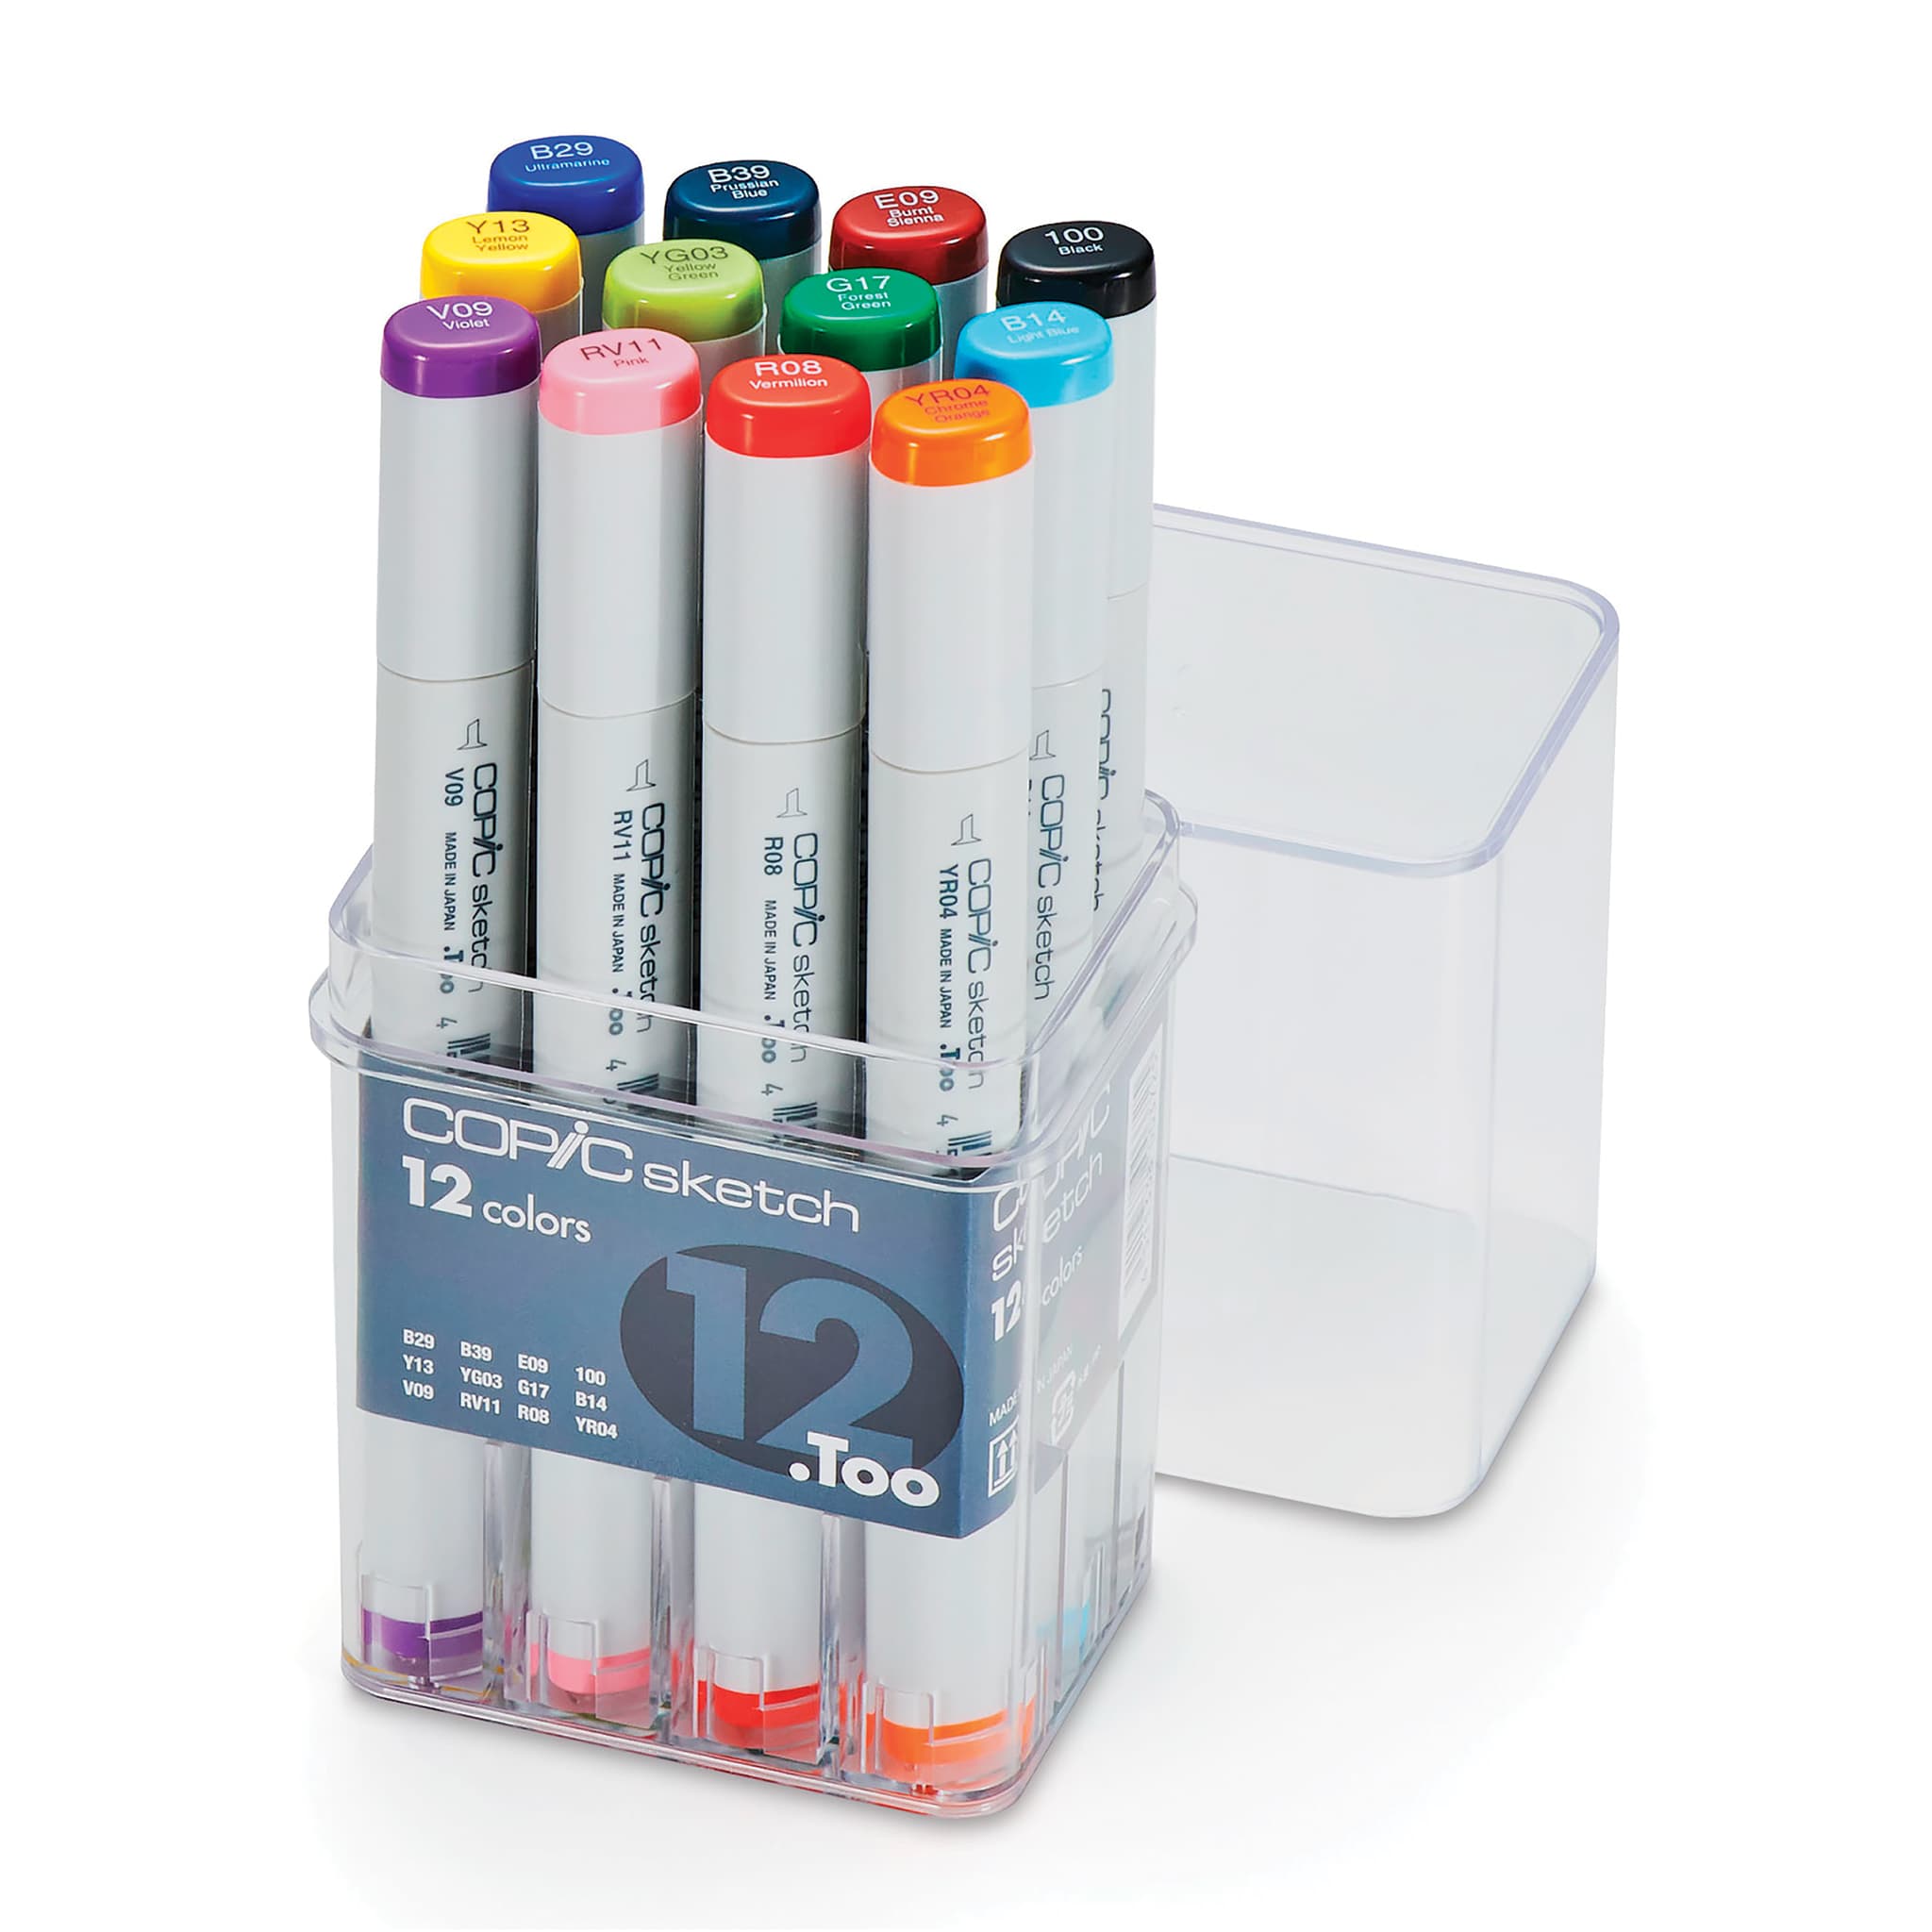 (or Colored Pencils) |

Step 1: Guideline Sketch
Start by drawing a circle as a guide for the front part of the body. An easy way to draw a circle is to first make a couple of small marks to indicate the circle's height. And then on the sides, make a couple more small marks to indicate the circle's width. Then just connect the marks using curved lines to finish the shape of the circle. You don't have to draw a perfect circle, but if you're having trouble drawing one, just trace the outer edge of a bottle cap, a lid, or anything else with a circular edge.
Head and Muzzle Construction
- Head Circle: Above the body guide, draw another circle for the head using the same four-marks method. Make the head circle about half the size of the body circle, sketching lightly so it is easy to erase if you make a mistake.
- Construction Lines: Draw a horizontal line across the middle of the head circle and a curved vertical line on the top left side as structural alignment guides.
- Muzzle and Ears: On the bottom left side of the head, draw a smaller circle for the muzzle directly beneath the vertical guide. Top the head with two small arcs for the ears, making the right arc slightly larger to account for now the head is turned.
Neck and Leg Guidelines
- Neck Guide: Connect the head to the body using two sloping lines that widen out at the bottom.
- Front Legs: On the bottom right side of the body circle, draw a long angled line for the first front leg. Curve a line up and to the right from its tip for the foot. On the left side of the body circle, draw another angled line for the second front leg, curving its foot up and to the left.
- Hind Legs: To the left, sketch a long horizontal line for the first hind leg, then a slightly higher line to widen its shape. Further up and to the left, sketch a longer sloping line and a final lower horizontal line to form the guide for the second hind leg.

Step 2: Facial Features
Inside the head, lightly sketch two small circles for the eyes resting on top of the horizontal guide line. Once positioned correctly on either side of the vertical guide, darken the lines. Create a half-closed look on the right eye with a straight horizontal line over the top. For the turned left eye, make it thinner by using a straight line for the top and right sides, a curved line for the bottom, and a few short lines at the inner corner. Place dots in the center for pupils next to tiny circles for highlights.
Nose, Mouth, and Tear Stripes
- Nose and Muzzle: Sketch a small triangle inside the muzzle near the left edge. Darken it with a wavy top line and short curved lines for nostrils, tapering the bottom into a thin point. Sketch a line curling right for the mouth to touch the circle's edge, add a shorter line on the left, and darken the muzzle edge up toward the left eye. Add texture to the chin below using short, angled strokes to make it look furry.
- Tear Markings: Draw a distinctive long, curved line from the right eye down to the corner of the mouth. Add a parallel line to widen this marking and texture it with broken, furry strokes.
- Ears and Contour: Darken the ear arcs, detailing the inside with short angled lines for fur and adding wavy lines for structure on the right ear. Darken the final head shape, flattening the top of the crown. Bring the brow line inward at the left eye, and add the lower right part of the head using short, fine strokes.

Step 3: Front Legs
Move down to the bottom right leg guide to render the first front leg. Curve the lines around your initial guide lines to create realistic-looking muscles. Define the inner upper edge of the leg with short, angled fur strokes. At the tip of the foot, sketch small curved lines to separate individual toes. Make the paw round. Cap each toe with a small, sharp triangular shape for the cheetah's claws. Complete the second front leg on the left the same way.

Step 4: Hind Legs
Use the thin rectangular guidelines on the left to draw the hind legs. Start with the leg on the bottom using soft and more curved lines than the guide. Make sure the tip of the foot is more round than your original guide. Add the toes at the end and a tiny, clean triangle on each toe for the claws. Repeat this process for the top outstretched leg.

Step 5: Torso and Tail Contours
Finish up the sketch by finishing the torso. Use smooth lines along the left side and back and short strokes on the right for the furry texture. Make the belly slightly wider than your initial body circle, and draw a smooth curved line up the left side to finish the hindquarters. On the far left, lightly sketch a long curved shape for the tail. When you're happy with the shape, darken the tail using short strokes and jagged angled breaks to mimic thick fur.

Step 6: Inking and Cleaning Up Your Sketch
With your complete pencil sketch finished, trace over the final linework slowly and precisely using a permanent black ink pen or marker. Be careful to only trace final lines and avoid inking over any of the initial guidelines that shouldn't appear in the final drawing. At the bottom, where the cheetah meets the ground, use a series of short, vertical lines to simulate realistic grass. Allow the ink a few minutes to fully set and dry, and then use an eraser to gently wipe away all underlying pencil marks.

Step 7: Base Coating and Shadows
Now it is time to bring your wild cat to life with color! Grab your markers or colored pencils and begin laying down a smooth, light base coat of color across the main body. Be sure to leave the lower half of the muzzle, jawline, and chest white for the cheetah's white fur. To create realistic depth and structural volume, switch to a soft gray and a hint of light blue to work in subtle shadows along the underbelly, neck, and behind the legs.

Step 8: Inking the Distinctive Spots
Switch to a rich black for the cheetah's nose and the long tear stripes down the face. Take your time when adding cheetah's iconic spots across its entire coat. Make sure these spots are rendered as organic, irregular shapes and not perfect circles. Keep the spots small on the face and head, and don't add any spots inside the in the muzzle zone. Have the shapes grow larger as you scatter them across the main torso and limbs.

Step 9: Tail Rings and Final Details
Continue your black pattern work. On the tail, create thick, solid parallel stripes. Once the coat markings are set, fill in both eyes with a striking red shade. To ground the scene, apply a mixture of warm yellows and rich browns to color the dry grass at the bottom. Go over your primary outlines with your ink pen one final time to make the silhouette pop, and add clusters of fine interior strokes to give the final coat a soft, realistic texture.

Remember that drawing and coloring can be a slow, deliberate process. Stay patient, take breaks when needed, and keep working until you are completely satisfied with your drawing!
Buy My Step-by-Step Art Books on Amazon!
If you enjoyed drawing with me and want to expand your artistic skills, please consider checking out my step-by-step drawing books on Amazon! My books break down a wide variety of animals into simple geometric shapes, making it easy and fun for artists of any skill level to follow along. Every purchase directly helps support this site so I can keep creating high-quality, free tutorials for the art community.
Click Here to Order Your Copy Today!
This is an Amazon affiliate link. If you choose to purchase through this link, I earn a small commission at no extra cost to you.

Thanks for visiting! Subscribe to the How2DrawAnimals YouTube Channel for new tutorials every week.
And to learn how to draw cartoons, visit EasyDrawingTutorials.com.
RELATED TUTORIALS
|
|
|