







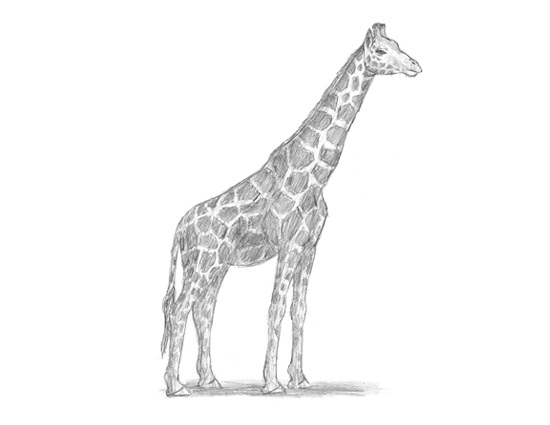
Use the step-by-step instructions below to learn how to draw a Giraffe. Follow along with the video, or use the images in this article. By the end of this tutorial, even beginners will have a completed drawing of this amazing animal!
Love drawing? Keep your artistic streak going and enjoy more free art lessons by:
- Bookmarking the How2DrawAnimals.com homepage for updates
- Subscribing to the How2DrawAnimals YouTube channel
- Visiting EasyDrawingTutorials.com for tons of free cartoon tutorials
This page contains affiliate links. If you choose to purchase through these links, I earn a small commission at no extra cost to you.
RELATED TUTORIALS
 |
 |
 |
To draw this giraffe step by step, follow along with the video tutorial below and pause the video after each step to go at your own pace. You may find it easier to follow the step-by-step images below the video. You may want to open the video in a new tab and use both drawing methods. Take your time and create art at your own pace.
Materials You'll NeedBefore starting, gather these basic drawing supplies from Dick Blick. |
||
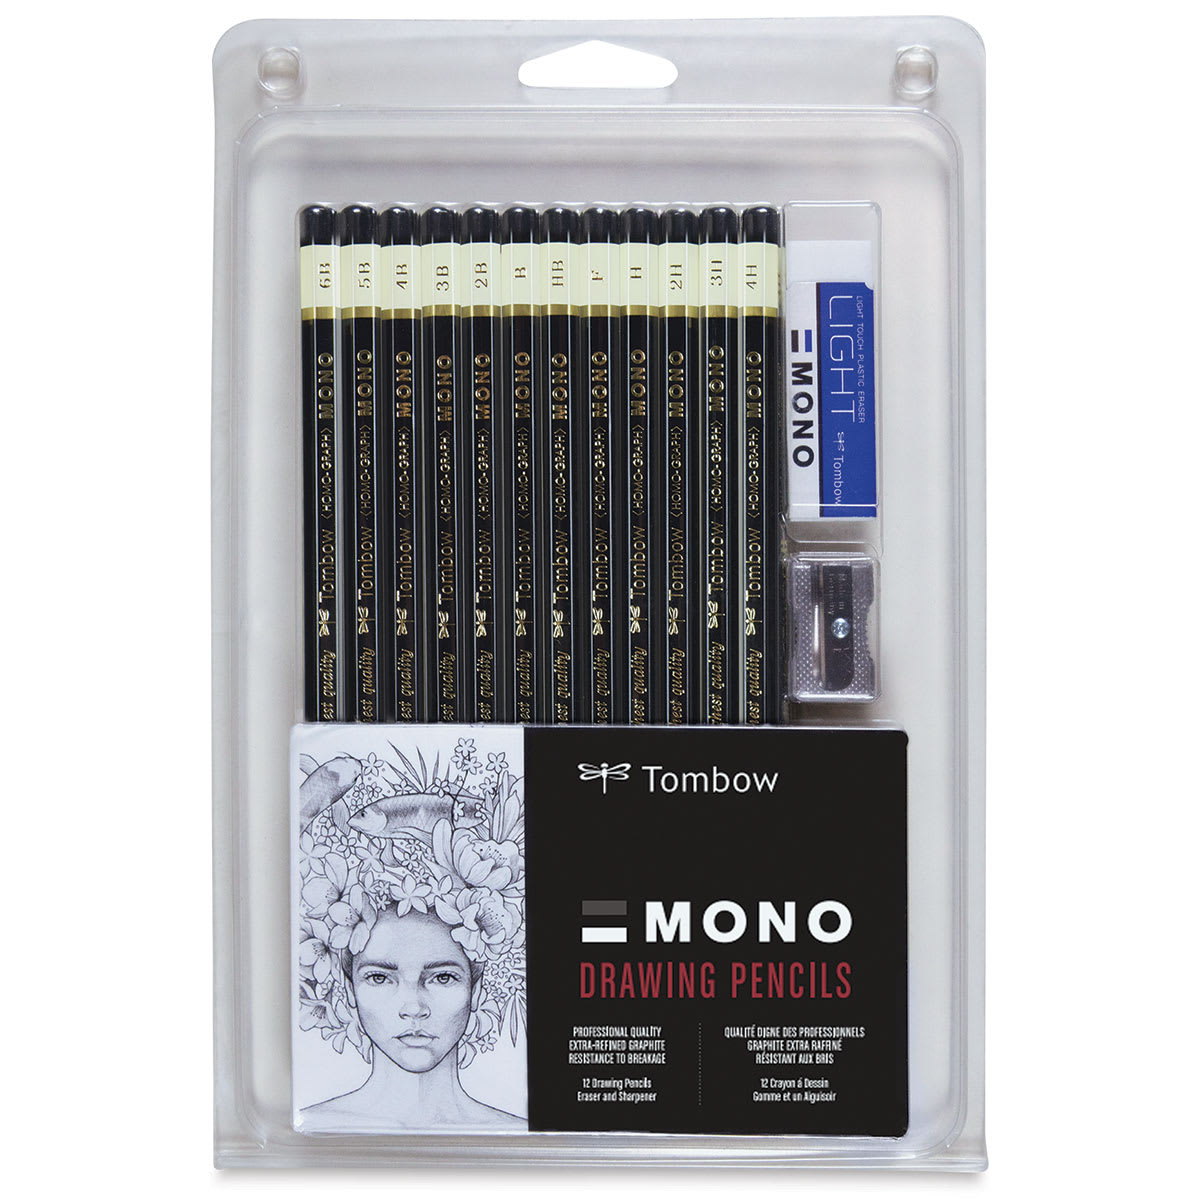 (an HB lead pencil is best for light sketches) |
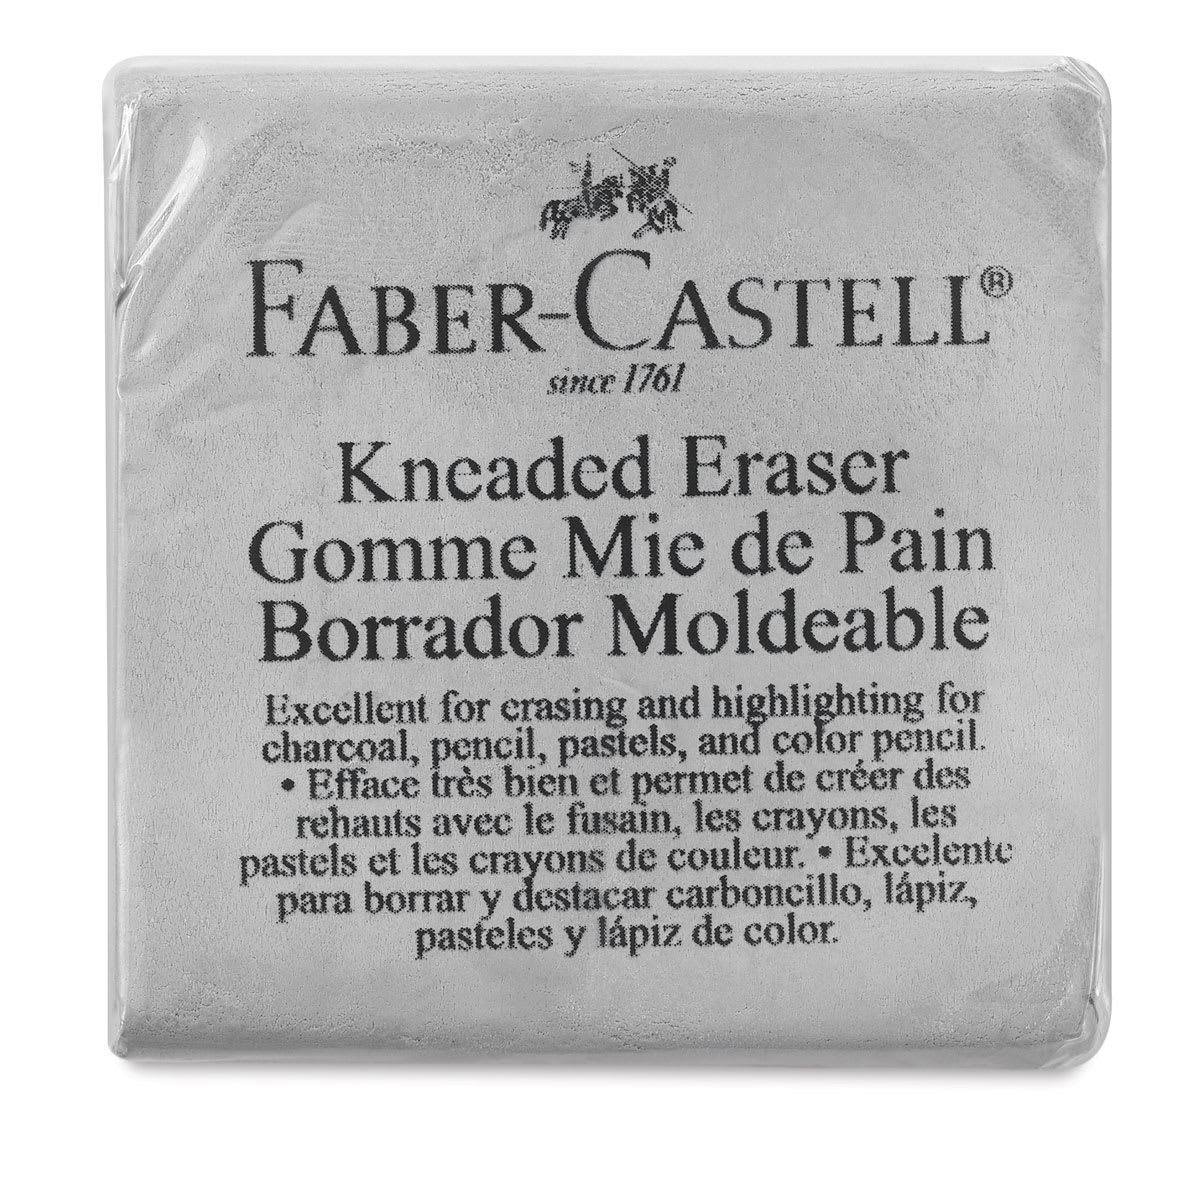 |
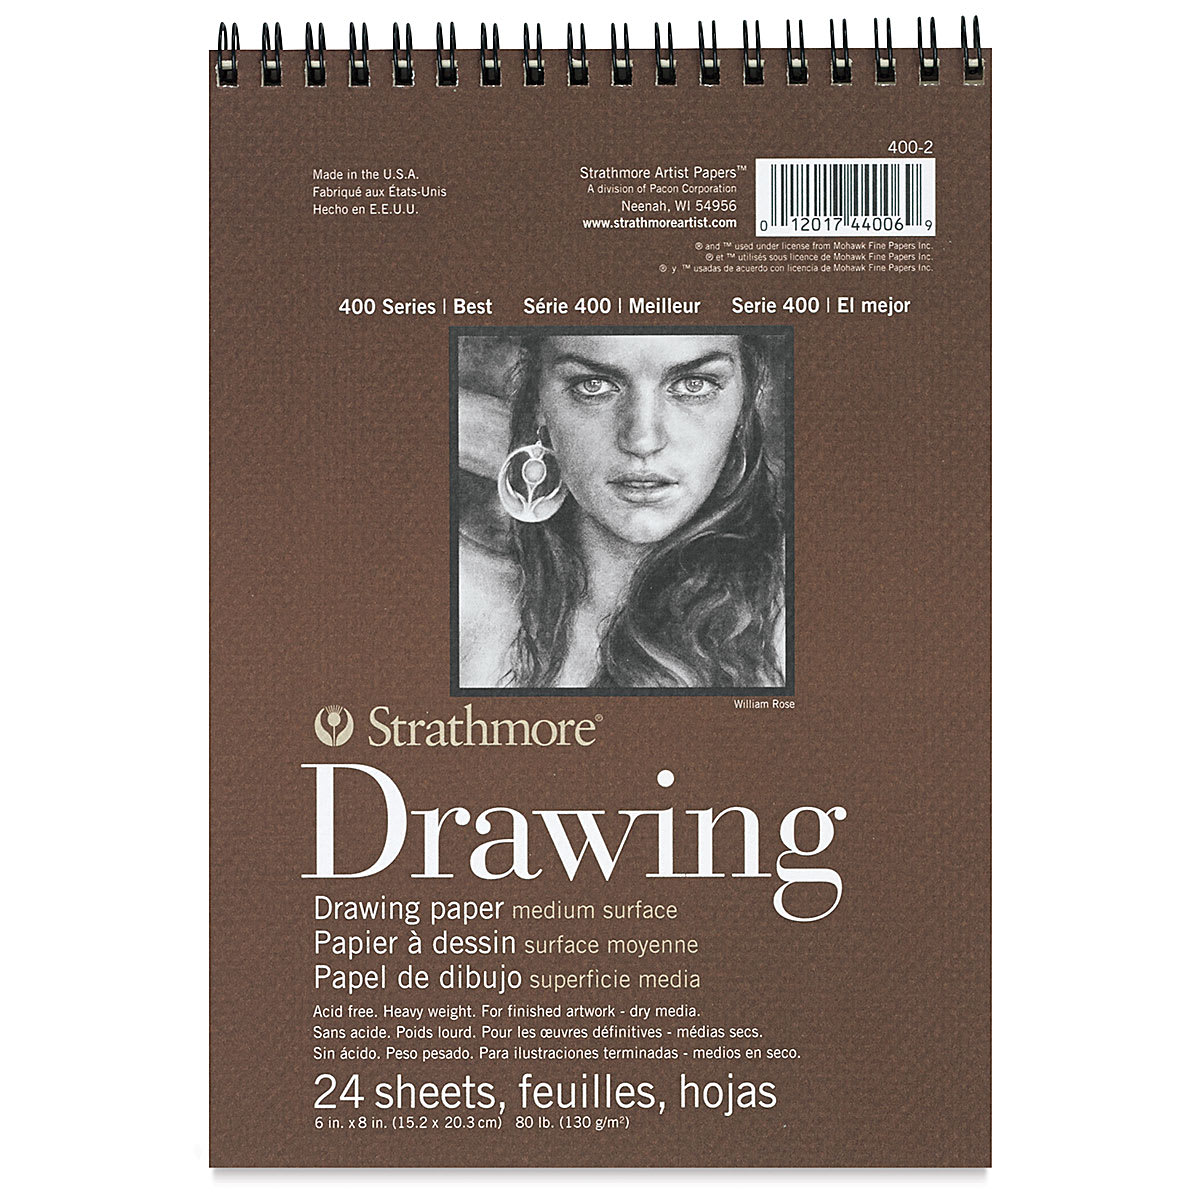 |
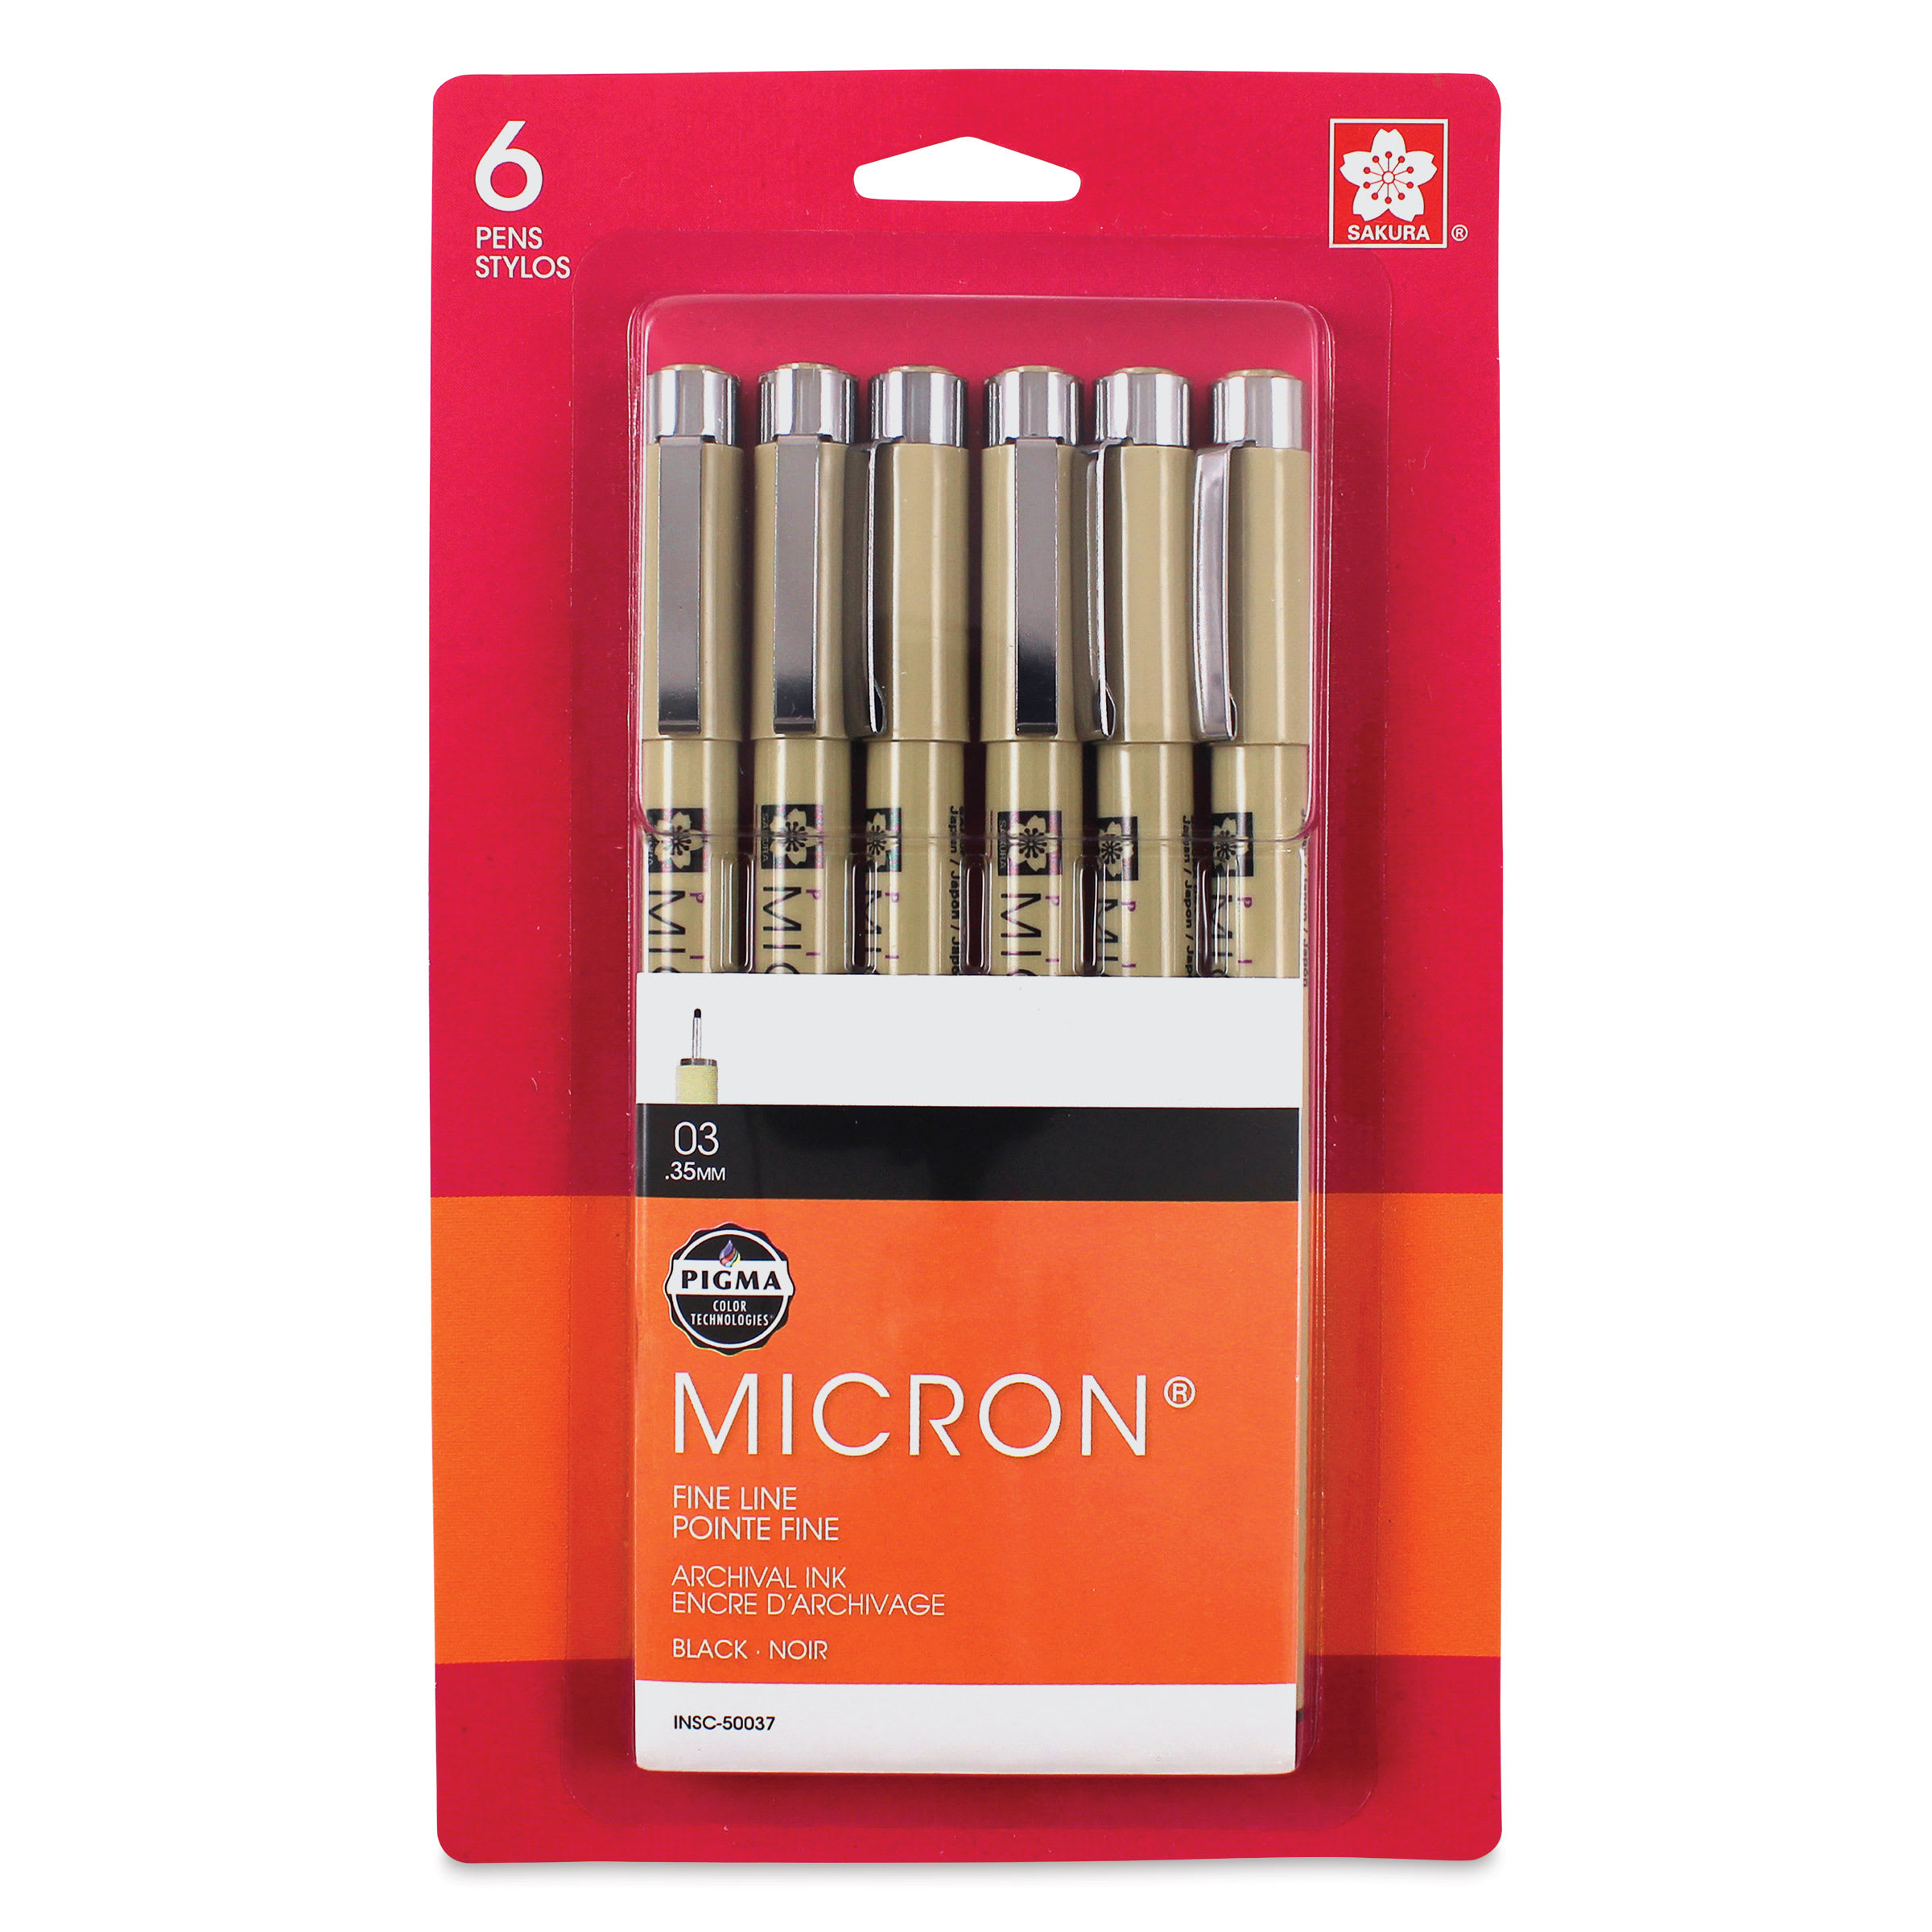 (or Fine-Line Marker) |
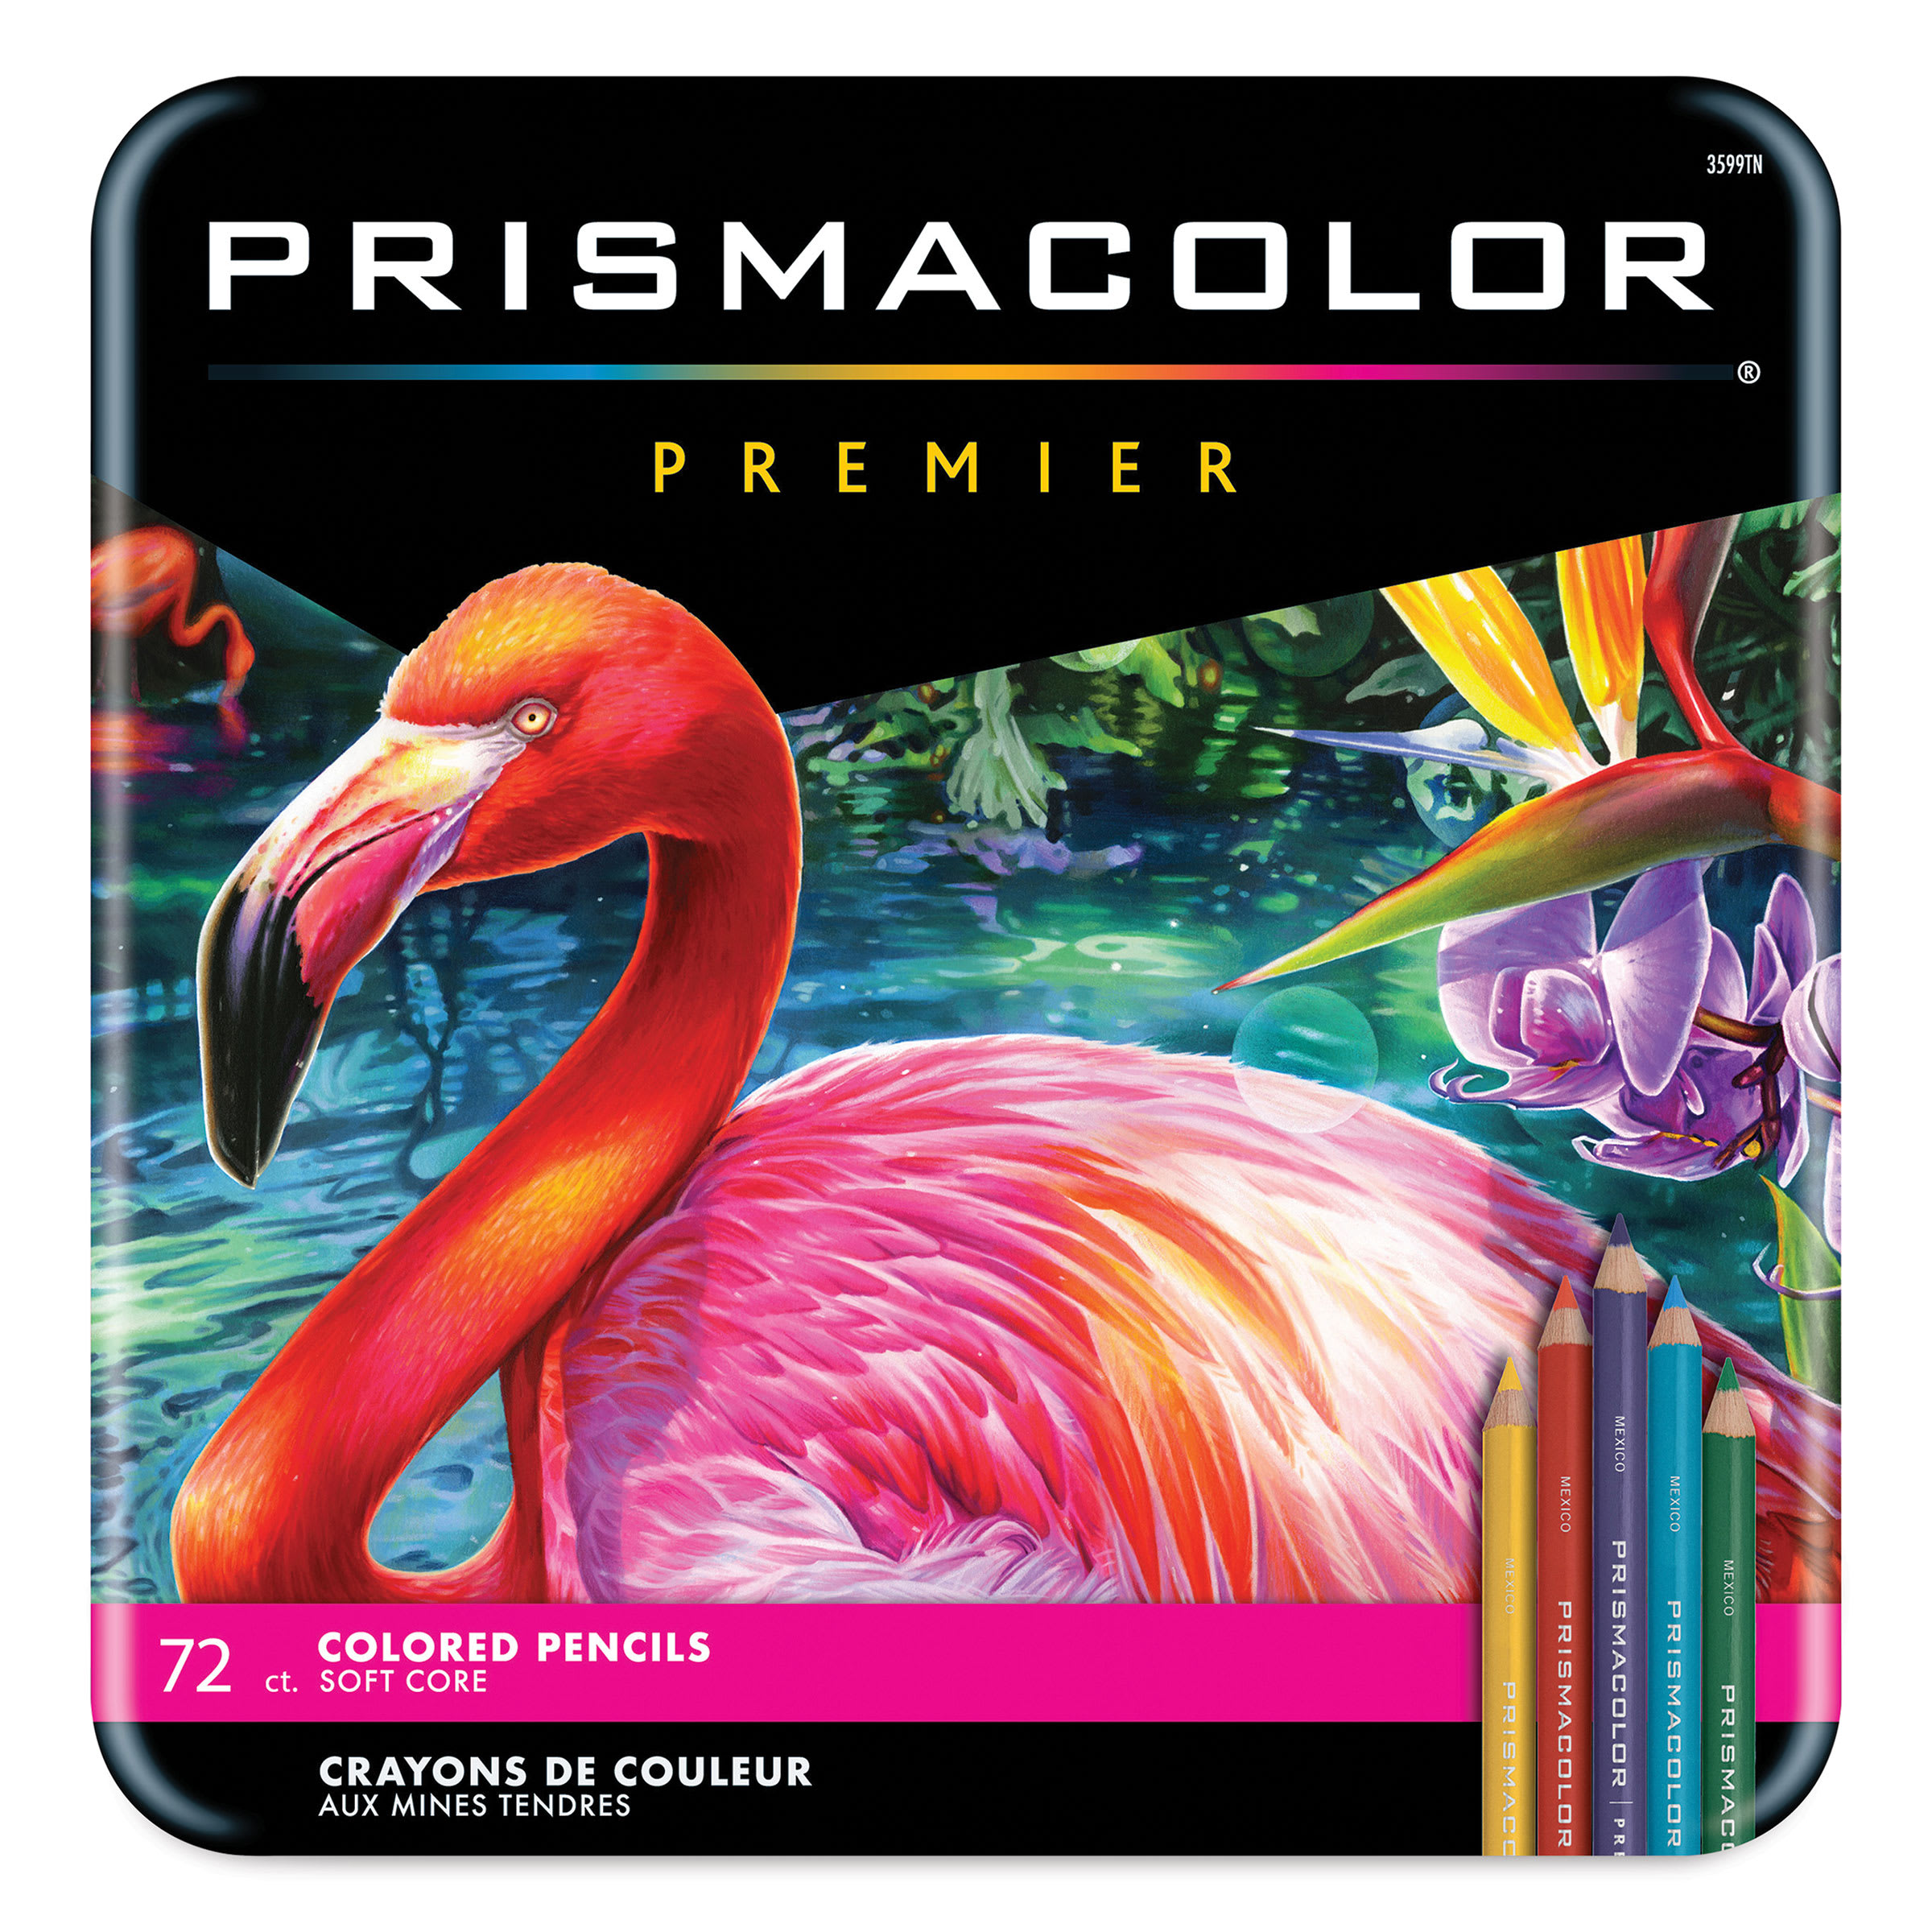 (or Markers) |
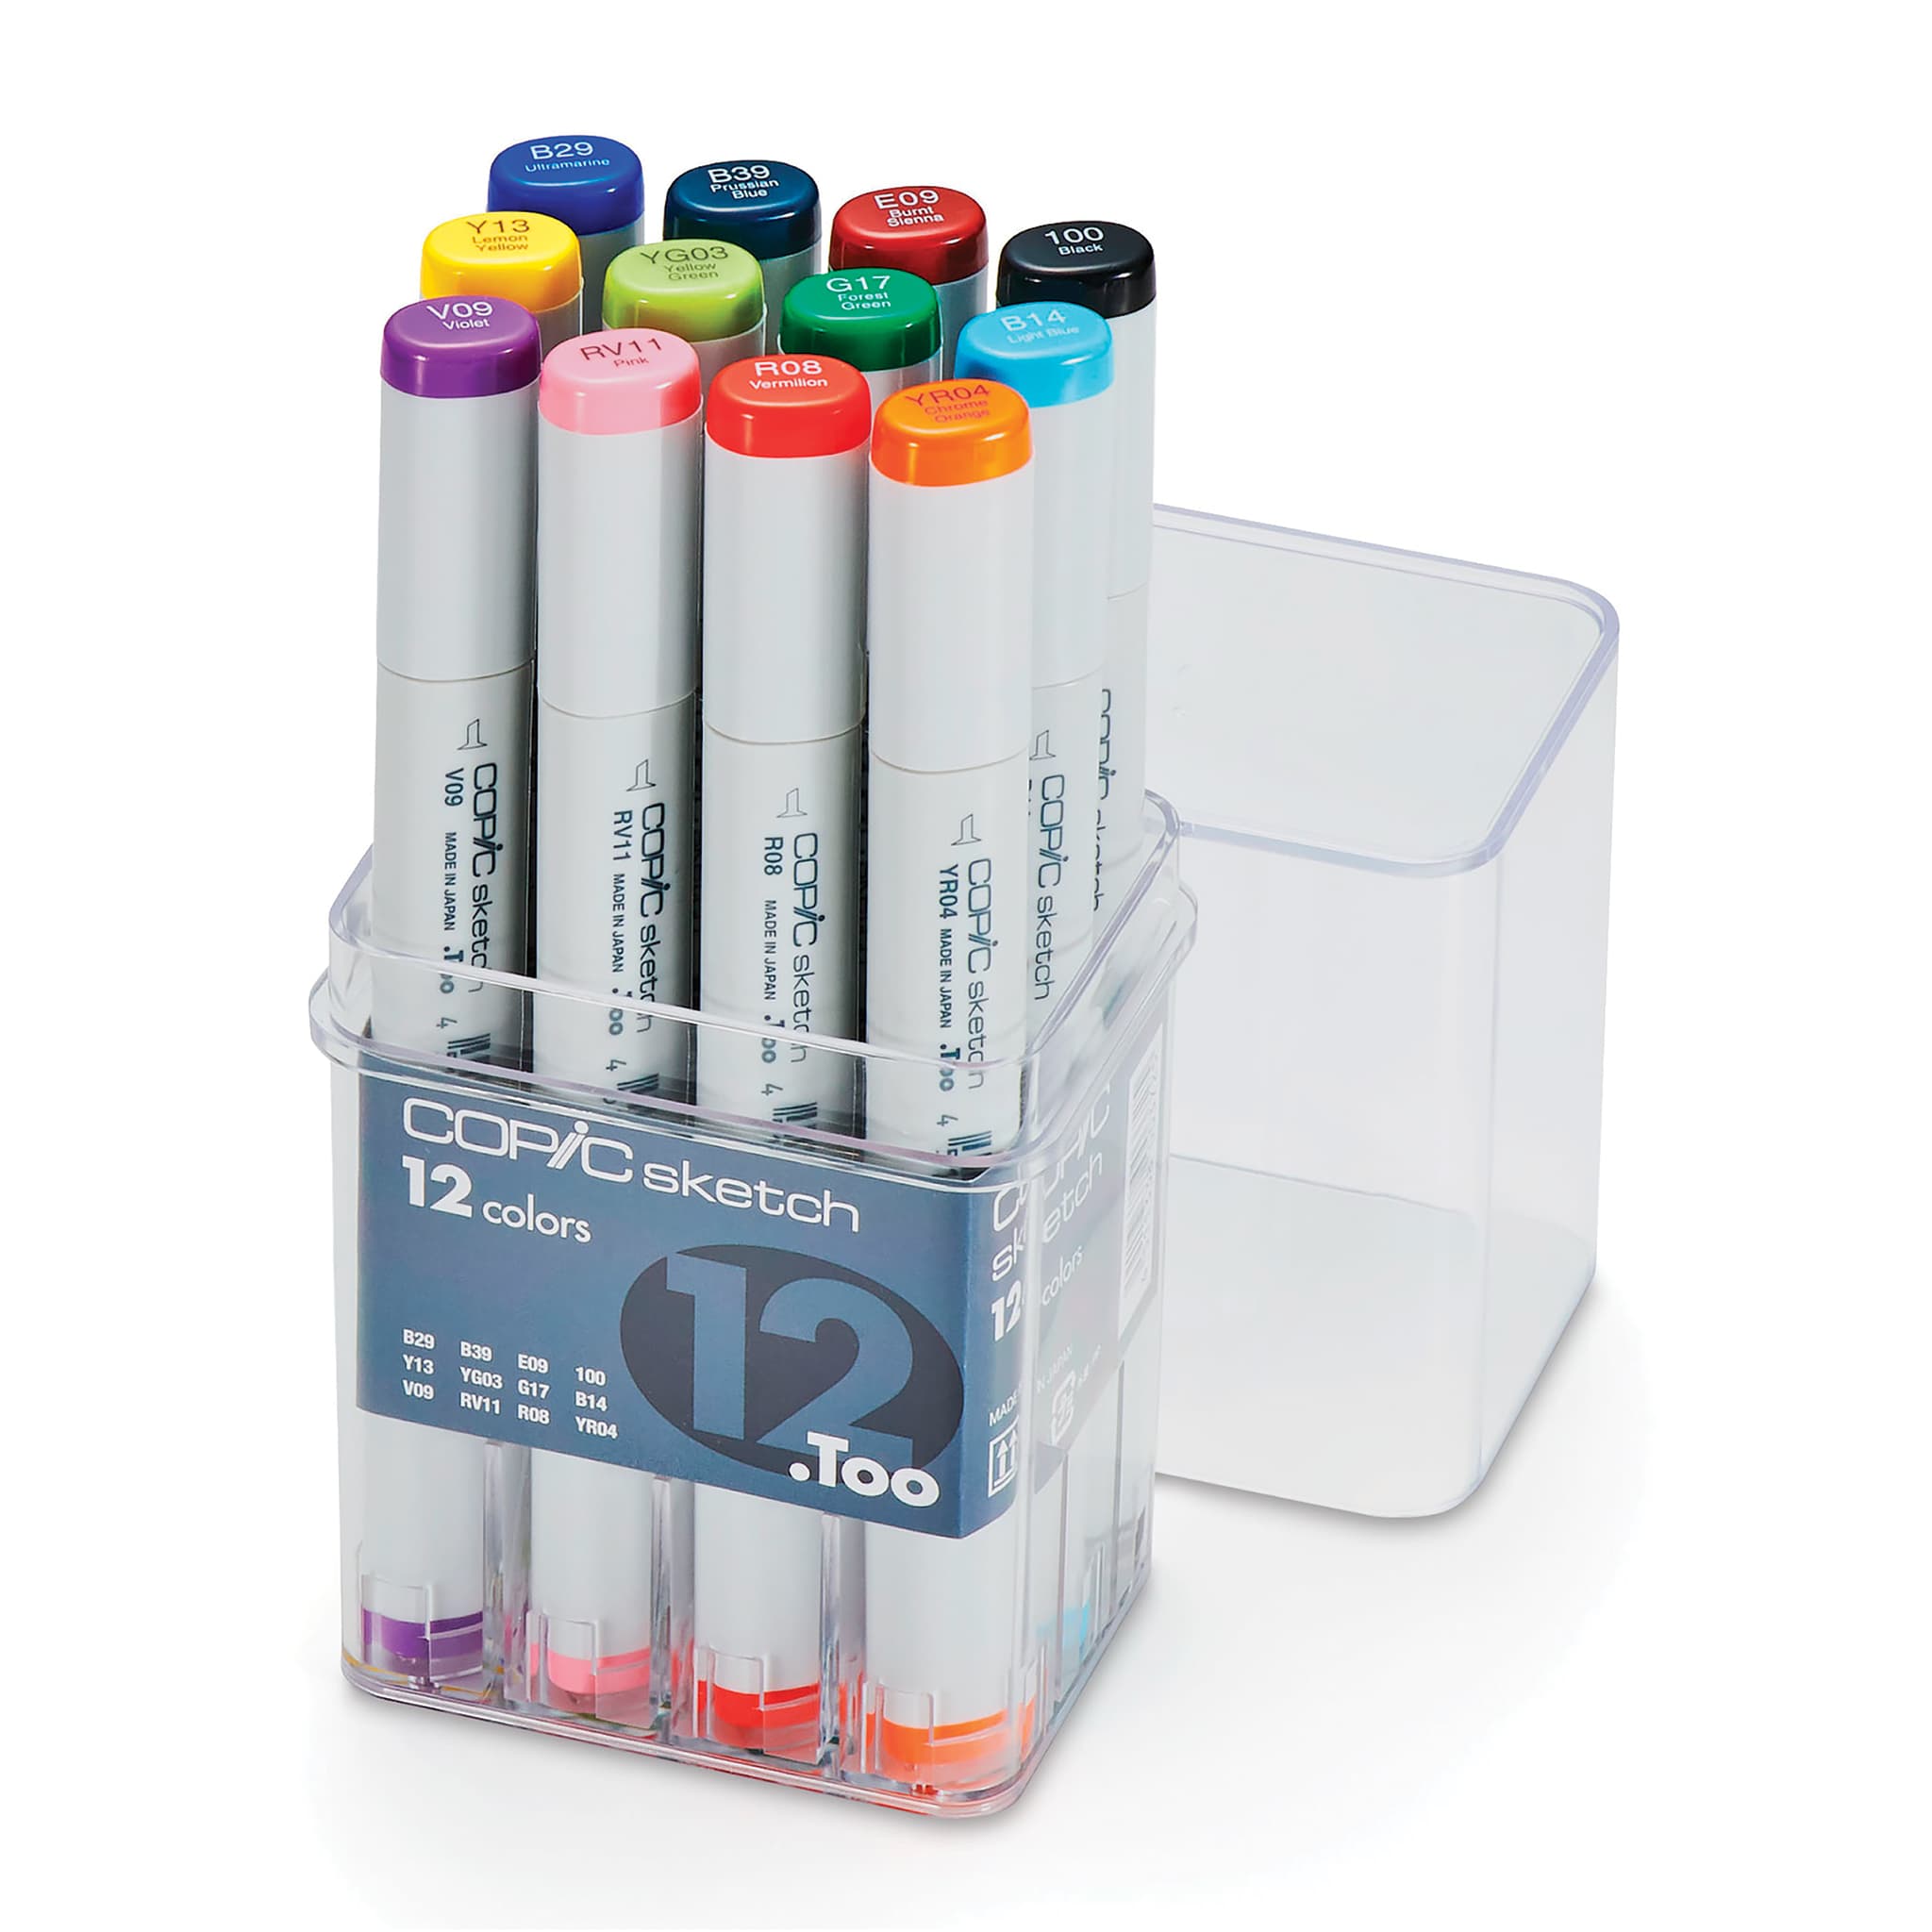 (or Colored Pencils) |

Step 1: Constructing the Initial Sketch
First sketch using simple shapes and lines. This rough set of drawing guidelines will help you place the details on your giraffe as you draw.
Proportional Circles and Body Guides
- Body Circle: Draw a large circle as a guide for the front part of the body. To ensure accuracy, mark its height and width before sketching the full circumference. If you have difficulty drawing a circle freehand, you can trace a coin or a bottle cap.
- Head Guide: Position a smaller circle high above and slightly to the left of the body guide to represent the head. Make this circle roughly 1/5 the size of the body circle. Make sure the distance between the head and body corresponds to about two full body circles to properly account for the long neck.
- Rear Curve: To the right of the primary body circle, sketch a light, curved line to act as a placeholder for the visible portion of the back section.
Additional Guidelines for the Giraffe's Anatomy
- Face: Add intersecting vertical and horizontal guidelines that resemble an off-center plus sign within the head circle. Place the vertical line closer to the left edge.
- Muzzle: Draw a smaller circle intersecting the bottom left edge of the head guide, with the majority of the shape resting outside the main head circle.
- Ears and Ossicones: Create two small arcs near the sides of the head for the ears, and add two short vertical lines on the top of the head for the ossicones.
- Leg Extensions: Extend two long vertical lines downward from the front body circle for the front legs. Add two matching vertical guides under the rear area for the hind legs, bending the leftmost hind leg guideline slightly near the middle to establish the joints. Each leg guide should extend downward approximately the length of two body circles.
- Neck Line: Create a long sloping line that connects the right side of the head down to the body circle to lay out the top edge of the neck.

Step 2: Refining the Facial Features
With the primary guidelines in place, add detailed facial characteristics.
- Eyes: Sketch two large circles resting on the horizontal line near the outer edges of the head. Darken the shapes by making the outer corners pointier, and then add creases and a prominent brow line above them. Keep the left eye slightly narrower to reflect the turned angle of the head, and leave a tiny unshaded highlight circle inside each pupil.
- Muzzle and Jaw: Define the bridge of the nose along the small muzzle circle, adding small arcs for nostrils. Build the lower jaw using a V-shaped line for the mouth and a soft curve for the lower lip.
- Ears and Ossicones: Create the ossicones by wrapping lines around the vertical guides. The bases should be wide and the tips rounded. Curve the ear arcs and add several other lines for the ears' openings. Finally, darken the remaining outer lines of the head and define the jawline.

Step 3: Building the Limbs and Body Structure
Transform the straight guidelines of the initial sketch into fully formed limbs with realistic muscle definition.
- Front Legs: Outline the thin shape of the front legs around the guidelines. Introduce subtle, curved joints along the paths before finishing the base with flat, rectangular, split hooves.
- Hind Legs: Build out the rear legs around their respective guides, keeping the upper thigh portions wider than the lower portions. Replicate the joint angles on the last leg while maintaining a distinct gap to avoid overlapping the limbs.
- Neck, Torso, and Tail: Finalize the neck, ending with a wide, sloping bottom edge. Add a parallel strip along the spine for the short mane. Outline the torso, maintaining a slightly angular belly. Finally, draw a thin tail on the lower-right side of the body that ends in a textured, wavy tuft of hair.

Step 4: Inking and Clean-up
Now it's time to finalize your sketch and prepare your drawing for coloring!
- Ink Application: Carefully trace all final anatomical lines using permanent ink, leaving the initial pencil grid un-inked. Work slowly and precisely to prevent errors.
- Erase Guidelines: Allow the ink to dry completely to prevent smudging, then use an eraser to completely remove all underlying pencil marks and construction guides.

Step 5: Applying Base Colors and Shading
Establish the core colors and build out early foundational shading to give the subject three-dimensional depth.
- Base Layers: Apply a light orange and light brown base layer evenly across the giraffe's coat. Markers or colored pencils work great for this step.
- Shadow Blocks: Use a darker brown tone to block out realistic shadows underneath the neck, belly, and joints to build volume, while completely filling in the mane and tail tip with brown.

Step 6: Creating the Coat Pattern
Add the distinctive markings that give the giraffe its signature look.
- Pattern Layout: Distribute irregular, square-like patterns separated by thin gaps across the hide. Avoid drawing perfect geometric squares. Instead, add extra corners and wavy lines.
- Pattern Scaling: Shrink the pattern shapes as they cascade down toward the lower legs, leaving the bottoms of the legs a solid base color. Color the spots using orange and light brown, making the areas in shadow slightly darker.

Step 7: Environmental Details and Finishing Touches
Add final line definitions and ground details to complete your realistic Giraffe drawing!
- Line Reinforcement: Go over your main lines with ink once more to really emphasize the shapes and clean up any color bleeding.
- Ground Texture: Draw a series of short vertical ground strokes beneath the hooves using a palette of yellow, light brown, and green to simulate natural grass. Take breaks as needed until you're happy with your final rendering!
Buy My Step-by-Step Art Books on Amazon!
If you enjoyed drawing with me and want to expand your artistic skills, please consider checking out my step-by-step drawing books on Amazon! My books break down a wide variety of animals into simple geometric shapes, making it easy and fun for artists of any skill level to follow along. Every purchase directly helps support this site so I can keep creating high-quality, free tutorials for the art community.
Click Here to Order Your Copy Today!
This is an Amazon affiliate links If you choose to purchase through this link, I earn a small commission at no extra cost to you.

Thanks for visiting! Subscribe to the How2DrawAnimals YouTube Channel for new tutorials every week.
And to learn how to draw cartoons, visit EasyDrawingTutorials.com.
RELATED TUTORIALS
|
|
|