







Use the step-by-step instructions below to learn how to draw a bear cub. Follow along with the video, or use the images in this article. By the end of this tutorial, even beginners will have a completed drawing of this adorable baby animal!
Love drawing? Keep your artistic streak going and enjoy more free art lessons by:
- Bookmarking the How2DrawAnimals.com homepage for updates
- Subscribing to the How2DrawAnimals YouTube channel
- Visiting EasyDrawingTutorials.com for tons of free cartoon tutorials
This page contains affiliate links. If you choose to purchase through these links, I earn a small commission at no extra cost to you.
RELATED TUTORIALS
 |
 |
 |
To draw this bear cub step by step, follow along with the video tutorial below and pause the video after each step to go at your own pace. You may find it easier to follow the step-by-step images below the video. You may want to open the video in a new tab and use both drawing methods. Take your time and create art at your own pace.
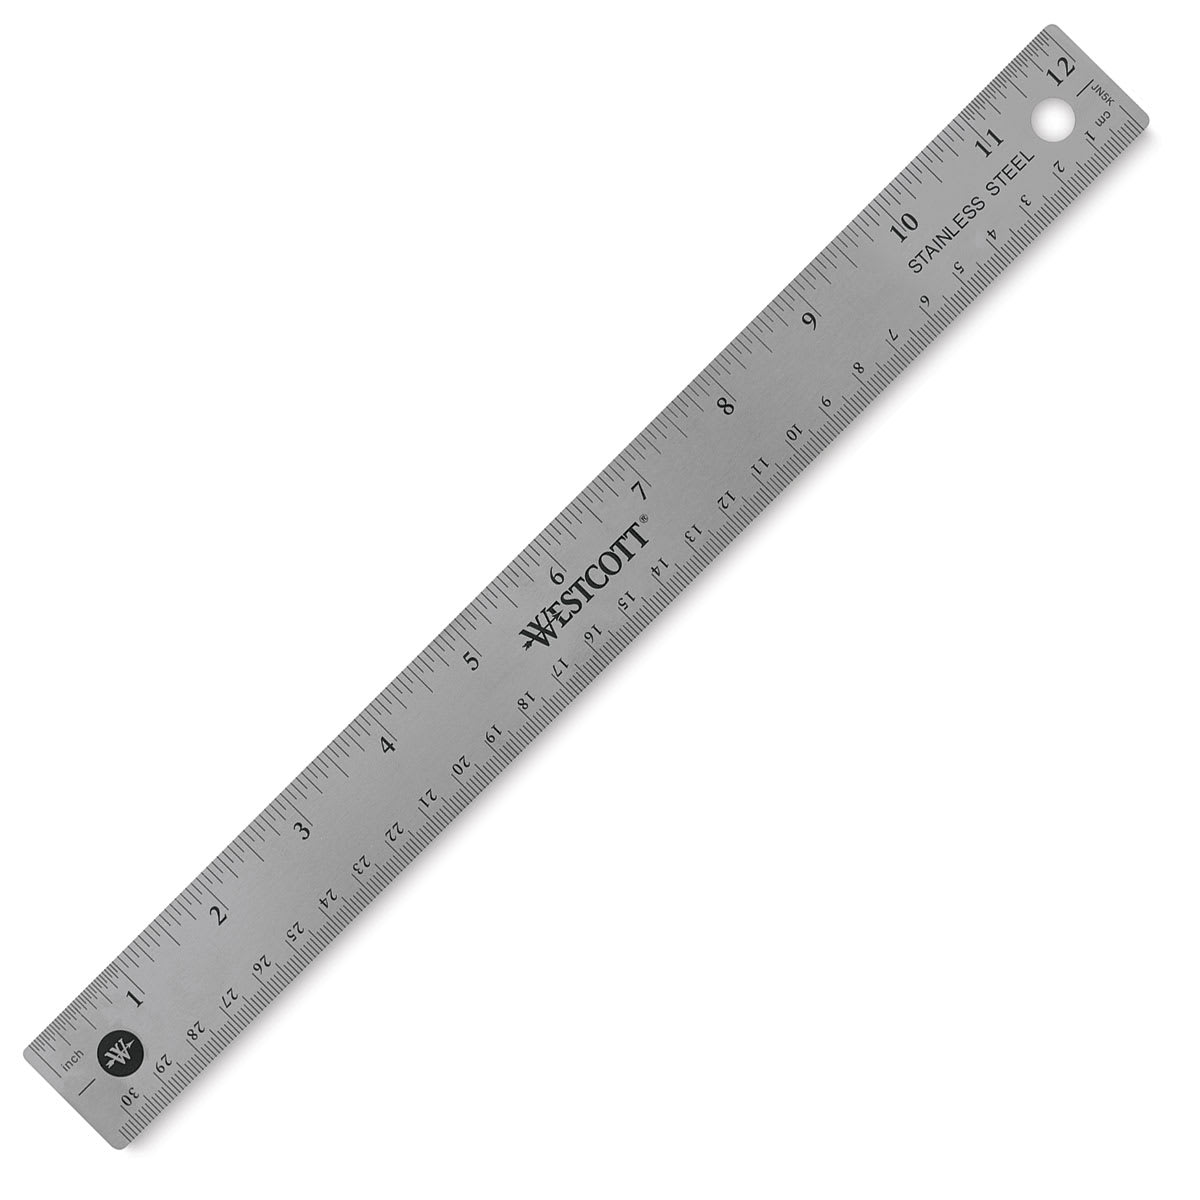
Materials You'll NeedBefore starting, gather these basic drawing supplies from Blick Art Materials. |
||
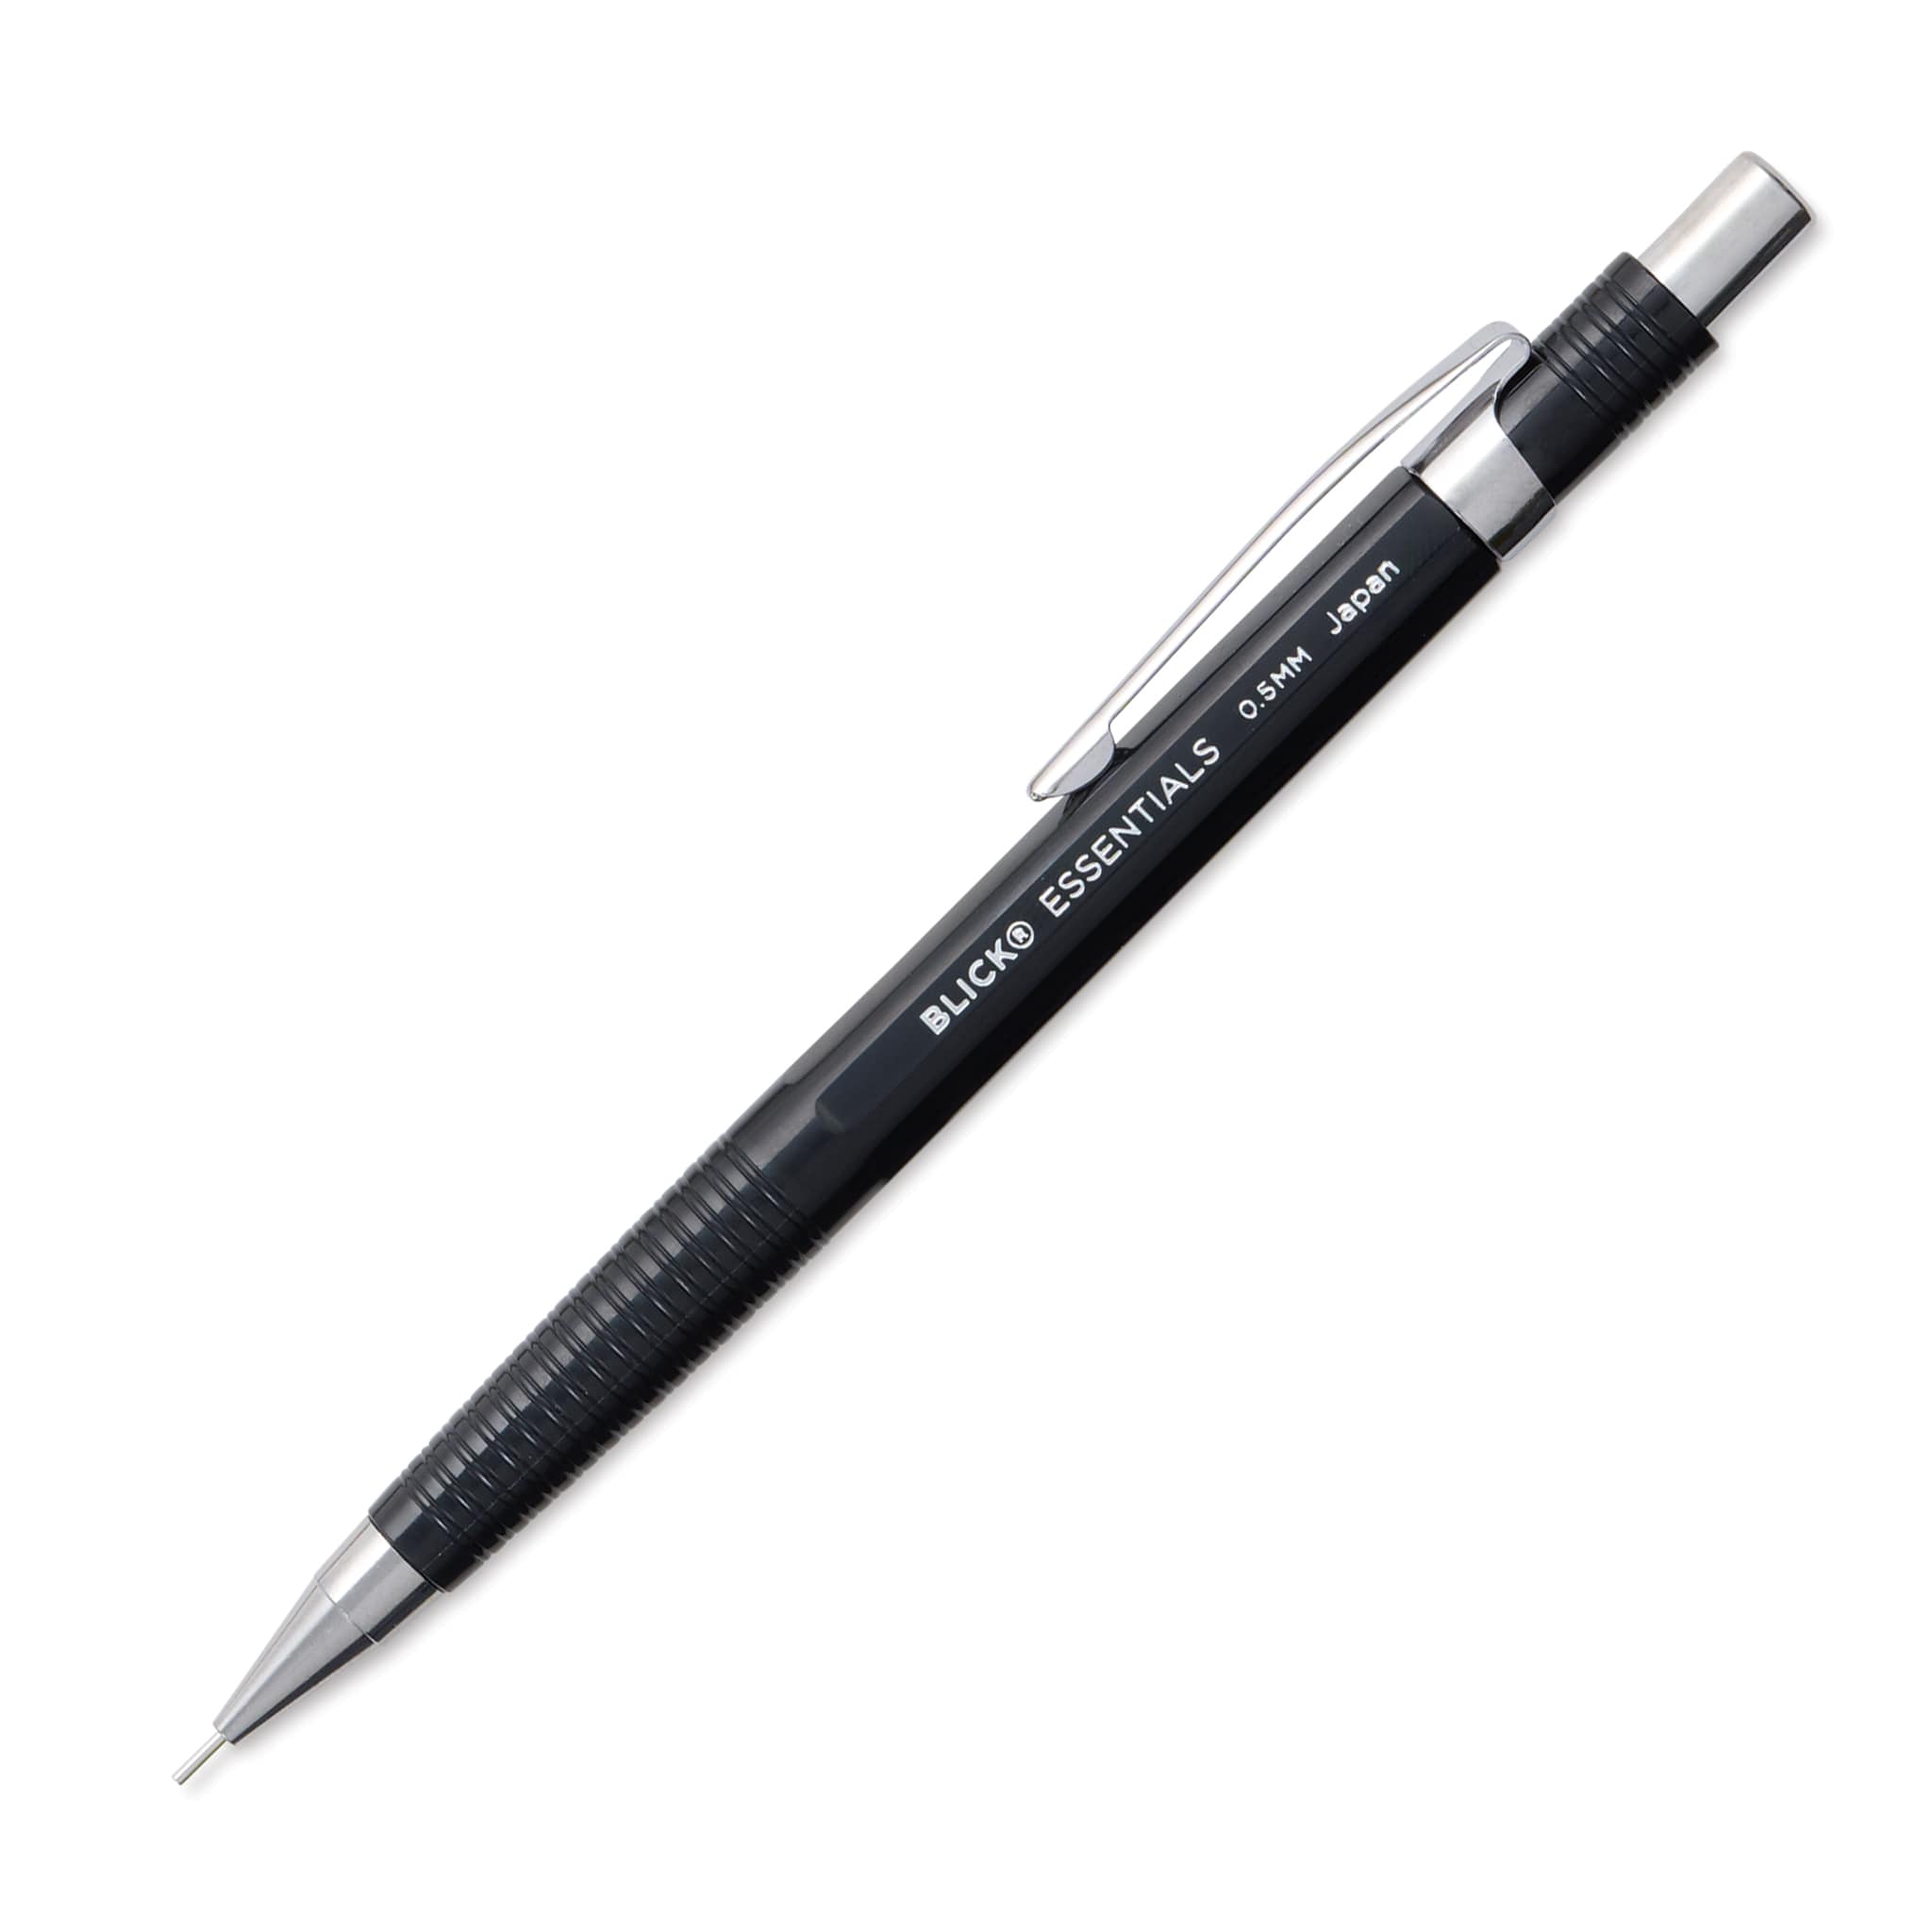 |
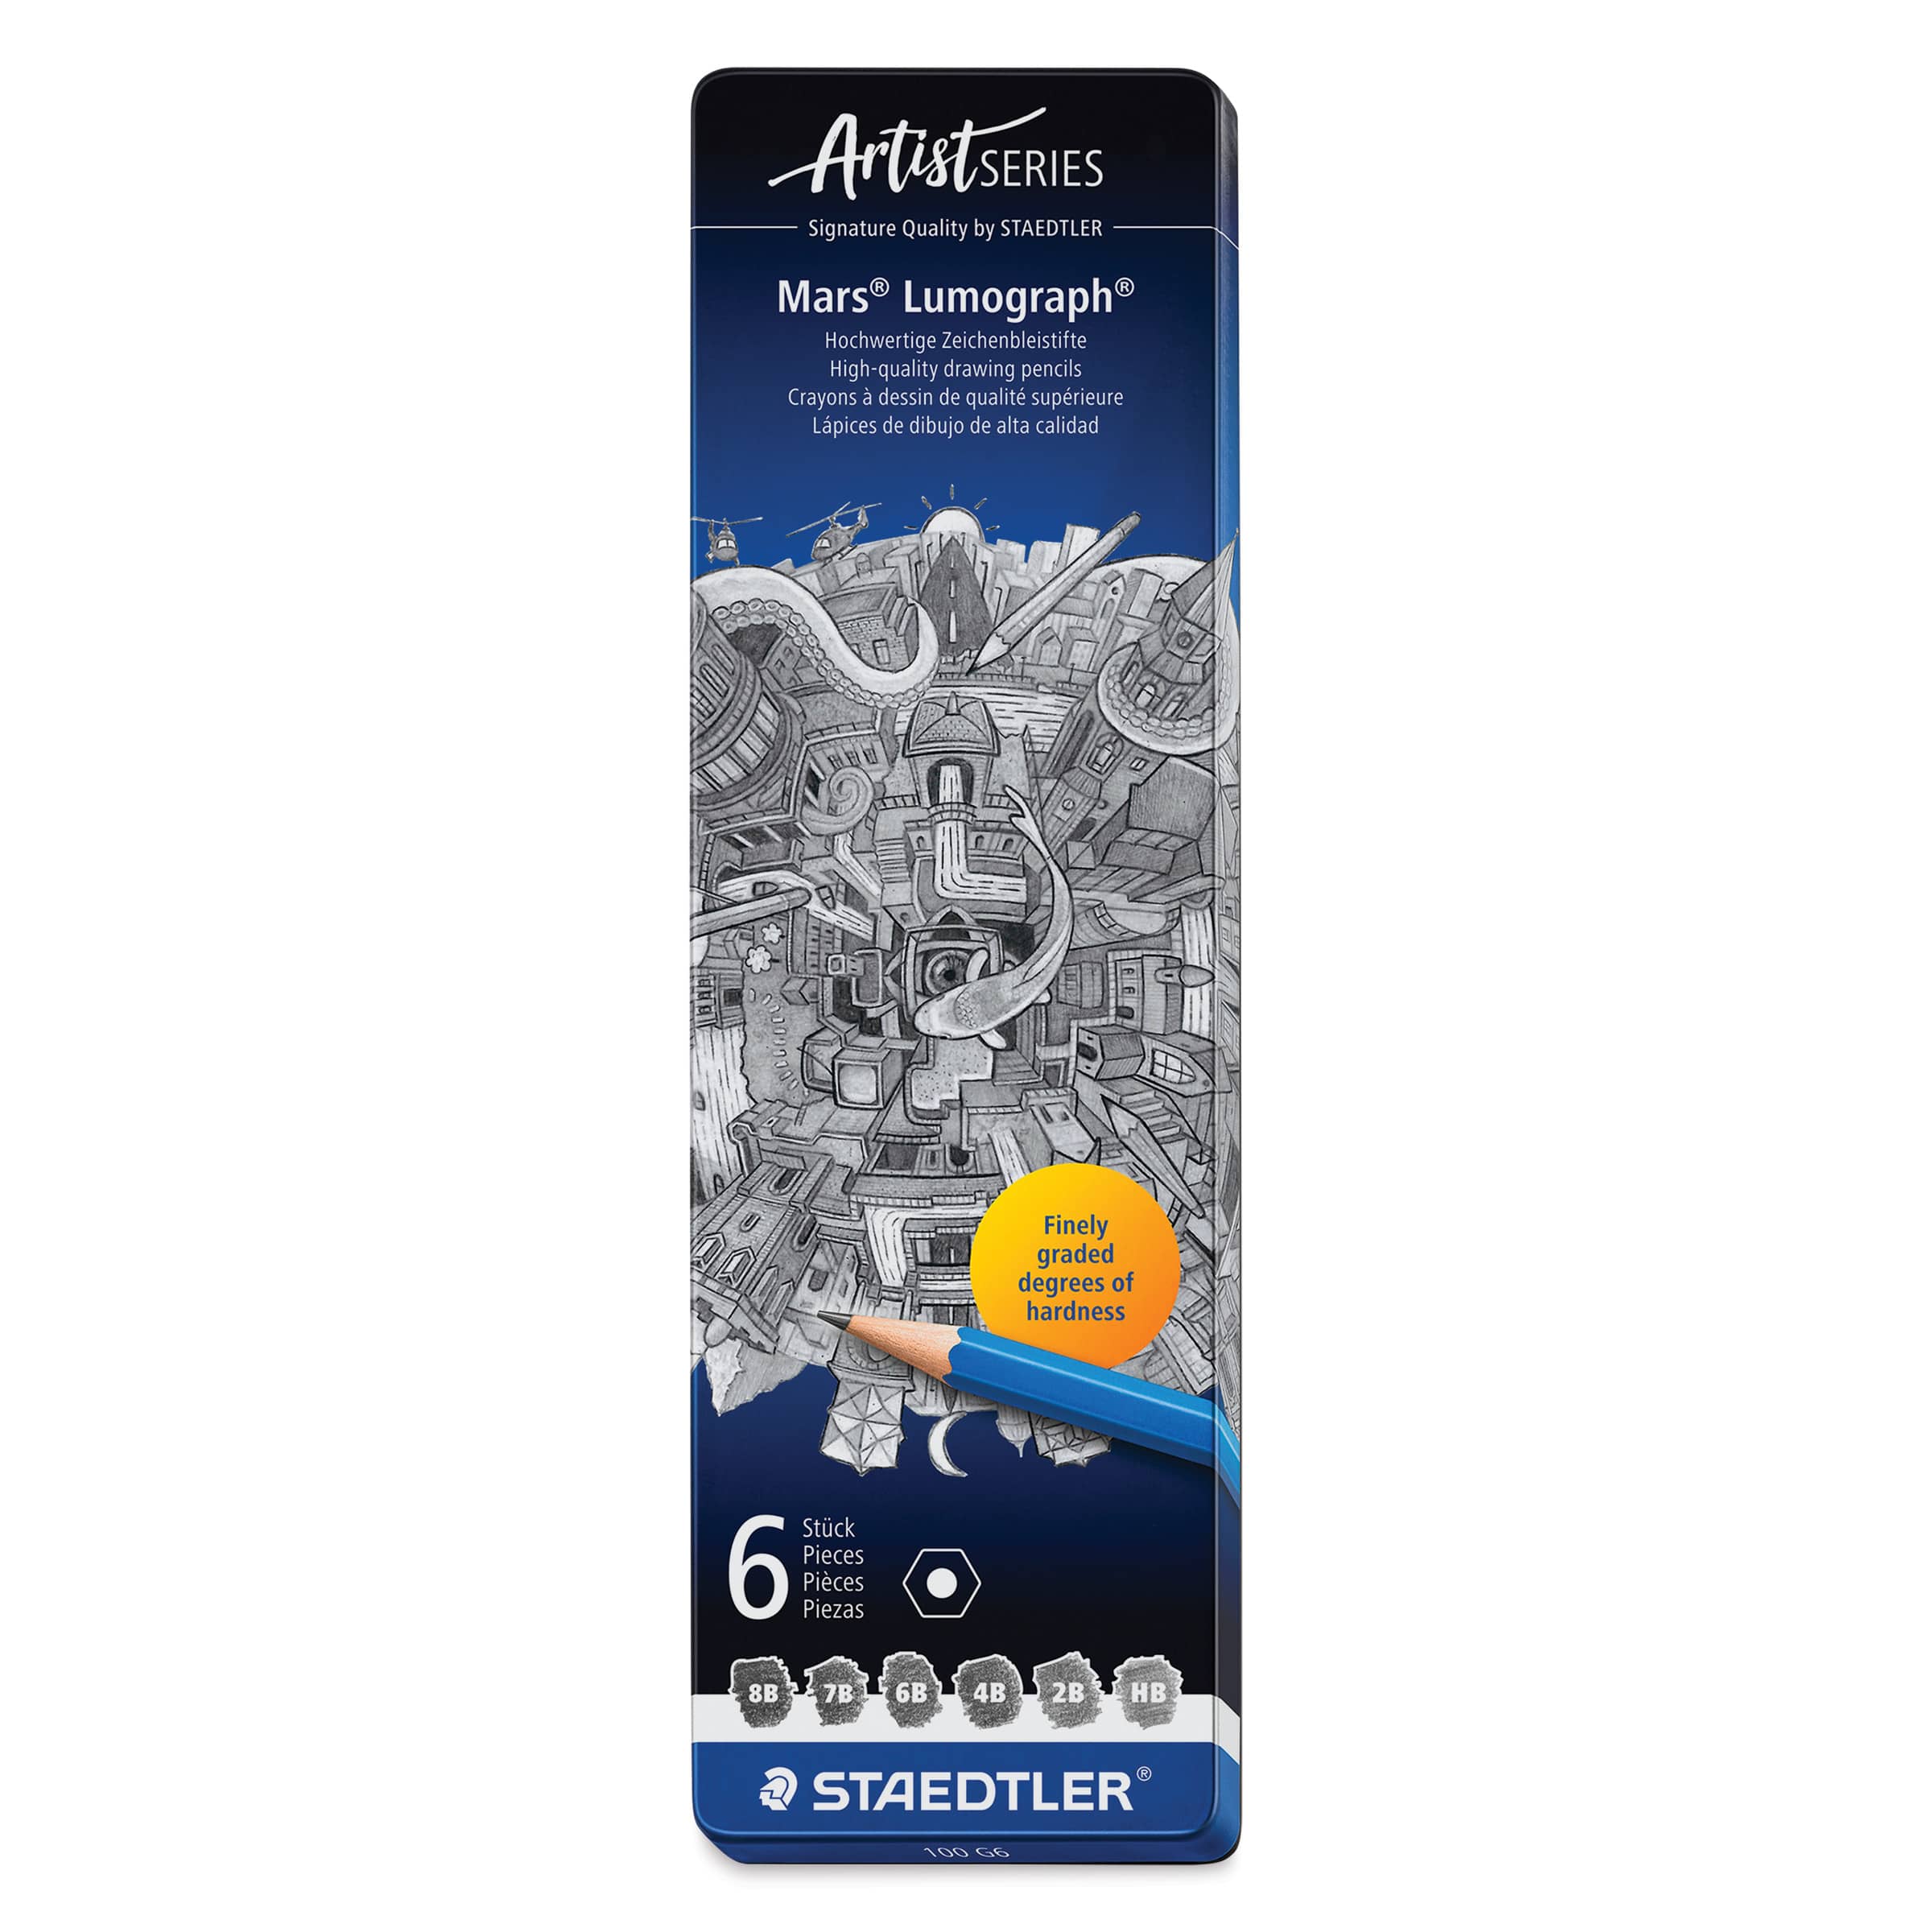 (an HB lead pencil is best for light sketches) |
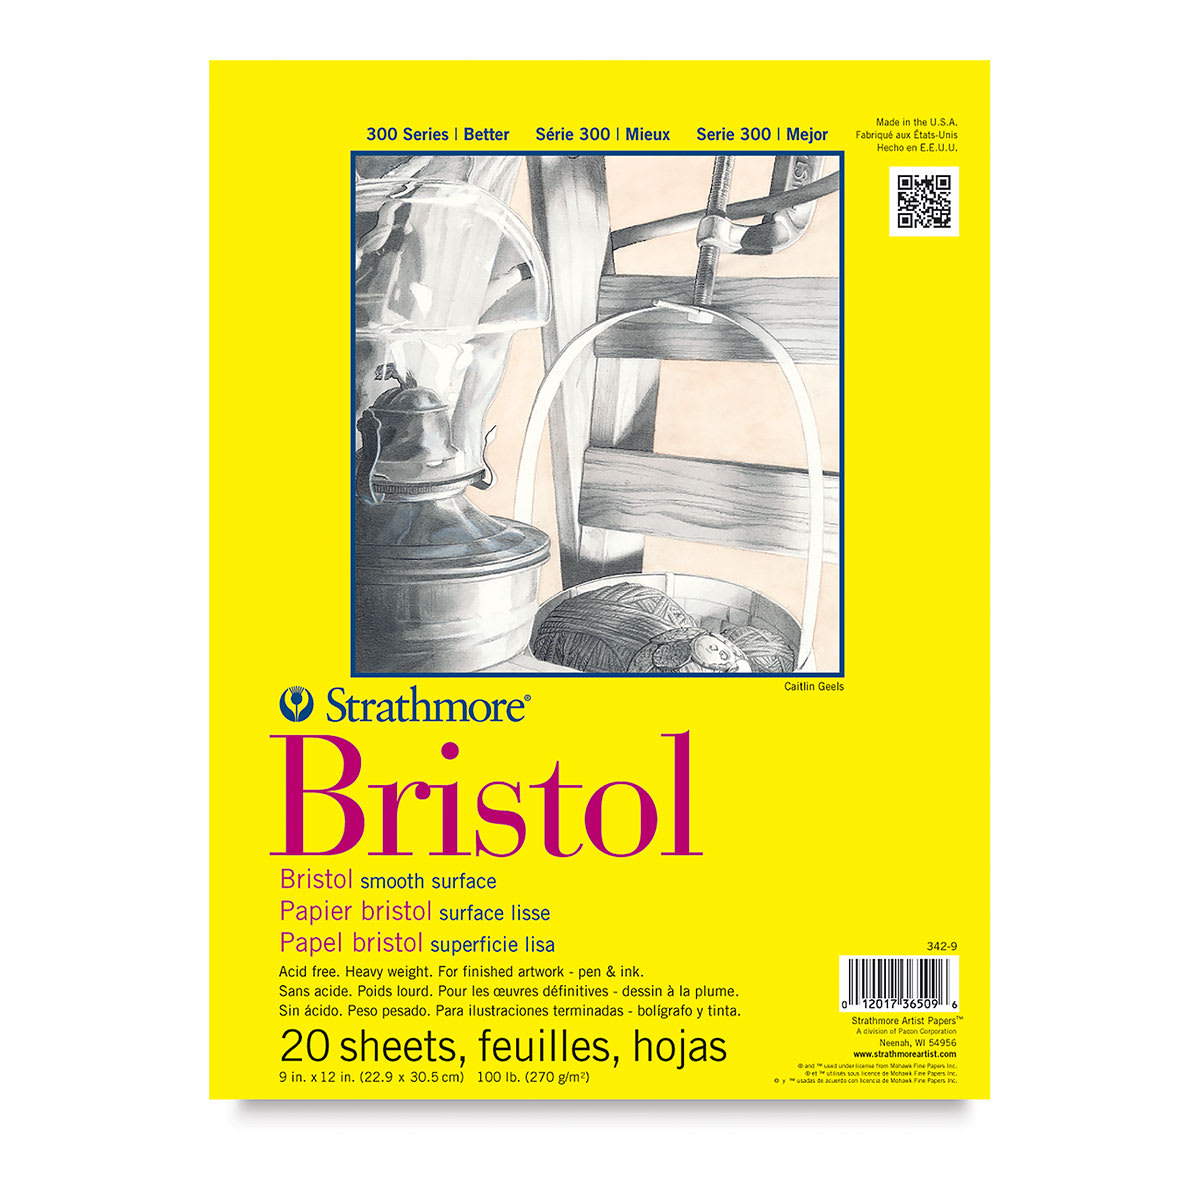 |
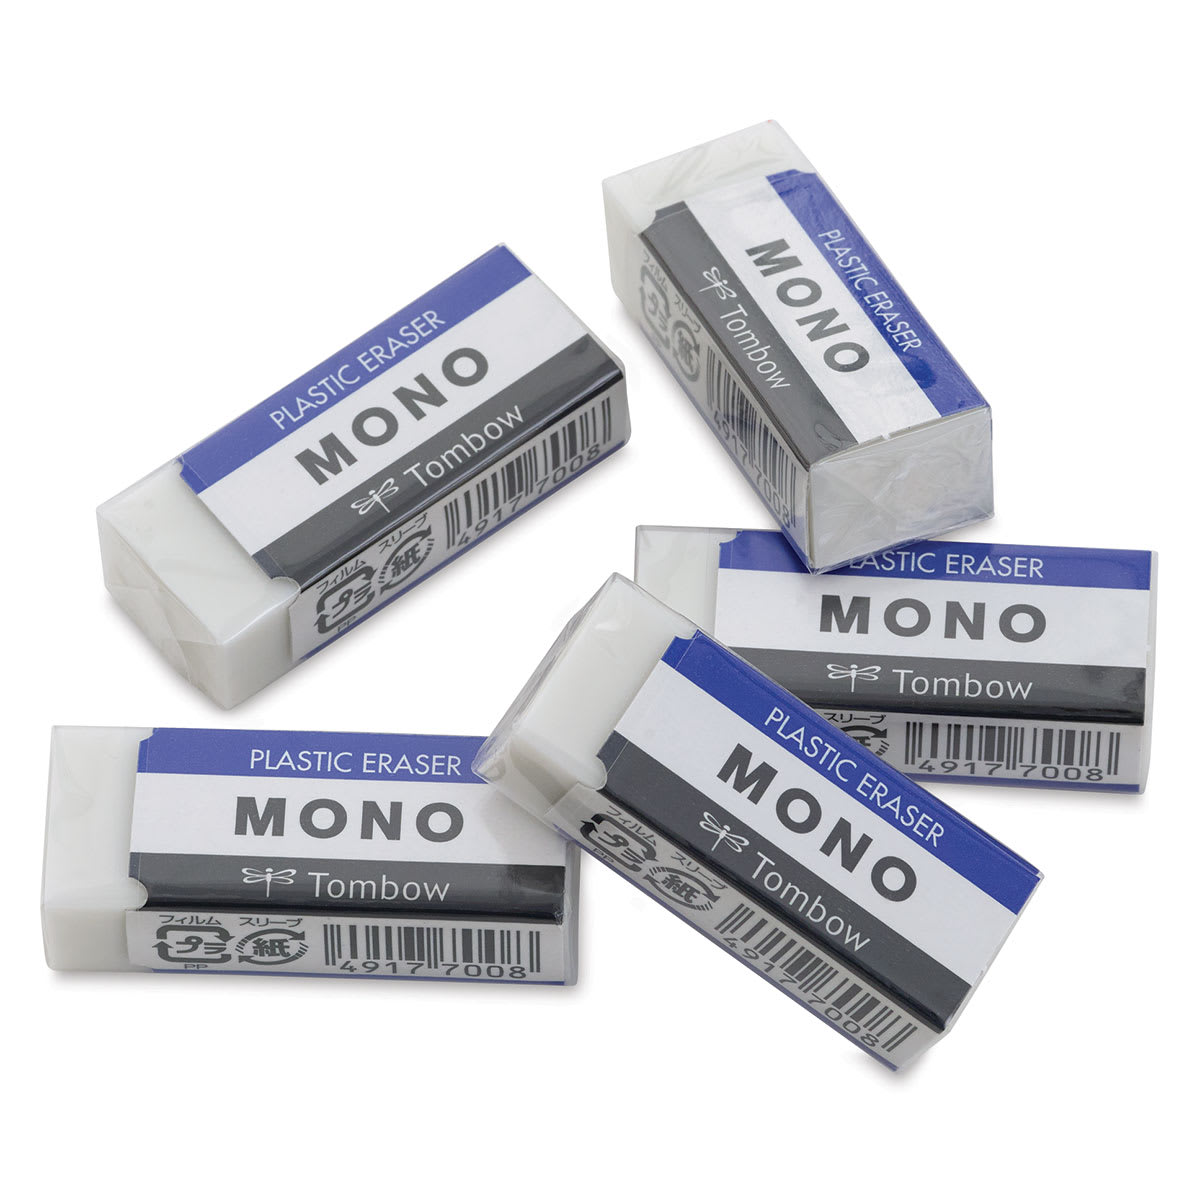 |
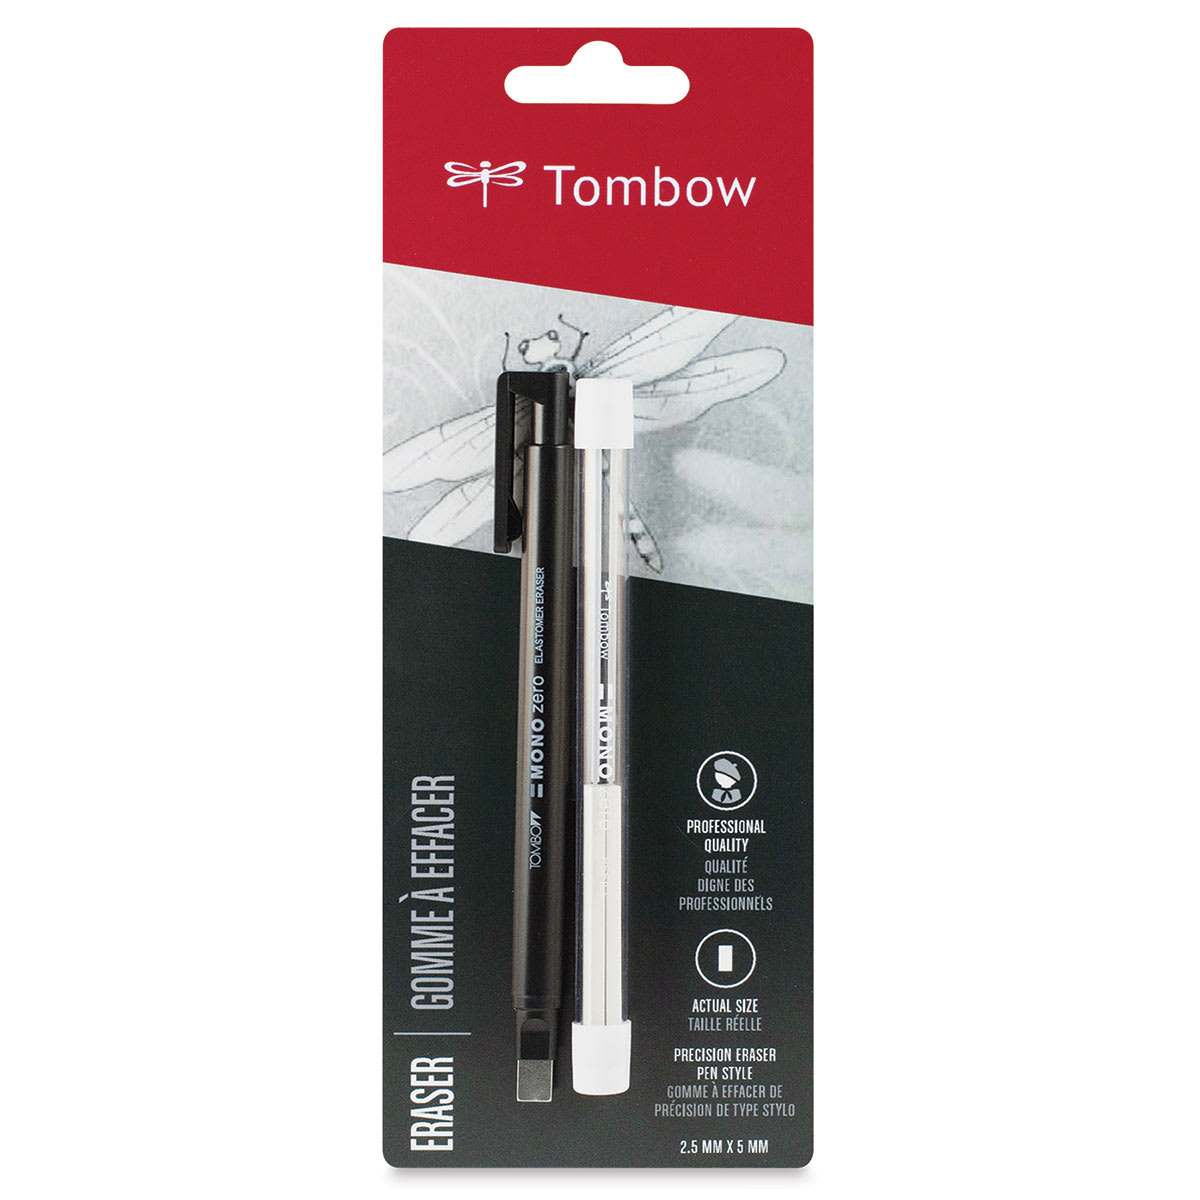 |
 |

Step 1: Drawing the Construction Guidelines
Begin your bear cub guidelines with light pencil strokes on your drawing paper and use simple shapes.
Proportional Circles
- Head Outline: Start by drawing a circle as a guide for the head. To make it easier, mark out the desired height and width with small pencil lines. Then connect them with curved lines. If needed, you can trace the edge of a cup or a lid for a cleaner circle.
- Body Shape: Directly below the head, draw a separate circle to establish the body guide. Make this shape slightly larger than the head circle and make sure that they do not overlap.
Face and Limb Guides
- Head Grid Lines: Inside the head circle, add a horizontal curved construction line placed just below the center point. Intersect this with a vertical line crossing through the middle.
- Muzzle and Ears: On the lower half of the head, sketch a small circle for the muzzle, positioning its upper boundary slightly above the horizontal line. On top of the head, draw two small arcs on either side of the vertical guide to represent the ears.
- Leg and Foot Guides: Make two vertical lines on the lower left of the body for the first front leg, making them a bit shorter than the body circle, and add a flattened oval for the foot. Replicate this with slightly curved lines next to it for the second front leg. Finish the guidelines by drawing a tall arc on the lower left for the folded hind leg. Add a small oval for the back foot and a short curved line above it.

Step 2: Add the Facial Features
With your structural framework complete, now draw the detailed anatomy and facial elements.
Facial Details
- Eyes: Sketch two small circles sitting on top of the horizontal guide. Once you're happy with the placement close to the muzzle, darken the lines, making the outer corners more pointy. Leave tiny inner circles unshaded for highlights, shade the rest for the pupils, and add short strokes for the brows.
- Nose and Mouth: Lightly place a square-like shape near the center of the muzzle for the nose. Darken it using a wavy top edge, curve the sides inward, and add two tiny ovals for the nostrils. Right underneath, draw a short horizontal line for the mouth, keeping it close to the bottom of the muzzle guide, and trace an angular chin below it.
- Head and Ears: Using short, sketchy strokes, trace over the ear arcs to add texturing, drawing a small curve inside each for depth. Complete the head by flattening the top slightly and widening the cheeks. Add texture to the outer edge with short strokes to mimic real fur.

Step 3: Add the Legs and Body
Trace out the body forms and limbs while rendering a soft fur texture over the guidelines.
Limbs and Fur Texture
- Front Legs: Darken the first front leg guide using short strokes, expanding the top section so it fits snugly beneath the head. Add small, thin, downward-curving triangular shapes at the base to create the claws. Follow the same texturing method for the second front leg without overlapping the first.
- Hind Quarters: Outline the hind foot and add small triangular claws, ensuring they sit behind the front limb. Use quick, short strokes along the tall arc to form a dense, furry hind leg.
- Body Contour: Tie everything together by tracing the remaining body guidelines with these textured fur strokes to define the bear cub's full shape.

Step 4: Shade Your Bear Cub
Bring your illustration to life with shading.
Erasing and Shading
- Line Cleanup: Gently erase construction lines with a plastic eraser and kneaded eraser. It doesn't have to look perfect! Redraw any details that were accidentally removed.
- Directional Fur Flow: Shade your bear cub with a uniform medium-tone shade. Direct your pencil marks outward from the nose on the face, and keep a mostly vertical orientation along the main body.
- Highlights and Depth: Leave white patches for natural highlights. Build up depth by varying your pencil pressure or switching to softer leads like 2B or 4B for darker areas in shadow. Use a fine click eraser to create thin, bright strips for individual coat clumps, and add subtle shadows beneath them for realistic dimension.

Step 5: Add A Background Box
Give your artwork a professional presentation by framing your subject.
Composition Framing
- Background Elements: Add a few short strokes below the figure to create a grassy texture. If you'd like to frame your drawing neatly, use a ruler to add a rectangular shape behind the bear cub and shade it in to make the subject pop.

Step 6: Add Finishing Touches, and You're Done!
Finalize the fine accents of your illustration.
Final Adjustments
- Value Balancing: Continue to blend and deepen your values. Add extra contrast to your shadowed areas and details until you are completely satisfied with the result. Your bear cub is now complete!
Buy My Step-by-Step Art Books on Amazon!
If you enjoyed drawing with me and want to expand your artistic skills, please consider checking out my step-by-step drawing books on Amazon! My books break down a wide variety of animals into simple geometric shapes, making it easy and fun for artists of any skill level to follow along. Every purchase directly helps support this site so I can keep creating high-quality, free tutorials for the art community.
Click Here to Order Your Copy Today!
This is an Amazon affiliate link. If you choose to purchase through this link, I earn a small commission at no extra cost to you.
Thanks for visiting! Subscribe to the How2DrawAnimals YouTube Channel for new tutorials every week.
And to learn how to draw cartoons, visit EasyDrawingTutorials.com.
RELATED TUTORIALS
|
|
|