







Use the step-by-step instructions below to learn how to draw a deer head with large antlers. Follow along with the video, or use the images in this article. By the end of this tutorial, even beginners will have a completed drawing of this majestic animal!
Love drawing? Keep your artistic streak going and enjoy more free art lessons by:
- Bookmarking the How2DrawAnimals.com homepage for updates
- Subscribing to the How2DrawAnimals YouTube channel
- Visiting EasyDrawingTutorials.com for tons of free cartoon tutorials
This page contains affiliate links. If you choose to purchase through these links, I earn a small commission at no extra cost to you.
RELATED TUTORIALS
 |
 |
 |
To draw this deer step by step, follow along with the video tutorial below and pause the video after each step to go at your own pace. You may find it easier to follow the step-by-step images below the video. You may want to open the video in a new tab and use both drawing methods.
Materials You'll NeedBefore starting, gather these basic drawing supplies from Blick Art Materials. |
||
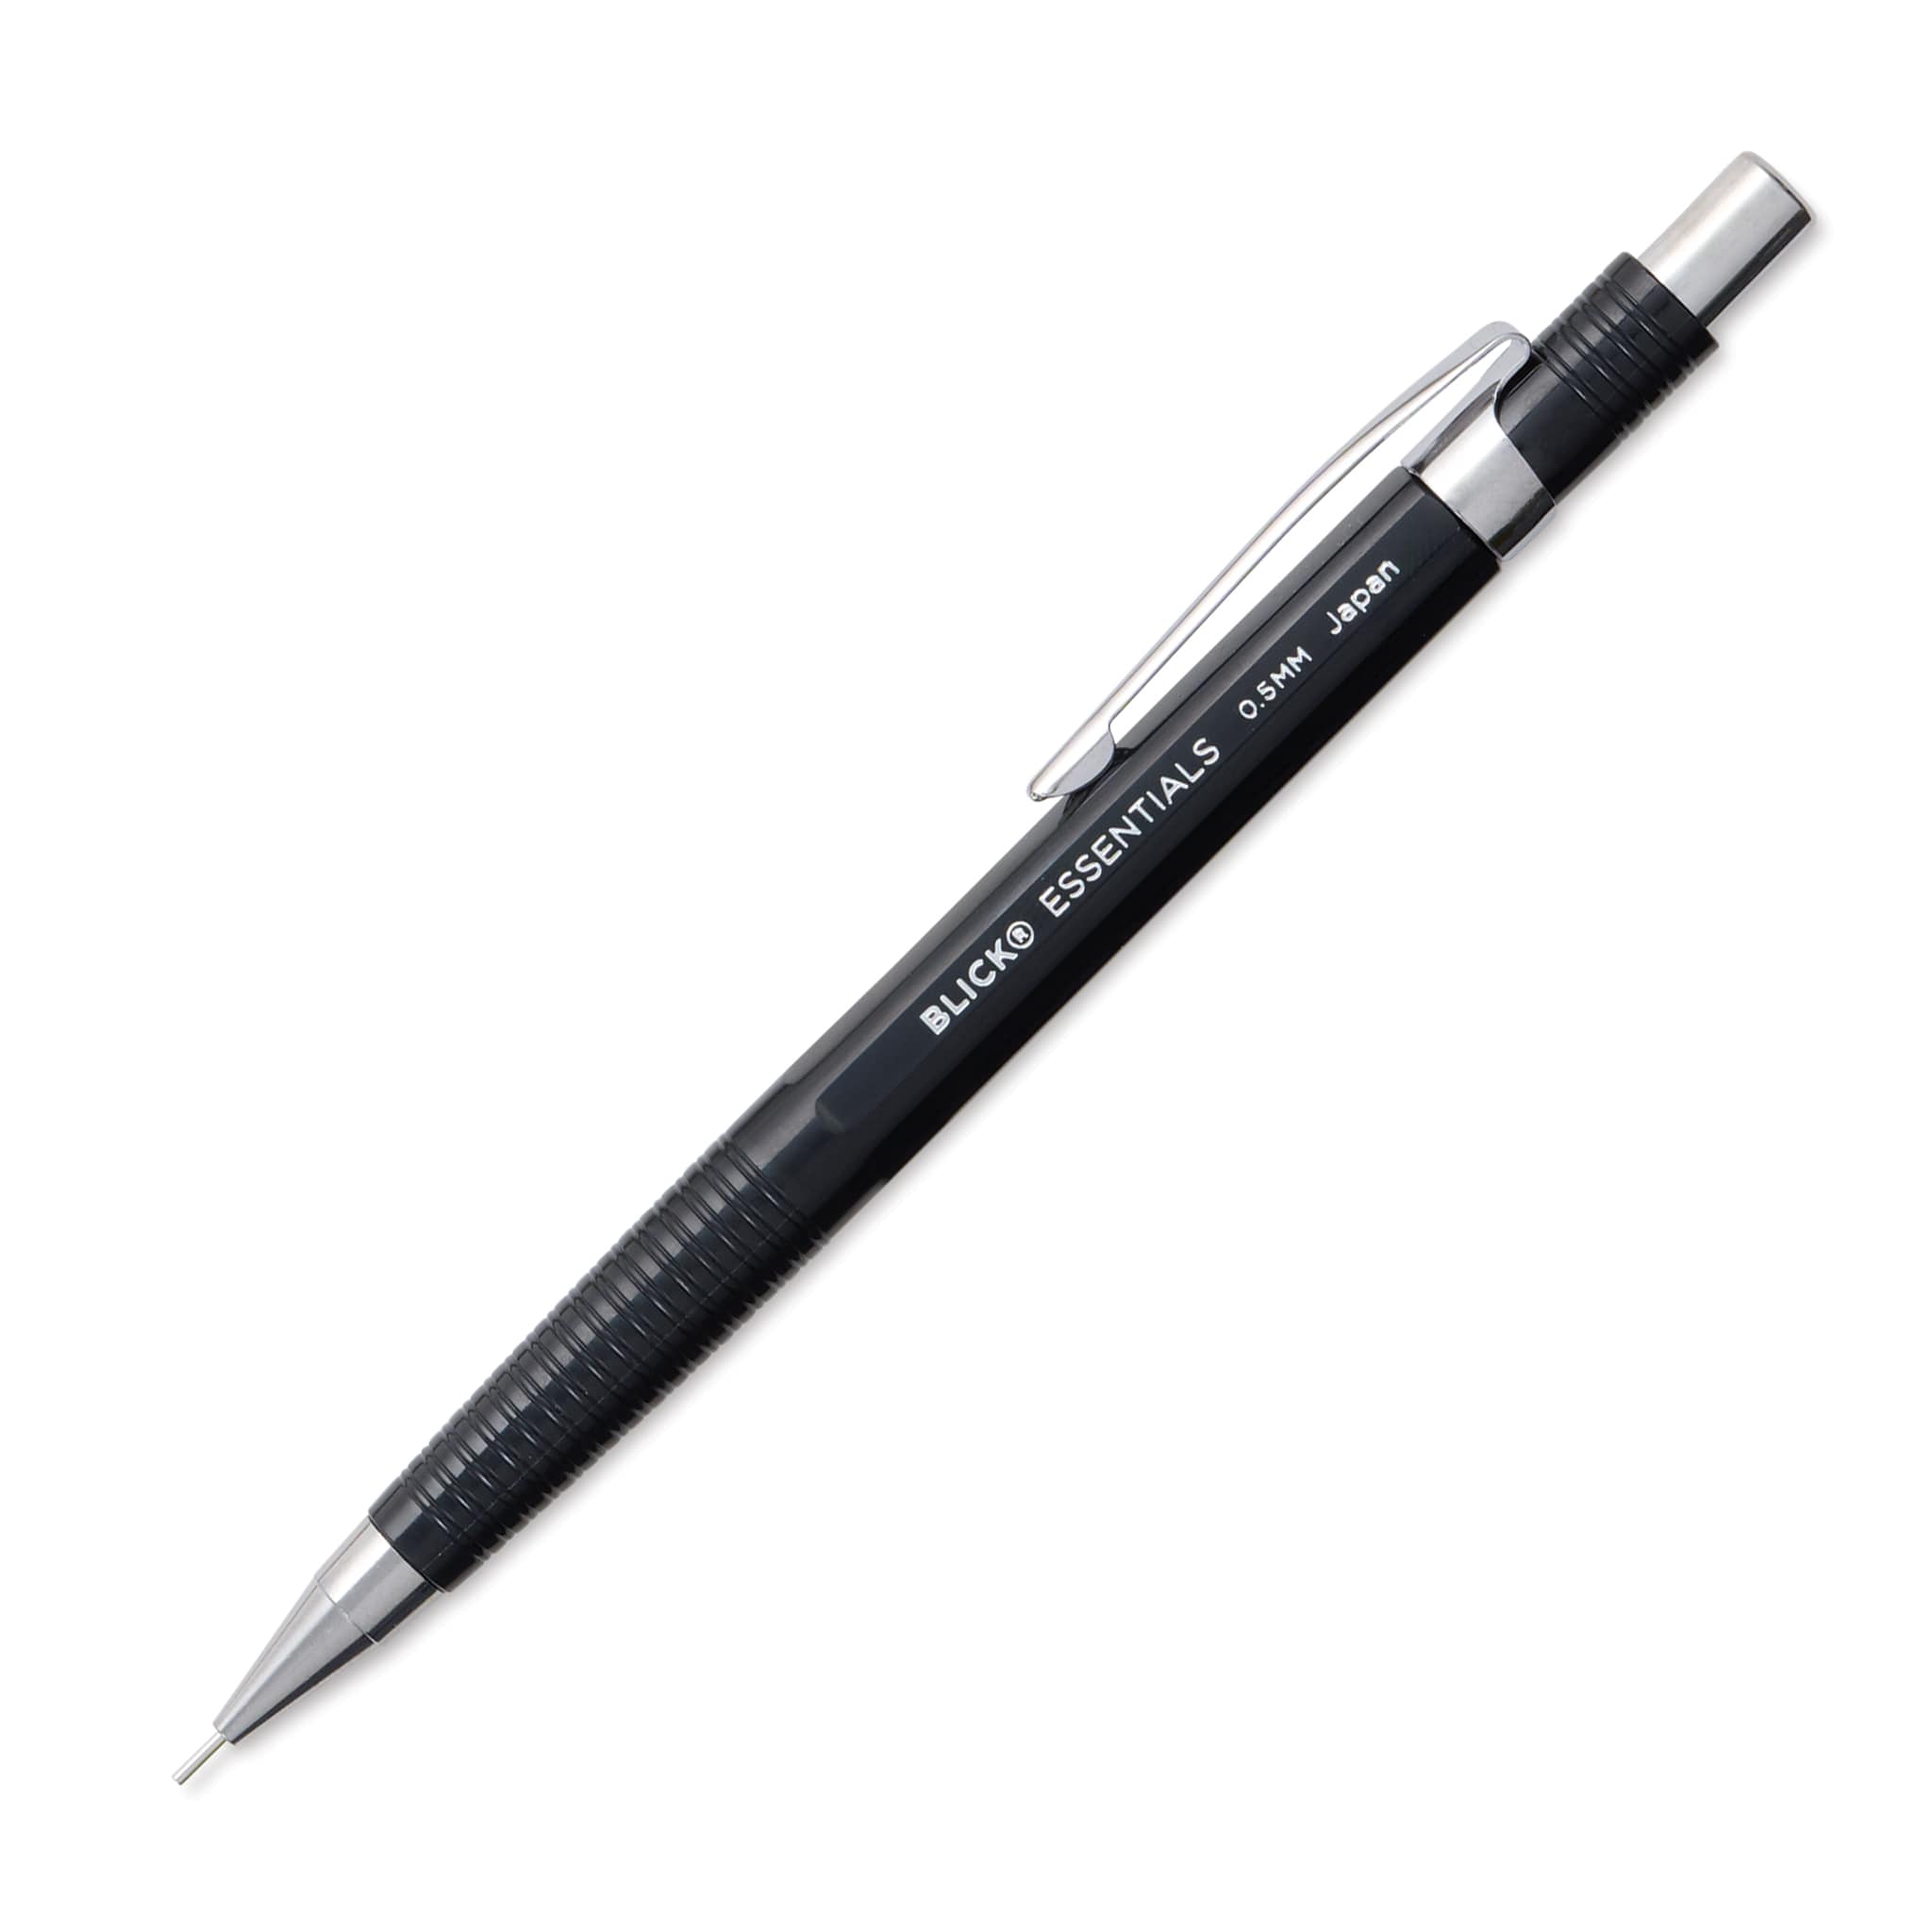 |
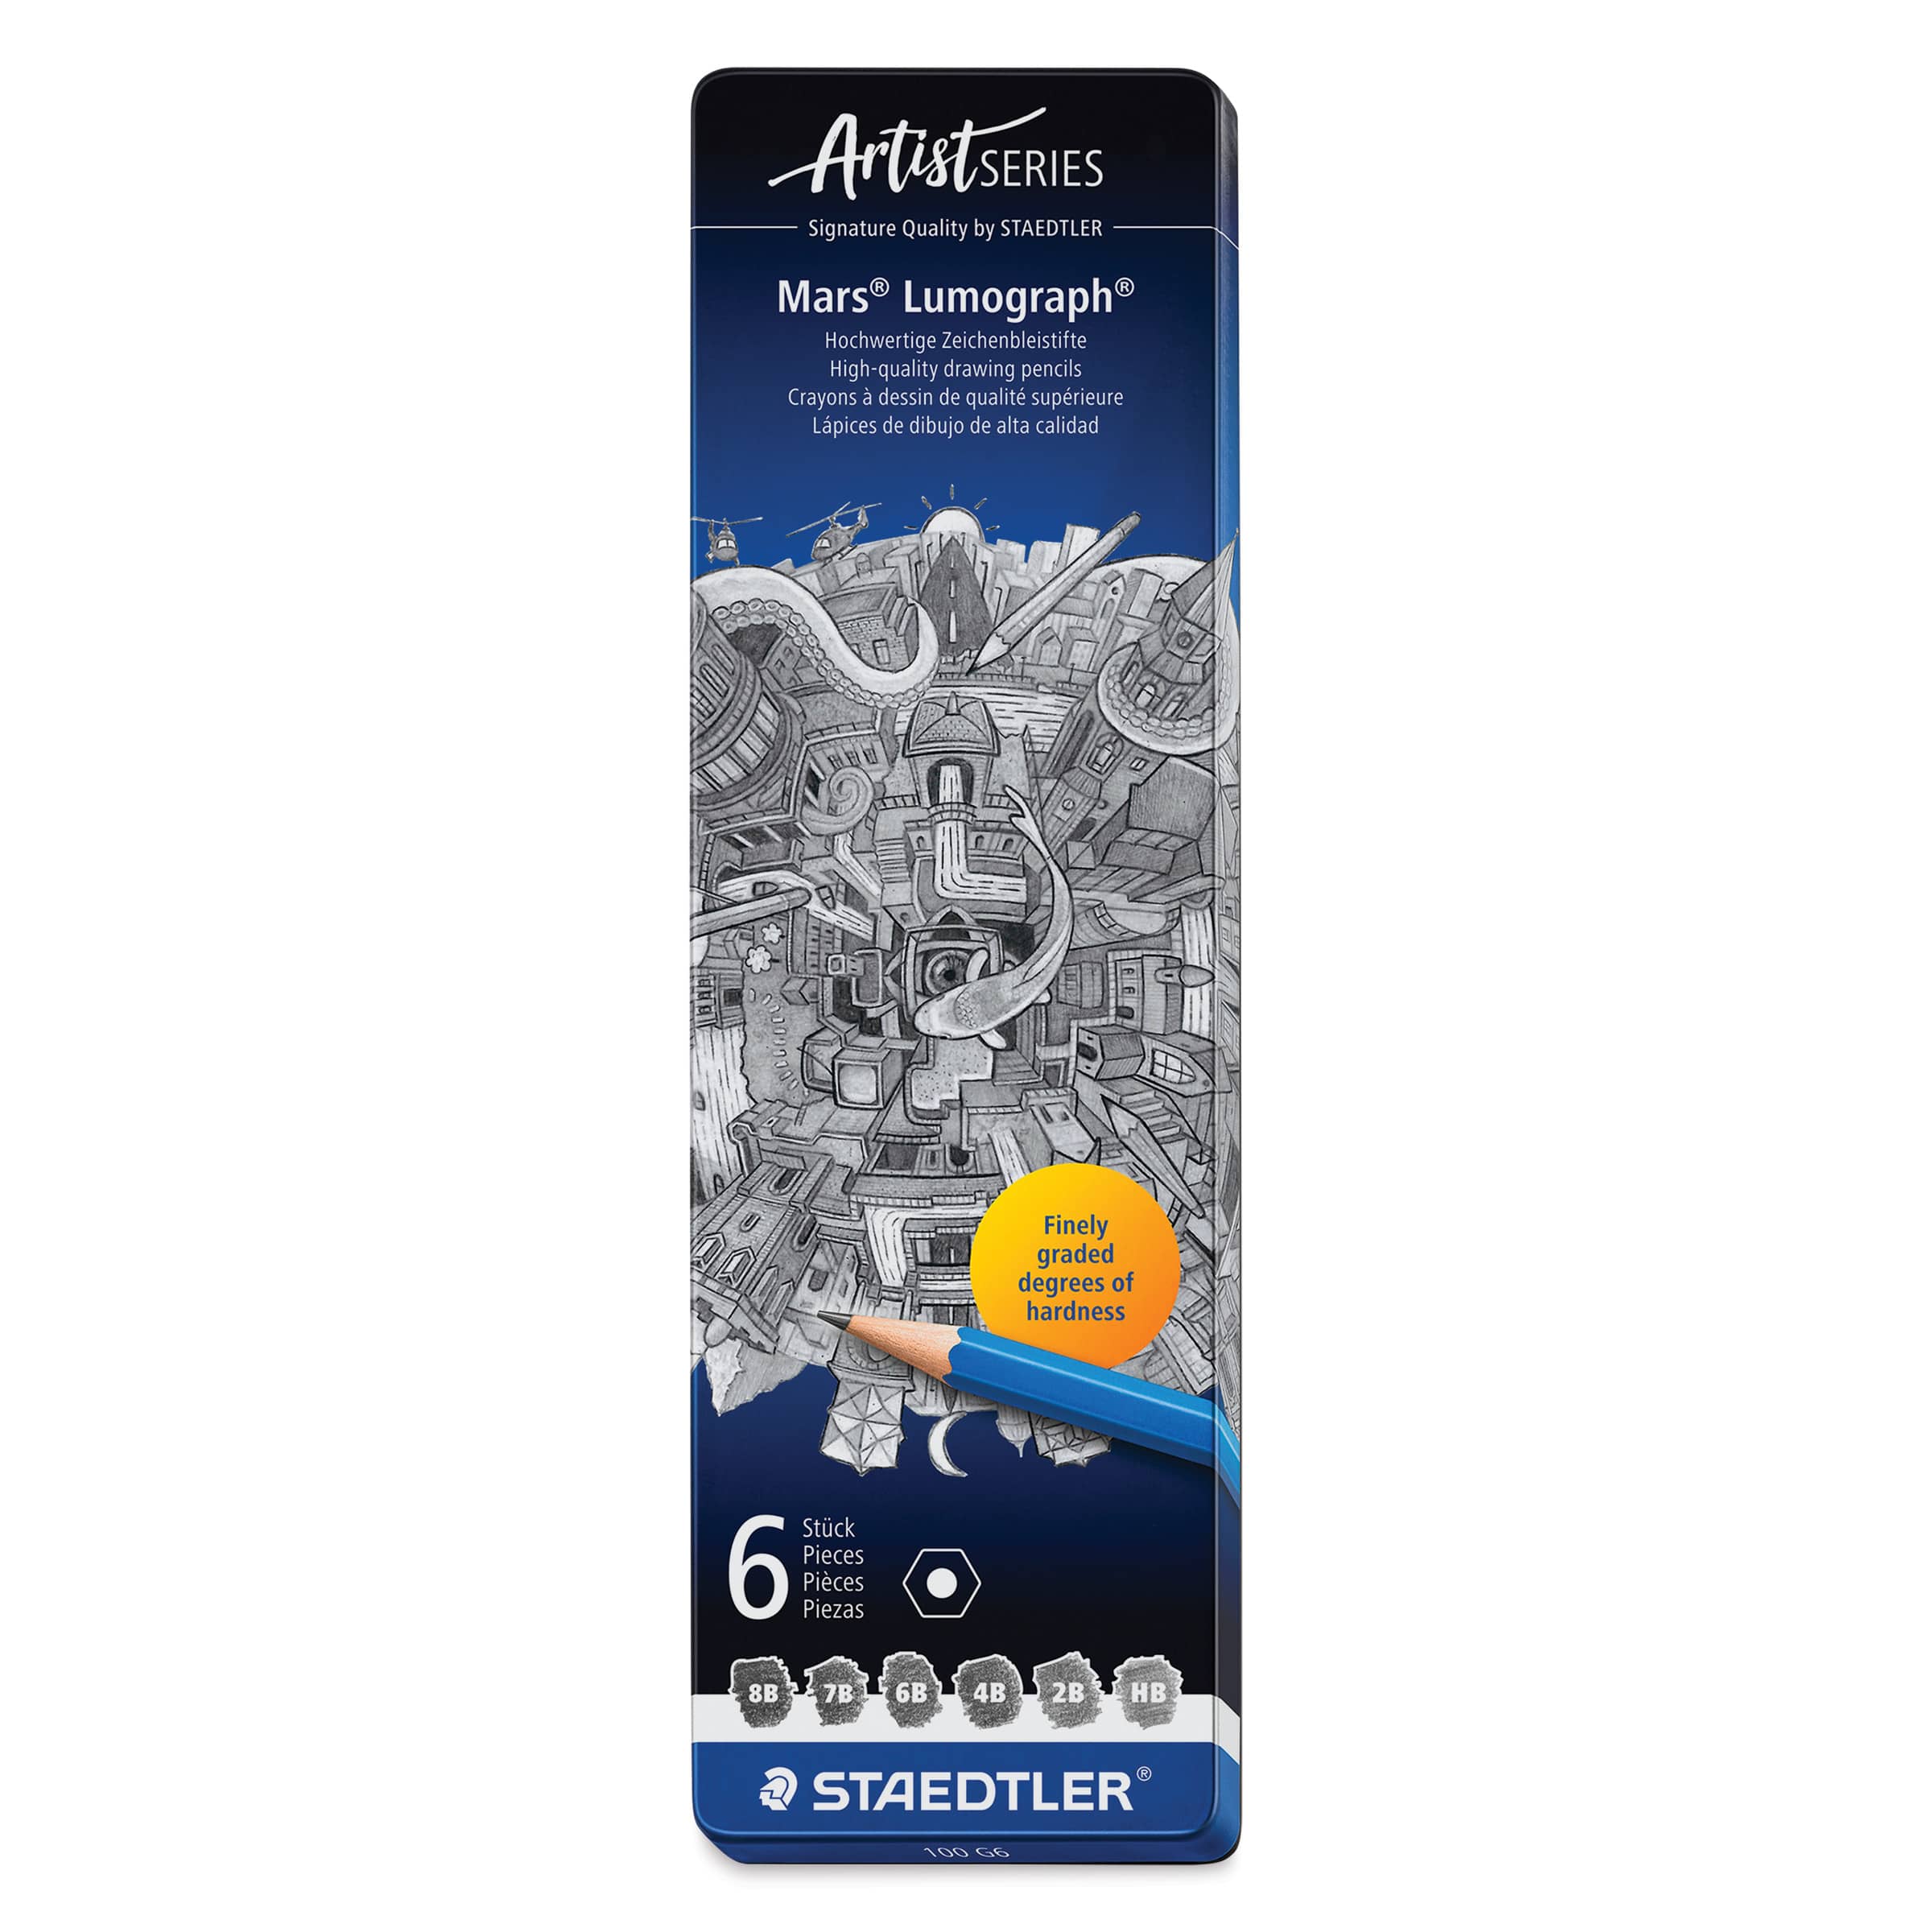 (an HB lead pencil is best for light sketches) |
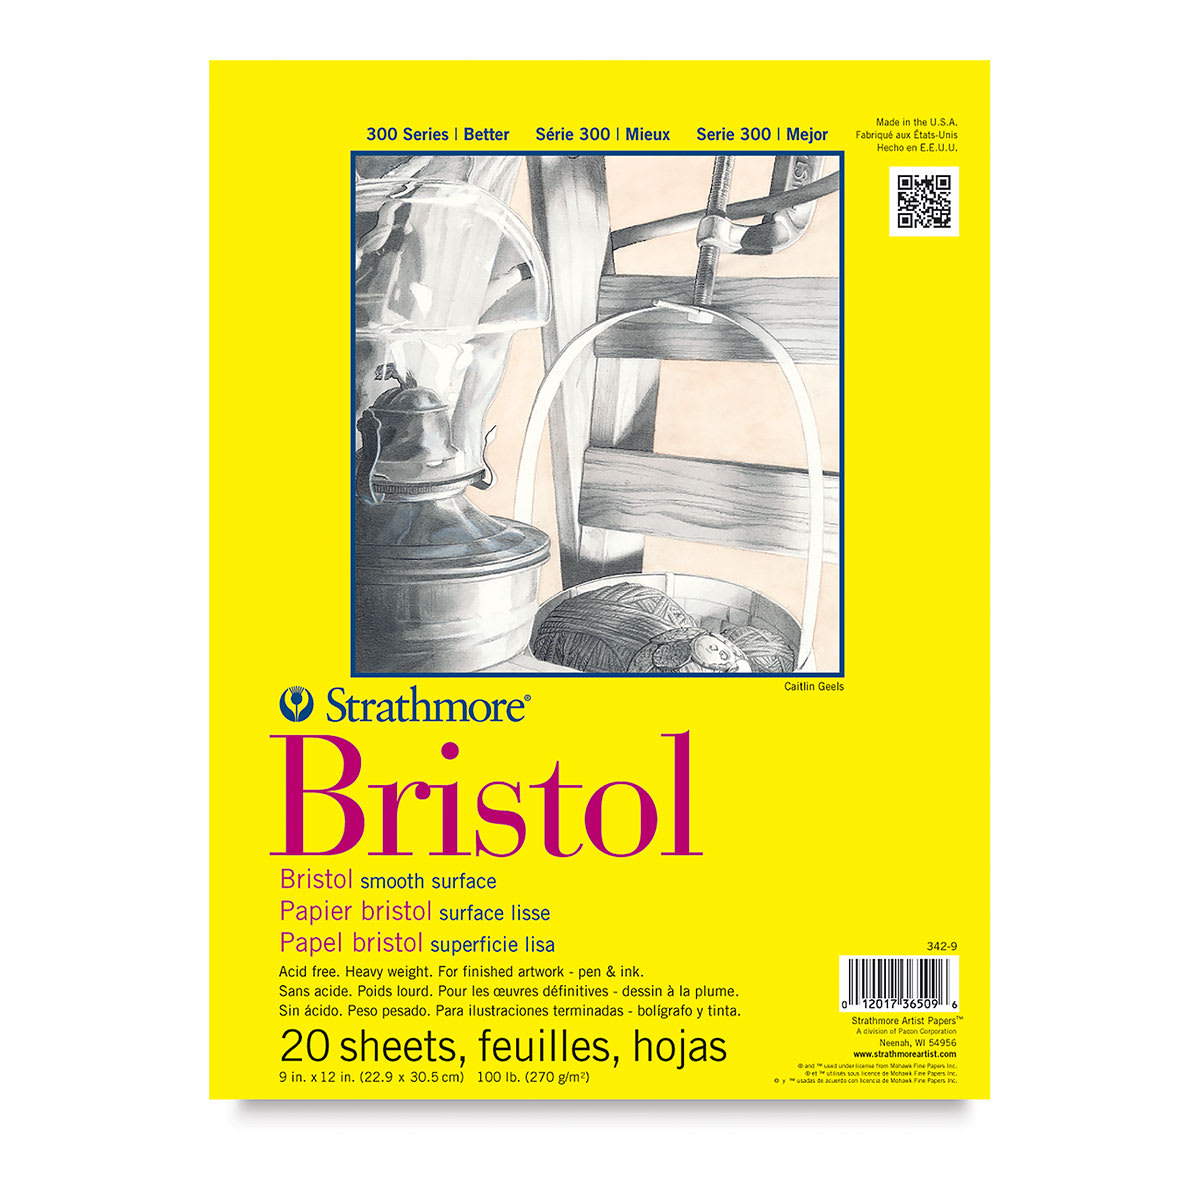 |
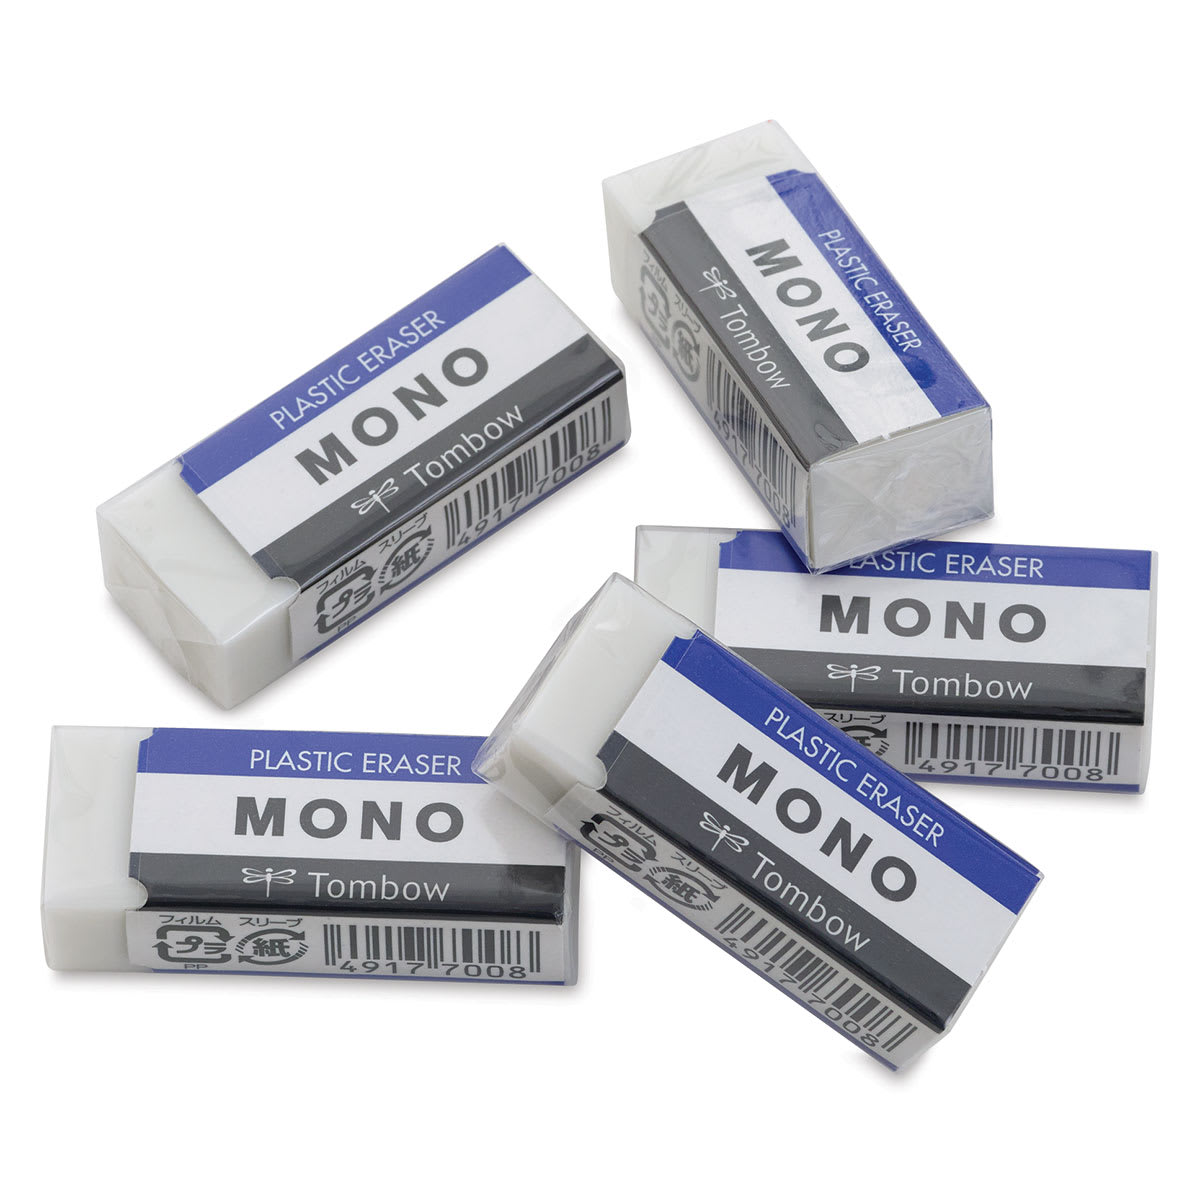 |
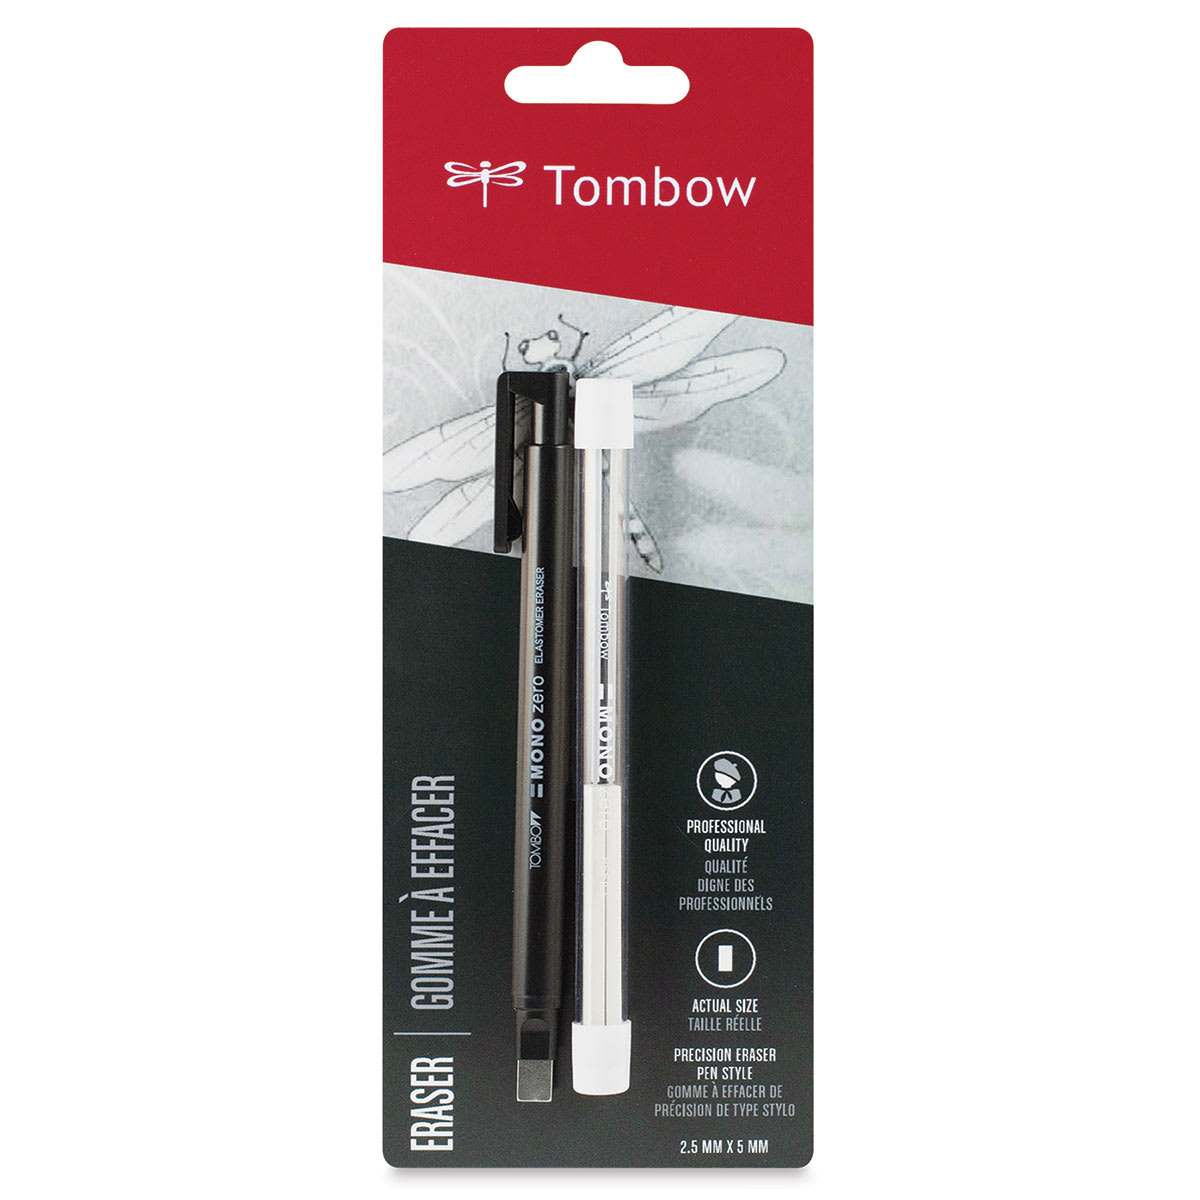 |
 |

Step 1: Create the Initial Guidelines Sketch
Before diving into the detailed elements, establish the scale and proportions of the animal portrait using a series of basic shapes. Sketch these guidelines very lightly so they are easy to erase later.
Proportional Guides
- The Head Circle: Draw a circle as a guide for the main part of the head. An easy way to draw it is to make small marks for the height and width, then connect them using smooth, light curves. It does not have to be flawless; you can trace the outer edge of a coin or a bottle cap if you have trouble.
- Facial Construction Lines: Inside the circle, draw a curved horizontal line slightly higher than the center to position the features later. Add a curved vertical line slightly farther to the left than the center.
- The Muzzle Circle: On the bottom half of the head, sketch a smaller circle. Pay attention to its relative size; the bottom left side should stick out past the main head boundary.
Ears, Neck, and Antlers
- The Ears: On the top right side, draw a big shape with a pointy tip using sloping curves. Sketch a similar, slightly smaller shape on the left side to account for the angle of the head.
- The Neck: Underneath the head circle, draw a couple of curved lines extending downward, curving inward slightly at the very bottom.
- The Antlers: Above the right ear, draw a very long curved line extending right and then up. Mirror this above the left ear, curving it left and then up. Keep the top tips level with one another.

Step 2: Draw the Eyes and Mouth
With your baseline framework set, start locking in the foundational features of the face using fine line work.
Facial Features
- The Eyes: Sketch two small circles resting directly on top of the horizontal guide line, split by the vertical line. The left eye sits near the outer edge. Once placed correctly, darken them and make the corners pointy. The inner corner points down toward the muzzle while the outer corner points toward the ear. Add creases above and below the lids.
- The Highlights: Inside each eye circle, add a tiny, white highlight circle close to the outer edge to bring the look to life.
- The Thick Brows: Draw a long, curved, stylized brow line above each eye following the natural path of the head circle, using short angled strokes to emphasize their volume.
- The Nose and Muzzle: Place a large oval for the nose near the left edge of the muzzle guide. Darken the top with a wavy line, use small half-circles on the sides for nostrils, and keep the bottom flat. Directly underneath, draw a clean horizontal line for the mouth, adding short lines under the nose for color separation and a wavy line along the baseline for the chin.

Step 3: Sketch in the Antlers
Build up the thick, branched antler framework by using your initial lines as central tracks.
Antler Development
- The Main Left Antler: Darken the lower section of your left guide line, adding a small curved base line. Track along the guide with a parallel line to thicken the structure, keeping the top tip thin and pointy.
- The Left Branches: Sketch a small branch near the base. Further up, add a large branch using long strokes, and draw an overlapping, sloping branch that crosses over the lower structure. Keep the thickness balanced.
- The Main Right Antler: Darken the bottom portion of the right track, pulling a parallel line upward to widen the beam before finishing it into a pointy tip.
- The Right Branches: Draw a long curved branch near the midpoint that bends slightly. Add a smaller branch to the right side that overlaps it, followed by a sloping branch near the middle and a short branch near the base. Darken all final lines once the composition is balanced.

Step 4: Sketch the Rest of the Head and Ears
Flesh out the primary anatomy by connecting your facial elements together into a clean, structured portrait.
- The Crown: Track along the top edge of your original head circle, flattening out the upper contour slightly to form the crown.
- The Left Profile: Draw a clean, inset curve linking the eye down to the muzzle, making the face look thinner than the guide circle.
- The Right Profile and Jaw: Add sharp, angled lines next to the right eye for bony structure, then follow the lower path of the guide circle to finalize the jaw line, curving it upward on the right to show definition.
- The Ear Details: Darken the outlines of both ears. Inside each opening, add multiple short, soft, curved lines to create a realistic fur texture.

Step 5: Add Any Other Details
Incorporate supporting structural lines to anchor your portrait before moving into the final stages.
- The Neck Creases: Darken the outer borders of the neck guidelines, breaking the lines up into organic, overlapping curves to hint at soft skin folds.
- The Muzzle Definition: Sketch a couple of long, sloping parallel lines running from the forehead down the bridge of the nose to bring out the shape of the muzzle.
- The Forehead Creases: Add a handful of small, concentrated lines directly above the eyes to darken the brows and build a regal expression.

Step 6: Begin Shading Your Drawing
Clean up the artwork and start layering values to bring volume and depth to your sketch.
- The Cleanup: Use a fine click eraser to clear out the initial construction circles from between your detailed line work. Touch up final lines you want to keep.
- The Pupils: Switch to a soft graphite pencil, like a 4B, and apply heavy pressure to darken the pupils completely, avoiding the tiny highlight circles.
- The Soft Undercoat: Grab a harder graphite pencil, like an HB, and lay down a light, smooth tone over the face and neck, keeping it softer than the eyes.
- The Dark Muzzle: Work dark values onto the tip of the muzzle and across the nose leather, leaving thin, unshaded gaps on the bridge to serve as bright glares.

Step 7: Continue Shading and Outlining Details
Establish your light source and introduce shadows to transform your drawing into a dimensional portrait.
- The Overhead Light Source: Imagine your light coming down from the top, meaning your deepest shadows will sit underneath the ears, chin, and brows.
- The Antler Depth: Shade along the lower edges of the antler beams, keeping the top boundaries light to retain clear highlights.
- The Line Re-emphasis: Re-trace your primary contours with a dark pencil to pull your line work forward against the smooth gray tones. Use a scrap piece of paper under your hand to block any smudging.

Step 8: Add a Border Behind Your Deer
Introduce a striking graphic backdrop to pull the viewer's focus directly into the center of your artwork.
- The Frame Guidelines: Align a ruler behind the animal head and sketch a large, balanced rectangle as a graphic background frame.
- The Contrast Layer: Use a light pencil grade to fill the entire background frame with a smooth, consistent tone. This mid-tone contrast will instantly make the deer's silhouette pop.

Step 9: Finalize Your Drawing
Tie your piece together by refining the coat textures and deepening the overall value range.
- The Fur Pattern: Lay down a series of short, quick, directional pencil strokes across the head and neck to build up a believable fur coat texture.
- The Graphic Outline: Trace around the outer silhouette of the entire animal with a thick, solid line to complete its graphic style. Balance out your shades until you are completely satisfied.

Buy My Step-by-Step Art Books on Amazon!
If you enjoyed drawing with me and want to expand your artistic skills, please consider checking out my step-by-step drawing books on Amazon! My books break down a wide variety of animals into simple geometric shapes, making it easy and fun for artists of any skill level to follow along. Every purchase directly helps support this site so I can keep creating high-quality, free tutorials for the art community.
Click Here to Order Your Copy Today!
This is an Amazon affiliate link. If you choose to purchase through this link, I earn a small commission at no extra cost to you.
Thanks for visiting! Subscribe to the How2DrawAnimals YouTube Channel for new tutorials every week.
And to learn how to draw cartoons, visit EasyDrawingTutorials.com.
RELATED TUTORIALS
|
|
|