


Use the step-by-step instructions below to learn how to draw a cute chibi frog sitting on a lily pad. Follow along with the video, or use the images in this article. By the end of this tutorial, even beginners will have a completed drawing of this adorable amphibian character!
Love drawing? Keep your artistic streak going and enjoy more free art lessons by:
- Bookmarking the How2DrawAnimals.com homepage for updates
- Subscribing to the How2DrawAnimals YouTube channel
- Visiting EasyDrawingTutorials.com for tons of free cartoon tutorials
This page contains affiliate links. If you choose to purchase through these links, I earn a small commission at no extra cost to you.
All the free art lessons on How2DrawAnimals.com are easy to follow; they teach you the basics while showing you how to render animals step by step. Each tutorial has a video tutorial option, as well as step-by-step photos and written text to follow. After you're done here, try another tutorial!
RELATED TUTORIALS
 |
 |
 |
To draw this chibi frog step by step, follow along with the video tutorial below and pause the video after each step to go at your own pace. You may find it easier to follow the step-by-step images below the video. You may want to open the video in a new tab and use both drawing methods. Take your time and create art at your own pace.
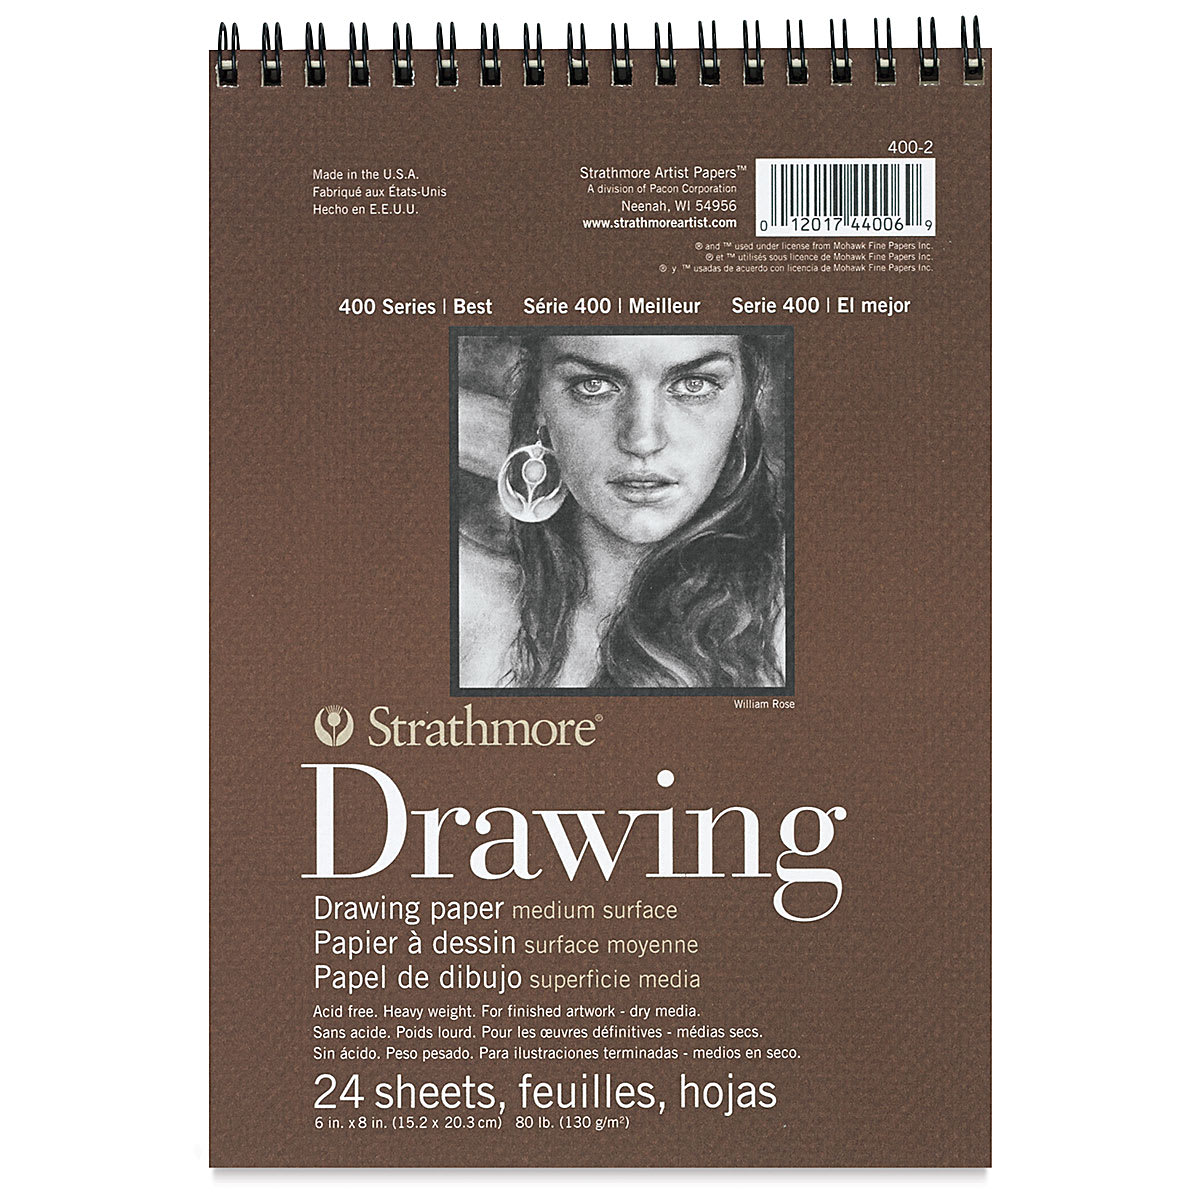
Materials You'll NeedBefore starting, gather these basic drawing supplies from Dick Blick. If you choose to purchase through these links, I earn a small commission at no extra cost to you. |
||
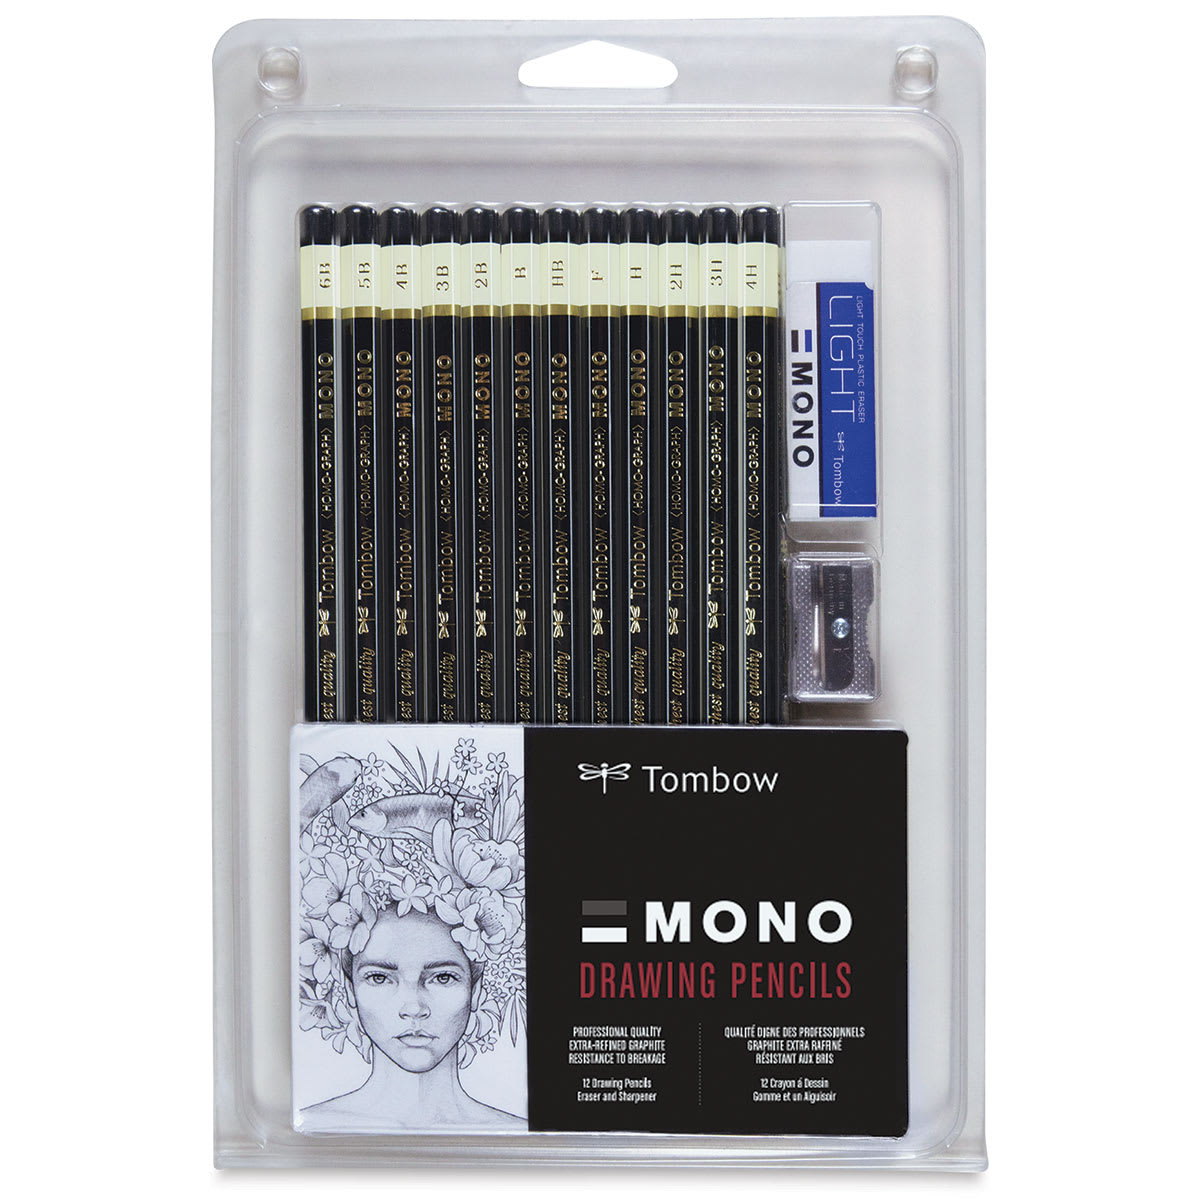 (an HB lead pencil is best for light sketches) |
 |
 |
 (or Fine-Line Marker) |
 (or Markers) |
 (or Colored Pencils) |
x

Step 1: Lay the Foundation with Construction Guides
Establish the scale and proportions of the frog using simple guidelines. Sketch these steps very lightly so they are easy to erase later.
Proportional Circles
- The Body Guide: Start by lightly sketching a circle to serve as the main guide for the body. An easy way to do this is to make two small pencil marks to indicate the desired height, two marks on the sides for the width, and then connect them with curved lines.
- Tracing Tip: You do not have to draw a perfect circle. But if you are having trouble drawing a circle, simply trace the outer edge of a cup, a lid, or anything else with a circular edge.
Defining the Layout
- The Horizontal Guide: Draw a curved horizontal line directly across the entire circle. Place this line close to the center. Don't draw it too low or too high. This line will help you place the facial features accurately later on.
- The Vertical Guide: On top of that, draw a short vertical line for another construction guide. Place this line close to the left edge of the circle. This off-center placement establishes the slight turn of the body.

Step 2: Drawing the Head & Facial Features
Now focus on the details of the face to capture the adorable look characteristic of the chibi style!
The Eyes and Brow
- The Eyes: Inside the shape, lightly sketch two large circles for the eyes. Place the eyes on top of the horizontal construction guide and on either side of the vertical guide. Do not place them too close together; frogs have eyes that are far apart. Make them nice and big, then darken the outlines once you get the sizes and positions right.
- Eye Details: Inside each eye, off to the side, draw a tiny circle for a highlight. On the bottom of each eye, draw a tiny curved line.
- The Heavy Brow: Draw a couple of curved lines above the eyes for the heavy brow ridge, keeping them right along the edge of your initial circle guide. They should be roughly the same size as the tops of the eyes.
The Mouth
- The Smile: Below the eyes, draw a curved horizontal line for the mouth, placing it below the horizontal construction guide. The outer tips of this line should be very close to the inner edges of the eyes. Notice how the middle point of the line also curves up slightly to create a cute expression.

Step 3: Sketching the Front Legs and Head Shape
With the face established, you can begin building the physical structure of the frog's front legs and head connection.
Front Legs and Head Alignment
- Front Legs: Along the bottom, draw a couple of short vertical lines for the first leg directly below the right eye, closing off the shape with a horizontal line. Draw a similar shape on the left side, placing it directly below the left eye. The legs should be wider at the top and thinner at the bottom, with the left leg slightly smaller due to the turned perspective of the body.
- Connect the Brows: Connect the brow structures using a horizontal line to firmly establish the top part of the head.

Step 4: Shaping the Round Torso and Back Limbs
Chibi animals like this frog have highly stylized, compact limbs and a plump, round posture.
Body Outline and Back Leg Elements
- The Plump Torso: Draw the rest of the body along the basic path of the original circle guide, but make the lower body a bit wider than the initial circle so that the frog looks extra round and chubby.
- The Folded Leg: On the right side at the top, draw a long curved line for the folded hind leg. This shape is sort of similar to the number 2. Then, finish the back portion of the body as a long, curved vertical line on the right side.
- The Visible Foot Guides: Most of the back legs will be hidden behind the round body. Draw a small, angled line on the lower left side and another on the right side for the visible sections of the hind feet. These lines look similar to "less than" (<) signs.

Step 5: Drawing the Lily Pad Base
Give your character a natural setting by adding a simple supporting leaf surface.
The Lily Pad Environment
- Leaf Tips: On the bottom left and right sides, draw short curved lines for the tips of the lily pad leaves.
- Completing the Leaf Shape: Connect those curved lines to the frog's body using horizontal lines. Add a couple more curved lines on the sides for extra leaf detail, and close off the entire shape at the bottom using a long, curved horizontal line.

Step 6: Inking and Clean Line Work
Solidify your final outlines and clear away all the construction guides.
Inking and Cleanup
- Trace Your Outlines: Go over your final structural lines one more time so that they stand out. Using permanent ink, a fine-liner, or a marker, slowly and carefully trace over your final shapes to avoid any accidents. Do not trace any of the initial construction guides that you won't want to keep.
- Erase Guidelines: Let the ink dry completely so it won't smudge. Once dry, take a soft eraser and clear away all the original circular construction guides and pencil marks from the paper.
Step 7: Applying Colors
Begin the coloring phase after gathering the colored pencils or markers you want to use.

Details First, Then the Base Color
- Cheeks, Spots, and Belly: Dark green spots on the back, green in the eyes, pink for cheeks, and a yellow belly make up the different color details throughout your chibi frog.
- The Frog's Skin: Then start blocking in green for the main parts of the frog's body. Be sure to leave the tiny circles inside the eyes stark white so the highlights maintain their sparkle.

Step 8: Finish Coloring the Environment
The final step completes your cute chibi artwork!
Final Coloring Details
- Color the Lily Pad: Use a different, contrasting shade of green for the lily pad leaves beneath the frog's feet to create a distinct separation between your character and the leaf it's sitting on.
Buy My Step-by-Step Art Books on Amazon!
If you enjoyed drawing with me and want to expand your artistic skills, please consider checking out my step-by-step drawing books on Amazon! My books break down a wide variety of animals into simple geometric shapes, making it easy and fun for artists of any skill level to follow along. Every purchase directly helps support this site so I can keep creating high-quality, free tutorials for the art community.
This is an Amazon affiliate link. If you choose to purchase through this link, I earn a small commission at no extra cost to you.
Click Here to Order Your Copy Today!
Thanks for visiting! Subscribe to the How2DrawAnimals YouTube Channel for new tutorials every week.
And to learn how to draw cartoons, visit EasyDrawingTutorials.com.
RELATED TUTORIALS
|
|
|