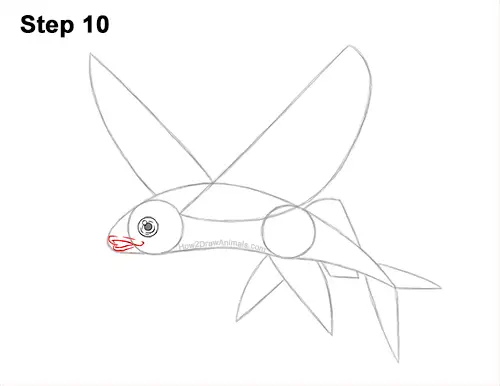
Step 10: Near the bottom edge of the initial arc for the head, draw a small, curved line for the top part of the flying fish's open mouth. Draw another curved line above the mouth to emphasize the top lip. Darken a bit of the initial arc on the left. Draw another curved line at the bottom for the rest of the open mouth. Add a curved line along the lower edge of the initial arc for the bottom lip.
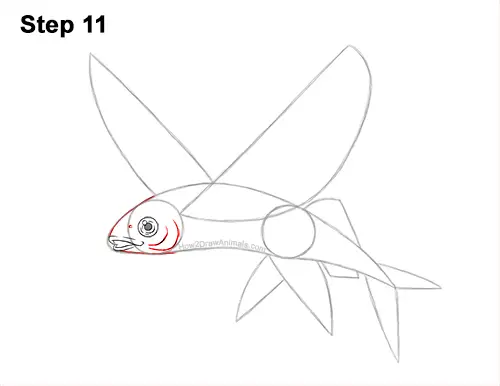
Step 11: Use the initial arc and first circle as guides to draw the rest of the flying fish's head. Darken the arc and the top and bottom edge of the circle to create the shape of the head. Draw a small circle near the top of the head for the nostril. To the right of the eye, draw a couple of curved lines for the fish's gills.
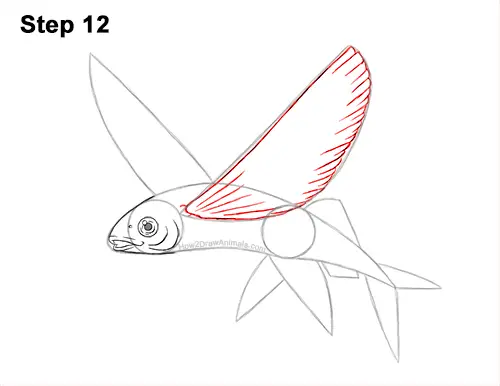
Step 12: Use the big, tilted, D-shaped line on top the body as a guide to draw the first wing-like pectoral fin. Draw a wavy line at the bottom for the base and then darken the shape to create the fin. Use wavy lines as you darken the right edge of the guide for a textured look on the flying fish's fin. Draw a series of sloping lines inside the shape, on the bottom and top for more detail on the fin's texture.
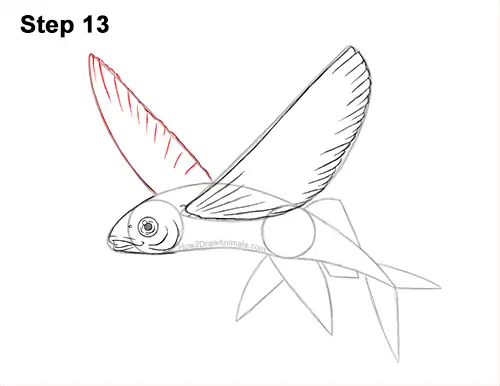
Step 13: Darken the long shape on the left to create the flying fish's other wing-like pectoral fin. Use wavy lines when you darken the right edge and add some lines inside for texture.
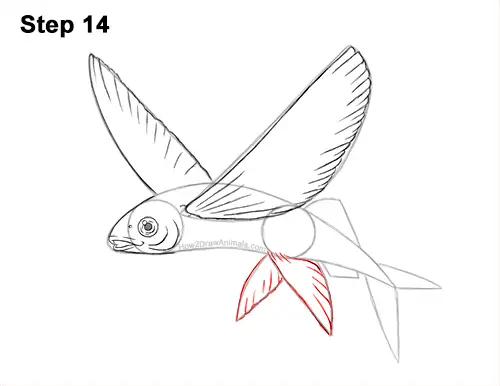
Step 14: Darken the two tilted, V-shaped lines under the body to create the pelvic fins. Draw an extra line at the top of the guide on the right to make the base of the fin thinner. Draw a series of short strokes inside the flying fish's fins for texture.


