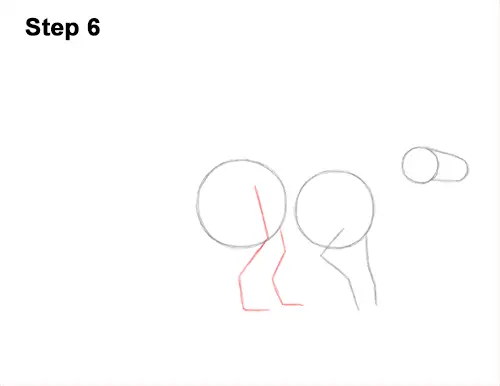
Step 6: Under the circle on the left, draw an even longer angled line as a guide for the dinosaur's first hind leg. The line should bend twice in the middle. This is where the leg joints will be. Bend the bottom tip for the iguanodon's foot. To the right, draw a similar line for the other hind leg. Don't draw the top part that's behind the circle.
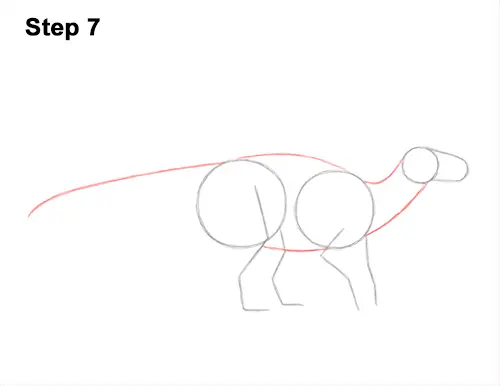
Step 7: Draw two curved lines that connect the first circle and the head as the guide for the iguanodon's neck. The bottom line should be longer. Connect the middle circles using two curved lines to finish the torso. The top line should be curvy, and the bottom line should be flatter. On the top, left side of the dinosaur's body, draw a long, horizontal line that slopes down a bit as a guide for the tail.
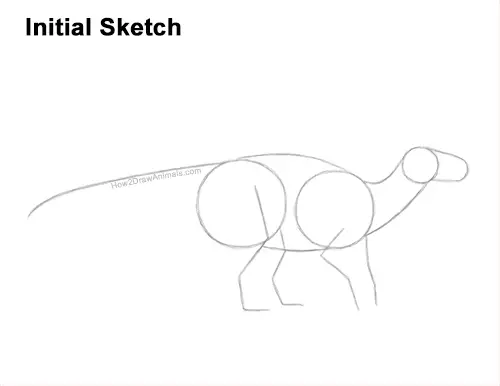
That's it for the guides! From this point on, press harder with your pencil for a more defined drawing.
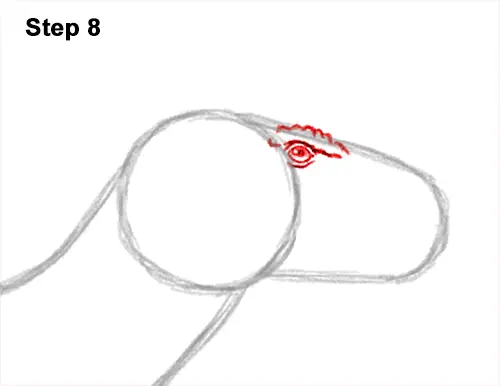
Step 8: On the top, outer edge of the head circle, lightly sketch a small oval for the eye. When you get the size and position of the eye right, darken the lines and make the sides of the shape pointier. The iguanodon's eye should be very close to the top edge of the head. Inside the eye, draw a tiny dot for the pupil. Above the eye, draw a small, curved line for the lower edge of the thick brow. Draw a couple of curved lines around the dinosaur's eye for creases on the skin.
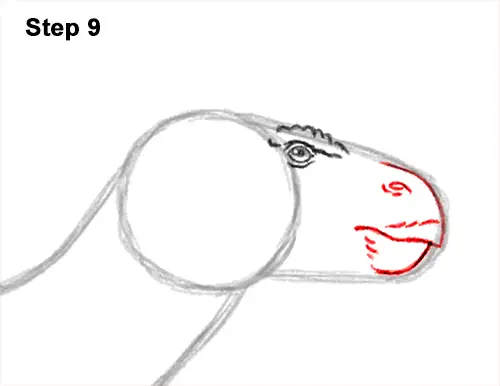
Step 9: At the top of the initial sideways arc, near the bottom, draw a short, horizontal line for the iguanodon's mouth. Don't make the mouth too long. Darken the tip of the initial arc that's above the mouth. Darken the tip of the arc that's under the mouth too. Don't stretch these lines too far to the left. Add a few strokes on the muzzle for the beak-like mouth. At the top, draw a tiny oval-like shape for the dinosaur's nostril.


