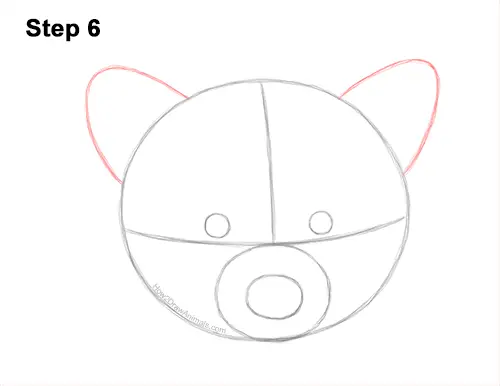
Step 6: On the top, left side of the head, draw a small arc as a guide for the first ear. Place the arc equidistant from the tips of the horizontal and vertical lines inside the head. On the right, draw another arc as a guide for the raccoon's other ear. Pay attention to the sizes of the ears in relation to the head.
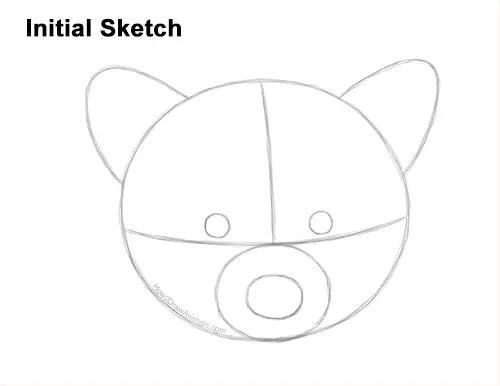
That's it for the guides! From this point on, press harder with your pencil for a more defined drawing.
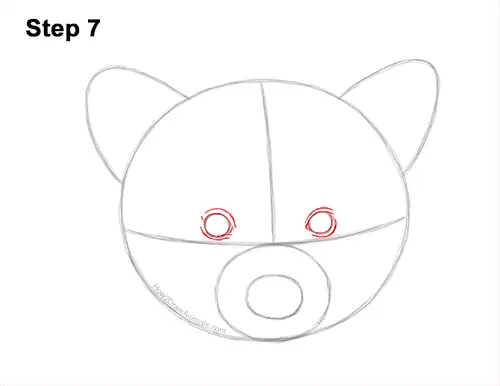
Step 7: Use the small circles inside the head as guides to draw the raccoon's eyes. Darken the circle on the left for the first eye. Draw a couple of short lines on the lower, right side for the corners of the eye. Draw a couple of curved lines around the eye for the creases on the skin. Use the circle on the right as a guide to draw the other eye the same way. Darken the shape but make the lower, left side more pointy for the corner of the eye. Draw a couple of curved lines for the creases of the skin around the eye.
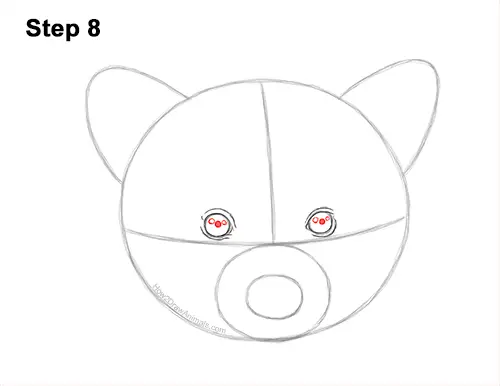
Step 8: Draw a small dot in the middle of the eye on the left for the first pupil. Do the same for the eye on the right. Draw a big dot in the middle of it for the other pupil. Draw a couple of tiny circles on the sides of each of the raccoon's pupils for highlights.
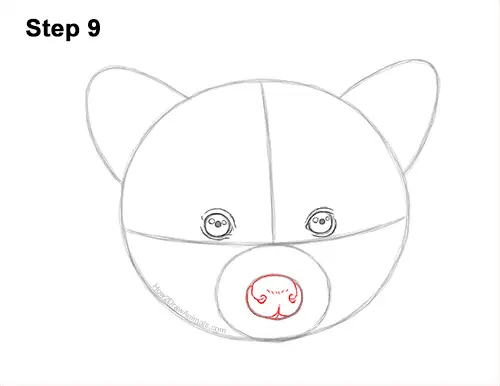
Step 9: Use the small oval inside the muzzle as a guide to draw the raccoon's nose. Follow the path of the guide and darken the top part of the shape. Curve the left side inward and add a tiny oval on the end for the first nostril. Curve the right side inward too and create the other nostril using a couple of short, curved lines. Curve the bottom edge inward and draw a small, vertical line near the middle that splits the raccoon's nose a bit. The nose should fit inside the oval guide. Add a few short strokes at the top for detail.


