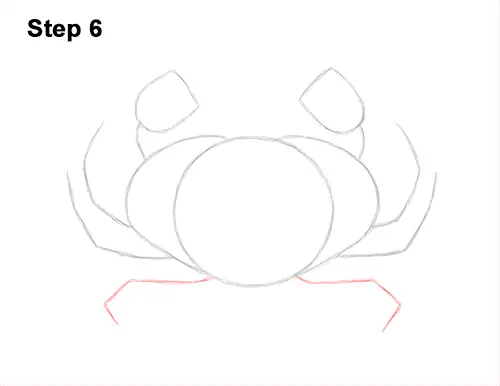
Step 6: Below the crab's middle legs, draw two more lines as guides for the next pair of legs. These lines should be a bit shorter, and they should bend downward. Keep the sides symmetrical.
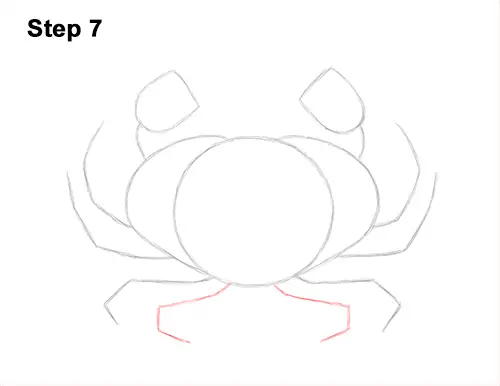
Step 7: At the very bottom, draw two more lines that bend downward as guides for the edible crab's last pair of legs.
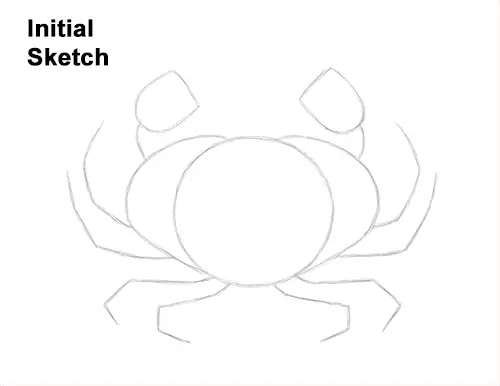
That's it for the guides! From this point on, press harder with your pencil for a more defined drawing.
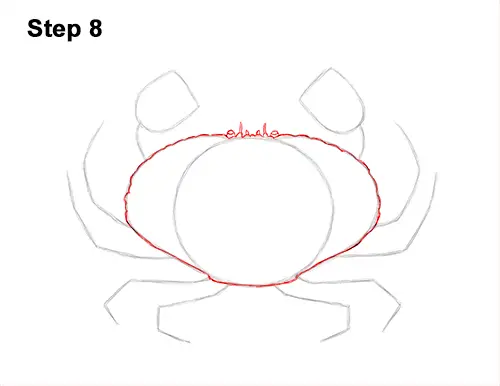
Step 8: Use the big shapes in the middle as guides to the draw the brown crab's body. Darken the outer edges of the initial guides to create the shape of the body. As you darken the lines, use a series of short, curved lines so that the edge of the body looks similar to a pie crust. Make the line for the top edge waiver for the indented grooves found there. At the top, draw four short, spike-like shapes for the sets of antennae on the brown crab's head. On the sides of the head, draw two very small, hill-like, curved lines for the eyes.
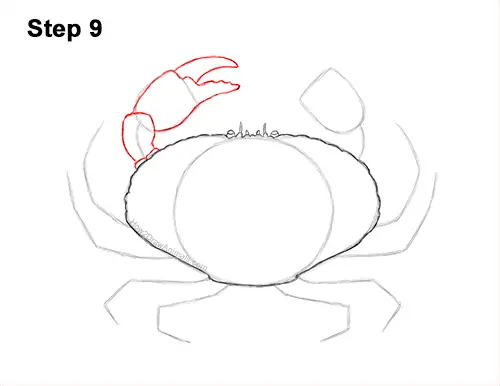
Step 9: At the bottom of the line on the top, left side, draw two curved lines for the base of the first brown crab's claw. Draw a thick, curved shape around the initial guide line for the bottom section of the claw. Darken the initial U-shaped line for the claw. Don't darken the top line that closes off the shape. At the top, lightly sketch the top of the claw as a thin, curved, spike-like shape. The shape should be thick at the bottom and thin at the top. When you get the shape right, darken the lines. At the bottom, draw another thin, spike-like shape to finish the claw. Make the inner edge jagged for the serrated claw.


