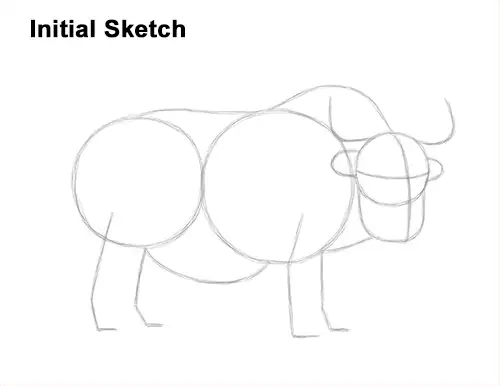
That's it for the guides! From this point on, press harder with your pencil for a more defined drawing.
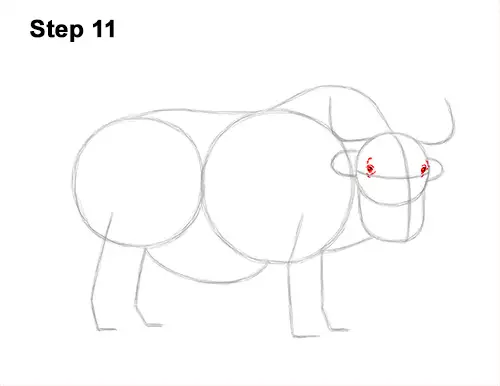
Step 11: Lightly sketch the eyes inside the head as two small circles. Use the initial lines as guides for placement. Pay attention to how small the eyes are compared to the head. When you get the position and size of the yak's eyes right, darken the lines. Add a few lines around the eyes for extra detail on the eyelids and for wrinkles. Carefully shade the inside of the yak's eyes except for a tiny circle to represent highlight.
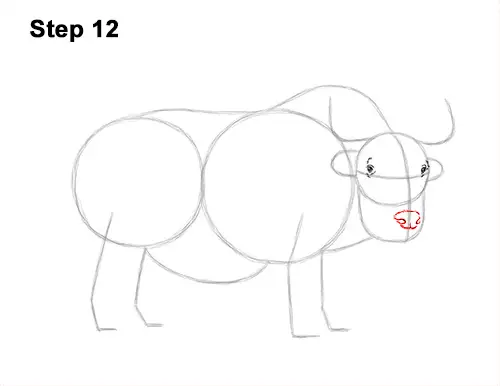
Step 12: Inside the muzzle, lightly sketch a small circle for the nose. Make the bottom edge a bit flatter when you darken the line. Curve the right edge inward for the nostril. Use tiny, short strokes to darken the top edge for a bit of fur on the yak's nose. Curve the left edge inward a lot more than the right edge to create the other nostril.
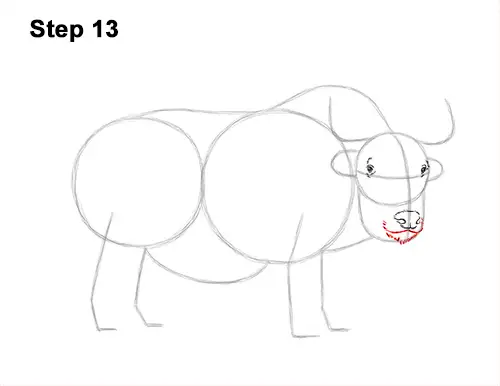
Step 13: Below the nose, draw a short, horizontal line for the yak's mouth. Add a few short strokes on the sides of the nose for detail on the furry muzzle. Add longer, vertical strokes along the bottom of the U-shaped arc for the furry chin.
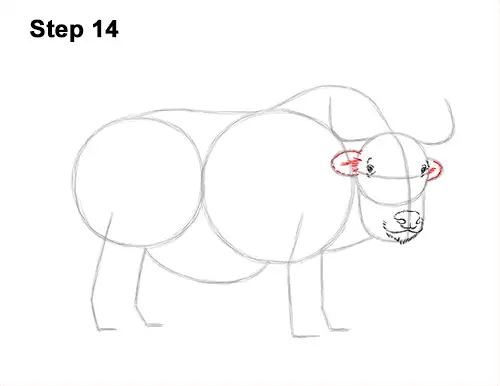
Step 14: Darken the small arc on the left side of the head to create the yak's first furry ear. Add a few longer strokes within the shape of the arc for the fur found inside the ear. Use short strokes on the arc on the right to draw the other ear the same way.


