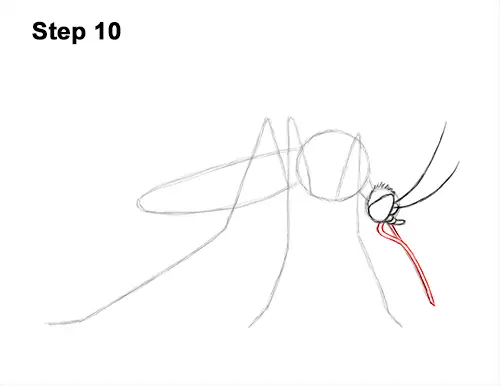
Step 10: Below the eye, draw a curved line for the top part of the mosquito's main feeding tube. Draw a parallel curved line to make the curved shape at the top thicker. Darken the initial guide line and make the shape thicker to finish the main feeding tube.
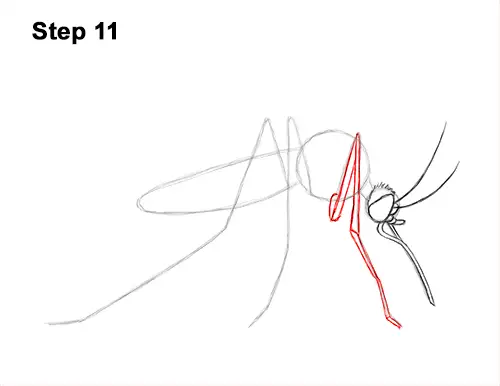
Step 11: Use the angled line on the right as a guide to draw the mosquito's first leg. Darken the guides and make the shapes thicker by adding parallel lines next to them. Mosquitoes have thin legs, so don't make these shapes too thick. Curve the line below the circle so that the base of the leg sits under the thorax. The mosquito's leg should be made up of separate segments. The segments are indicated by the way the guide bends.
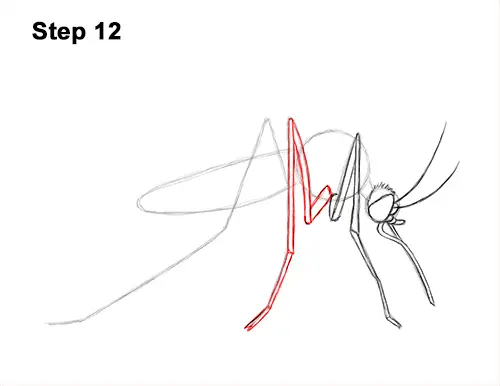
Step 12: Use the long, angled line in the middle as a guide to draw the second leg. Darken the guide lines and make the shape of the mosquito's leg thicker by drawing parallel lines. Extend the line on the right below the initial circle shape of the thorax. At the bottom, curve the shape of the leg up again toward the thorax using a couple of short lines. Darken the bottom half of the guide and make the shape thicker to finish this leg.
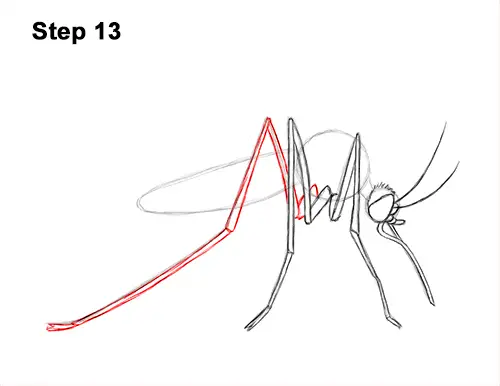
Step 13: Use the long line on the left as a guide to draw the mosquito's last leg the same way. Don't overlap the shape of the middle leg as you curve the base of this leg toward the thorax. Like before, darken the guides and make the shape of the leg thicker. Create new segments where the guide line bends. Add a few extra lines at the bottom tip.
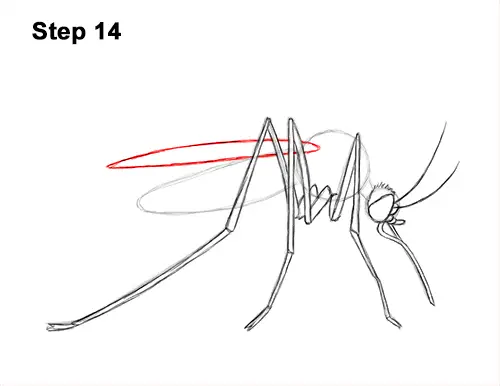
Step 14: Starting on the left of the mosquito's thorax, above the abdomen, draw a thin, long shape for the wing. Sketch lightly at first to get the shape right. The shape should be similar to a very flat oval. Don't overlap the legs as you darken the shape of the wing. Make the sides of the wing pointy. The mosquito's other wing won't be visible from this angle.


