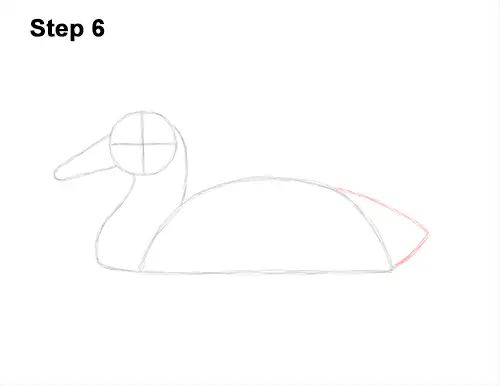
Step 6: To the right of the body, draw two curved lines that come to pointy tip as a guide for the mallard's tail.
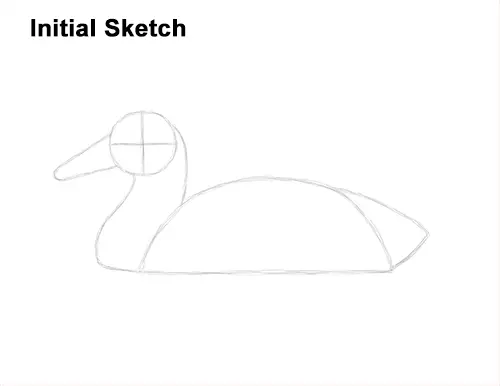
That's it for the guides! From this point on, press harder with your pencil for a more defined drawing.
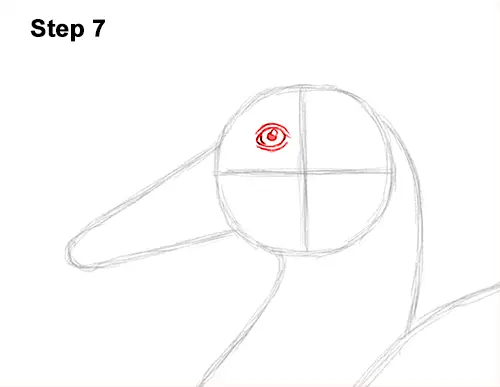
Step 7: Inside the duck's head, lightly sketch a small circle for the eye. Use the initial lines as guides for placement. Draw the eye to the left of the vertical guide line. When you get the size and position of the eye right, darken the lines. Darken the circle for the mallard's eyeball and add pointy lines on the sides for the overall shape of the eye. Inside the eye, off to the side, draw a tiny circle to represent glare. In the middle, draw a dot for the pupil. Draw a curved line on top and below the bid's eye for extra detail.
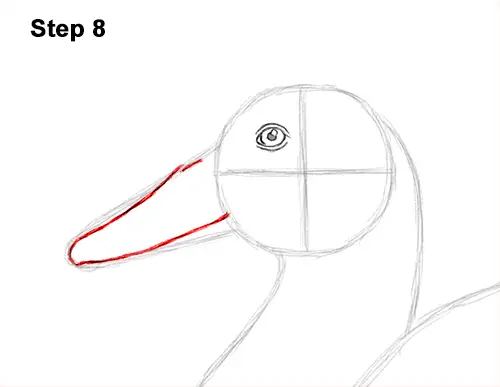
Step 8: Use the initial arc as a guide to draw the top part of the beak. Follow the basic path of the top of the arc but make the line a bit wavier. The bottom edge of the duck's beak should be farther from the edge of the initial arc, and the right side should curve up. Sketch lightly at first so that its easy to erase if you make a mistake. Only darken the lines when you get the shape right. Make the mallard's beak a tiny bit pointy at the tip. The top of the beak shouldn't touch the head.
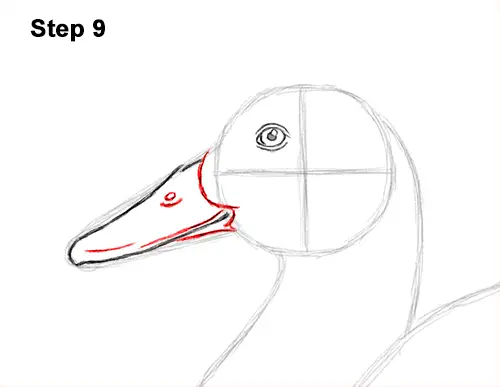
Step 9: Darken the lower, right side of the initial arc to create the bird's lower bill. Draw a couple of curved lines on the right side to create the base of the bill. The base of the bill should curve to the right where the duck's mouth is. Draw a line along the bottom edge of the bill to give the shape a small ridge. Inside the bill, near the top, draw a small circle with a line under it for the nostril.


