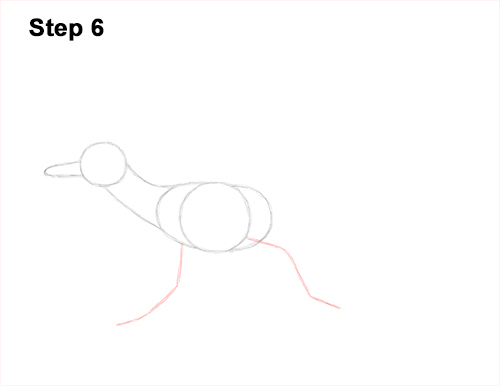
Step 6: Under the body, on the right side, draw an angled line as a guide for the first leg. Pay attention to where the line bends. This will indicate where the joints are later. On the left side, draw another angled line as a guide for the roadrunner's other leg stepping forward. Notice how long these lines are in relation to the body.
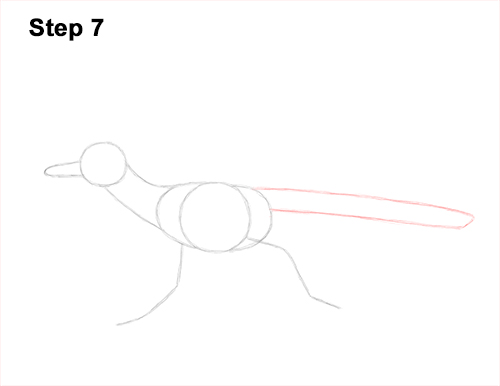
Step 7: Starting on the top, right side of the body, draw a long, horizontal line as guide for the roadrunner's tail. Draw another long line at the bottom to make the shape thicker. Close off the shape on the right side.
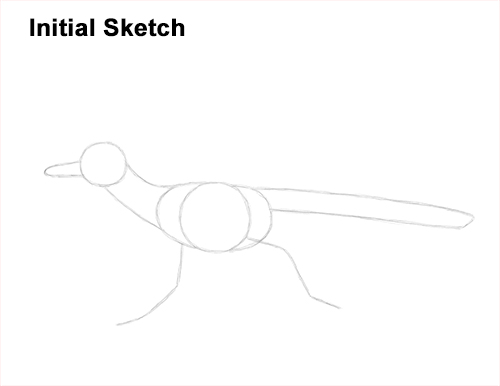
That's it for the guides! From this point on, press harder with your pencil for a more defined drawing.
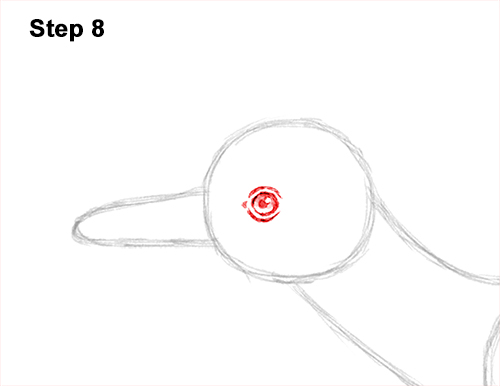
Step 8: Inside the head, near the left side, lightly sketch a small circle for the roadrunner's eye. When you get the size and position of the eye right, darken the lines. Make the edges thicker and the sides pointier for the corners of the eye. Near the middle of the eye, draw a tiny circle to represent glare and a dot for the bird's pupil. Add a light value to the rest of the eye but don't overlap the glare circle. Draw a couple of curved lines around the eye for some creases on the skin.
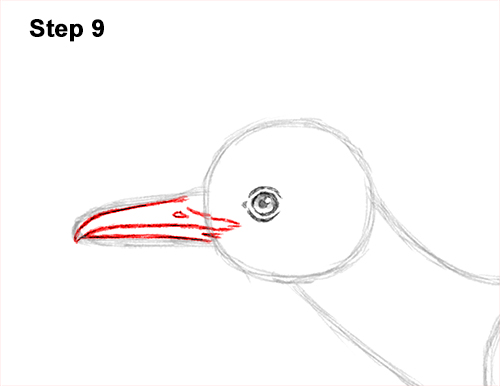
Step 9: Darken the top part of the arc on the left for the first part of the beak. Draw a pointy tip on the left side, and then draw a line through the middle of the arc for the mouth. The roadrunner's mouth should be close to the eye. Darken the bottom of the arc for the lower half of the bird's beak. Add a few short strokes on the right for the feathery base. At the top, draw a small oval for the nostril.


