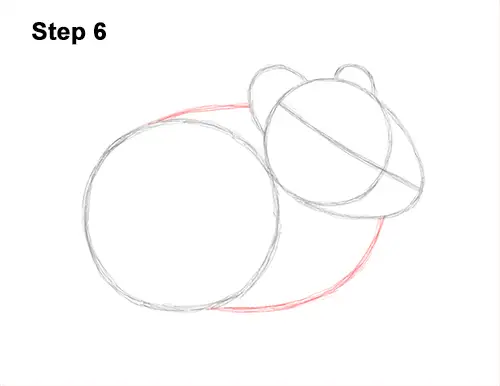
Step 6: Draw two lines that connect the circles together to create the guide for the rest of the pika's body. The line at the bottom should be longer and curvier.
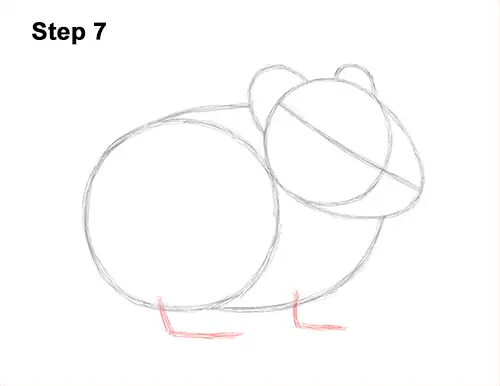
Step 7: Draw two short, angled lines under the body as guides for the pika's feet.
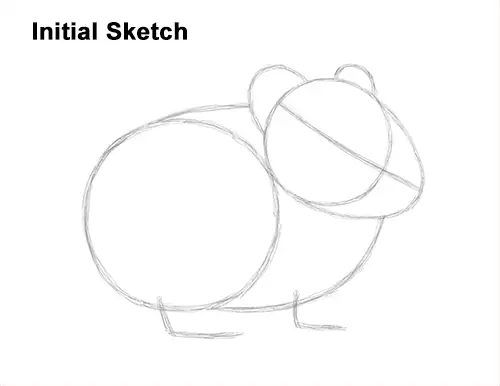
That's it for the guides! From this point on, press harder with your pencil for a more defined drawing.
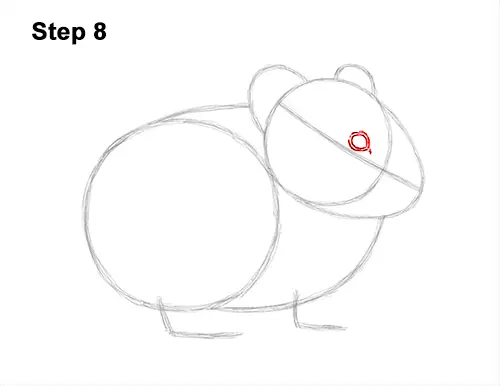
Step 8: Lightly sketch the eye inside the head as a small circle. Use the construction line as a guide to help you place the eye. When you get the size and position of the eye right, darken the lines. Make the sides a bit pointier. Add a couple of curved lines around the pika's eye for the bare skin.
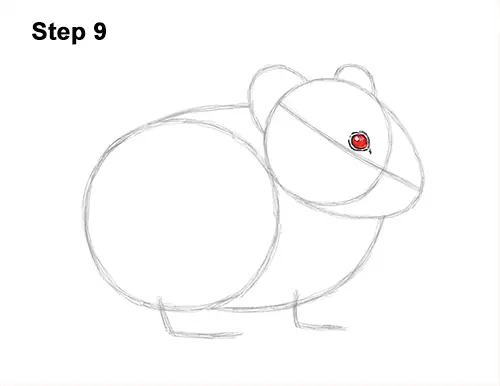
Step 9: Inside the eye, draw a tiny circle to represent glare. Shade in the eye using a dark value. Don't overlap the tiny glare circle as you shade the eye. Don't push down too hard with your pencil, otherwise the graphite can get shiny and you may tear the paper.


