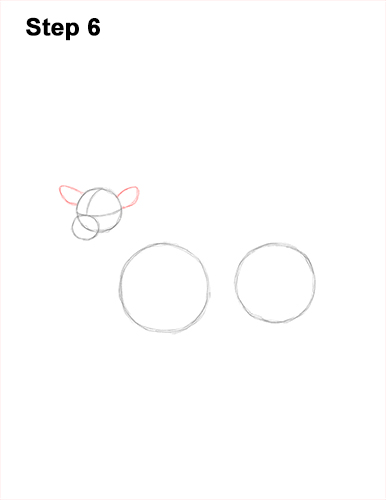
Step 6: Draw a small arc on the top, left side of the head as a guide for the first ear. Add another arc on the top, right side as a guide for the red deer's other ear.
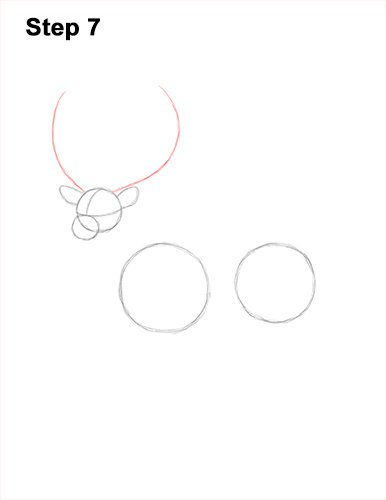
Step 7: Above the ear on the left, draw a long curved line as a guide for the first antler. Red deer have big antlers, so don't draw this guide line too small. Above the ear on the right, draw another long, curved line as a guide for the other antler. Draw the lines about the same height but make the one on the left curve outward a bit more.
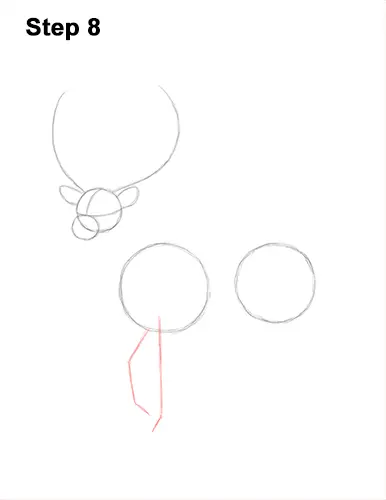
Step 8: Under the circle on the left, draw a long line that bends a bit at the bottom as a guide for the first front leg. Add another line to the left for the red deer's other front leg. This line should bend in the middle to simulate a step forward.
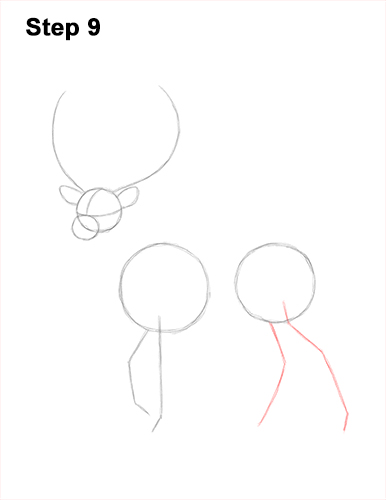
Step 9: Draw two more angled lines under the circle on the right as guides for the hind legs. The first line should bend at both ends and again in the middle to represent where the joints will be. The second line should just bend in the middle. Pay attention to the length of the lines in relation to the red deer's body.
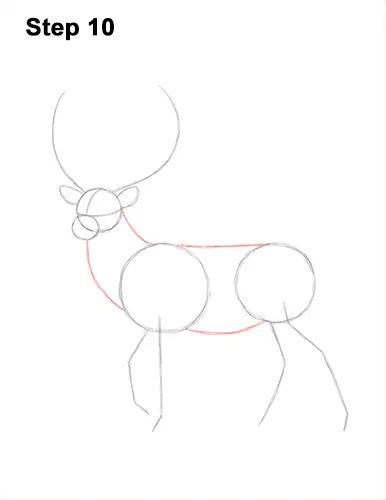
Step 10: Draw two lines that connect the head to the body to create the guide for the neck. Draw two lines to connect the big circles to complete the guide for the red deer's body. The line at the bottom should be curvier than the line at the top.


