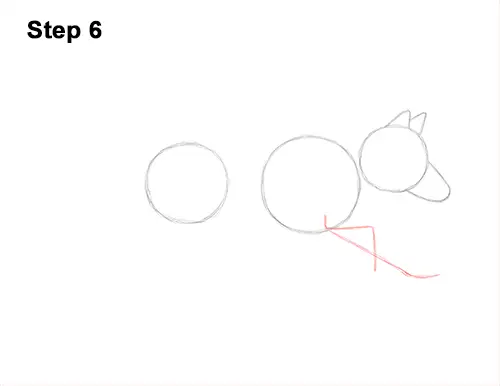
Step 6: Below the circle on the right, draw an angled line as a guide for the first front leg. Pay attention to how this line bends. This will indicate the wolf's leg joints later. It bends to the right first, then down. Add a diagonal line under the circle that overlaps the first line. This will be the guide for the second front leg that's striding forward.
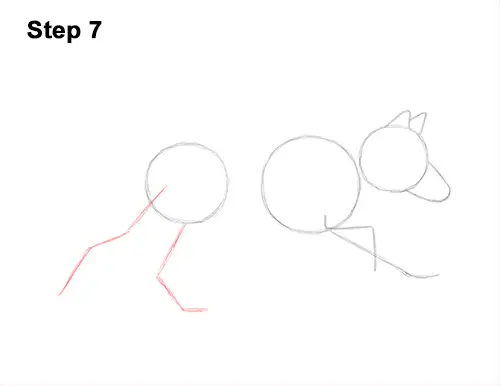
Step 7: Under the circle on the left, draw another line that slopes toward the left as a guide for the first hind leg. Bend the line twice slightly in the middle to indicate where the leg's joints will be. Draw another line under the circle that bends to the right this time as a guide for the running wolf's other hind leg.
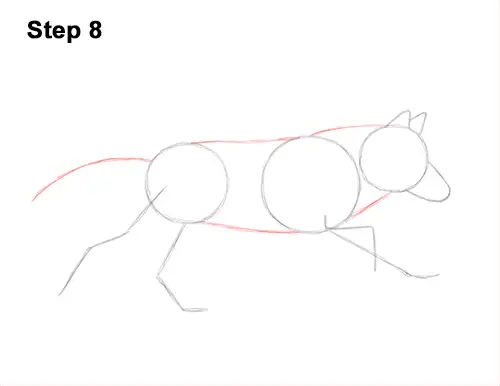
Step 8: Draw a series of curved lines that connect the circles to create the guide for the rest of the body. Draw two curved lines that connect the head to the big circle to create the guide for the neck. Add two longer lines that connect the main circles to create the guide for the torso. On the left side of the body, draw a long, curved line as a guide for the wolf's tail.
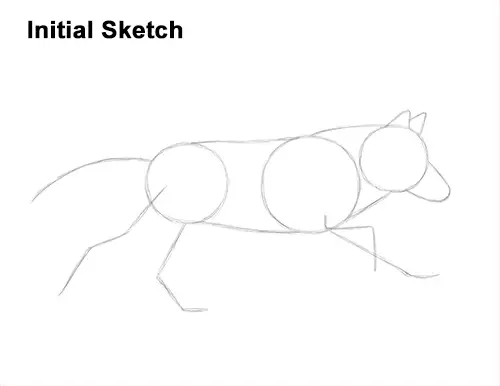
That's it for the guides! From this point on, press harder with your pencil for a more defined drawing.
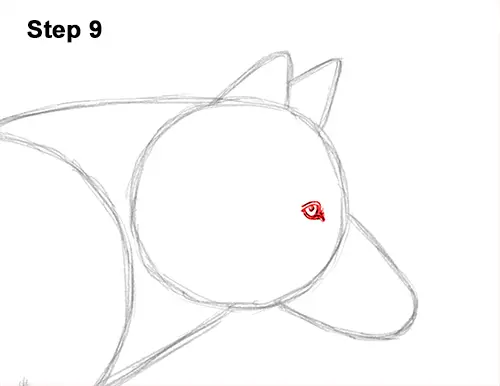
Step 9: Inside the head, near the right side, lightly sketch a small circle for the wolf's eye. When you get the position and size right, darken the circle. Use an angled line similar to a less-than sign (<) on the left side. Add a couple of lines above and below the eye for extra detail. On the lower, right side of the eye, draw a small, triangular shape for the corner of the eye. Darken the corner of the eye. Make sure that it points toward the muzzle. Inside the ear, near the top, draw a tiny dot for the pupil.


