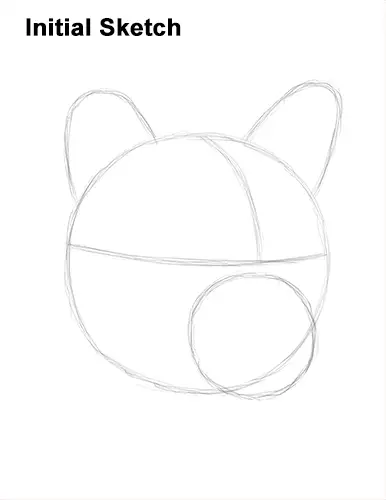
That's it for the guides! From this point on, press harder with your pencil for a more defined drawing.
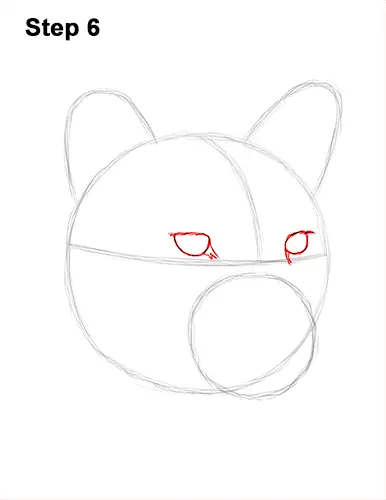
Step 6: Lightly sketch the eyes inside the head as two small half-circles. The cougar's eyes should be sitting on top of the horizontal guide line and on either side of the vertical guide line. When you get the position and size of the eyes right, darken the lines. Make the lines at the bottom thicker and darker. Use a bit of jagged lines on the top edge of the eyes for fur. Draw a few short lines on the inner edge of each eye that point down for the corners of the eyes.
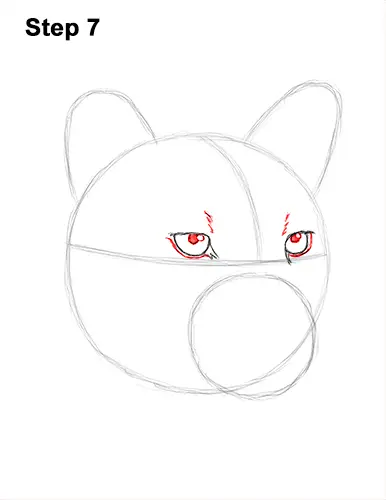
Step 7: Inside each eye, near the top edge, draw a small circle for the mountain lion's pupils. When you get the size and position of the pupils right, shade them in. To the right of each pupil, draw a tiny circle to represent glare. Draw a curved line under each eye for the bit of bare skin found there. Draw a few short strokes above each eye for a fur-like texture.
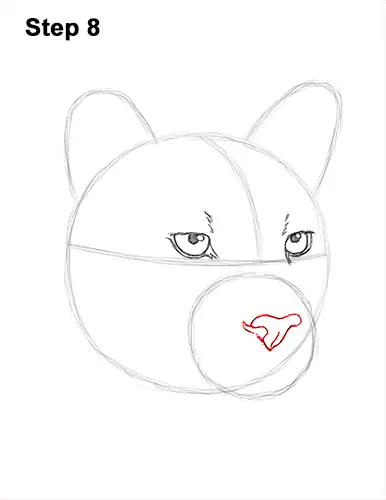
Step 8: Lightly sketch a small triangle inside the muzzle for the cougar's nose. Draw the triangle near the right side of the small circle and within the circle for the head. When you get the size and position of the triangle right, darken the lines. Make the top edge wavy. As you darken the sides, curve the edges inward to create the nostrils. Curve the nostril on the left more. Draw a line near the bottom of the puma's nose. On the top, left side, draw a line that points toward the eye on the left.
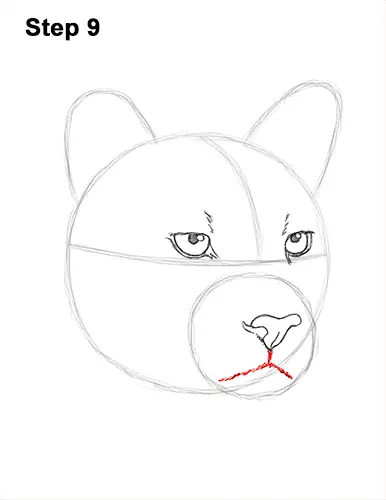
Step 9: Draw a short line under the nose for the start of the mouth. Using series of short strokes, draw a line that curves toward the left for the first side of the mouth. Add another shorter line on the right for the other side of the panther's mouth. Keep the mouth inside the initial circle.


