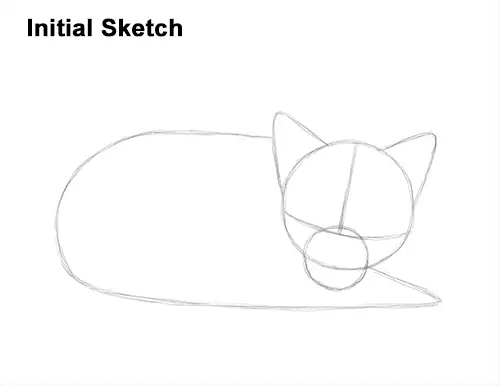
That's it for the guides! From this point on, press harder with your pencil for a more defined drawing.
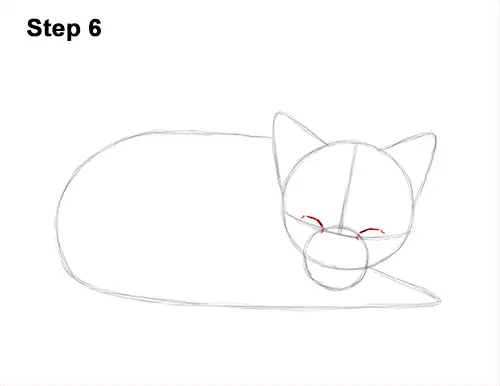
Step 6: Draw the sleeping fox's closed eyes inside the head as small, dark, slit-like lines. Use the construction lines and the small circle as guides to determine the position of the eyes. Place the eyes above the horizontal line, on either side of the vertical line and right on the edge of the small circle. Don't draw the lines for the closed eyes too long or too far apart.
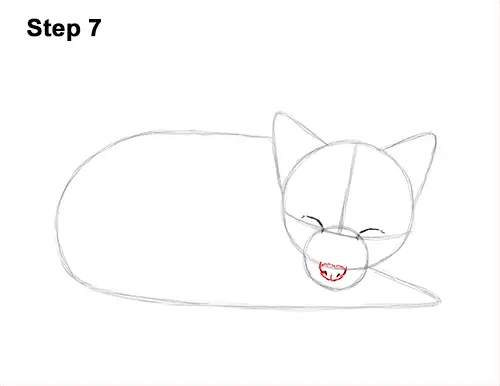
Step 7: Lightly sketch a U- shaped line directly below the main circle for the fox's nose. This line should be confined inside the smaller circle. Pay attention to its size relative to the head. When you get the shape right, darken the sides and curve them inward to create the nostrils. Darken the bottom edge and add a small vertical line at the bottom. Use a series of short strokes to darken the top edge and simulate fur.
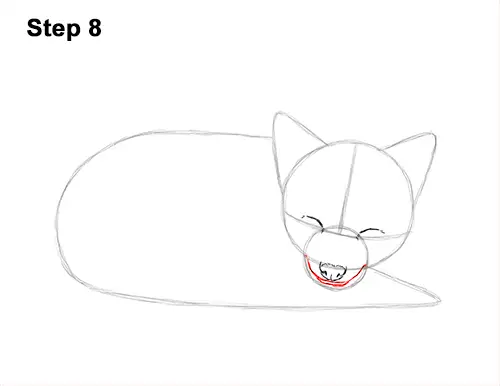
Step 8: Under the nose, draw a line that's somewhat parallel to the small circle for the muzzle. The line should end directly on the edge of the main circle. Below that line, draw a shorter curved line for the fox's chin/lower jaw.
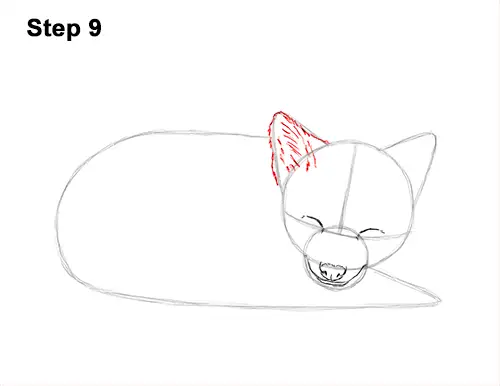
Step 9: Use the triangular shape on the top, left side of the head as a guide to draw the fox's first ear. Use a series of short strokes along the path of the guide to create the furry shape of the ear. Add longer strokes within the shape for the inner ear structure and fur.


