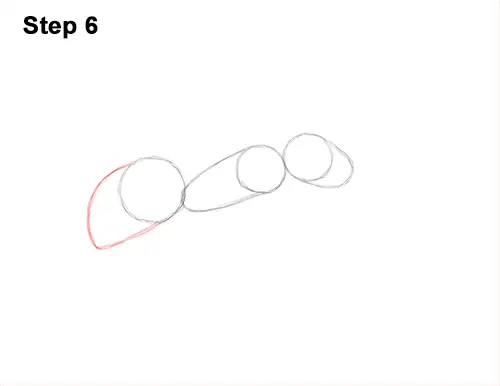
Step 6: Starting at the top of the circle, draw a line that curves to the left, and then down for the rest of the abdomen. At the bottom, draw a straight line to complete the guide for the ant's abdomen.
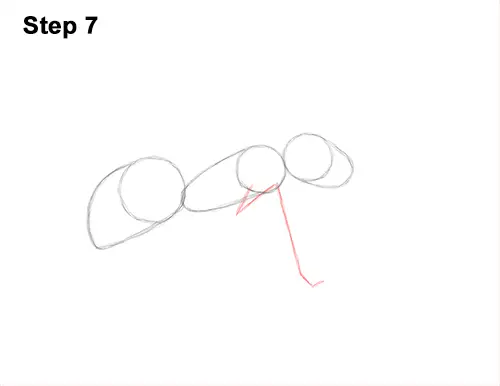
Step 7: Add the guide for the ant's front leg by first drawing an angled line that's similar to the letter V below the thorax. Extend the guide line by drawing it downward and slope it to the right slightly. Bend the tip at the bottom a bit.
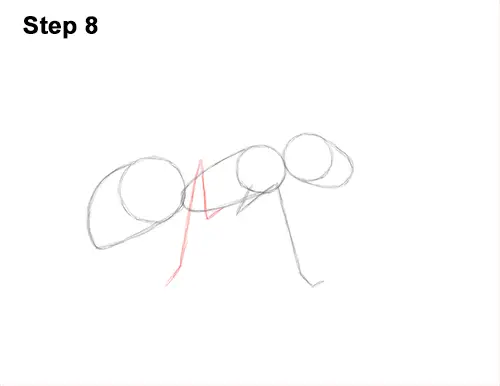
Step 8: To the left, draw the guide for the middle leg by first drawing an angled line similar to the letter L. Continue drawing the guide as a line that slopes to the left and bends at the tip.
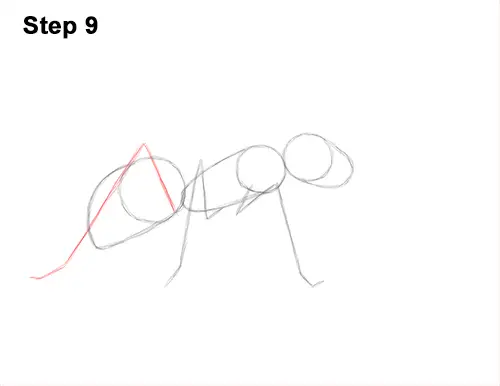
Step 9: Draw the guide for the third leg as a big angled line similar to an upside- down letter V across the entire abdomen. Bend the tip of the line a bit. All of the ant's legs will be attached to the thorax in the later steps.
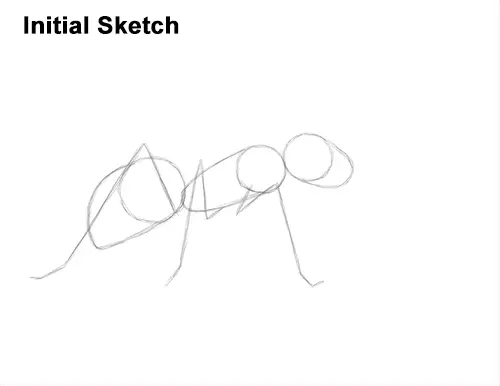
That's it for the guides! From this point on, press harder with your pencil for a more defined drawing.


