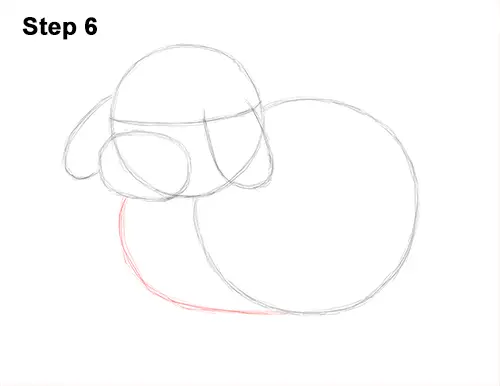
Step 6: Now draw a curved line that goes from the muzzle to the bottom of the big circle as a guide for the front part of the bunny's body.
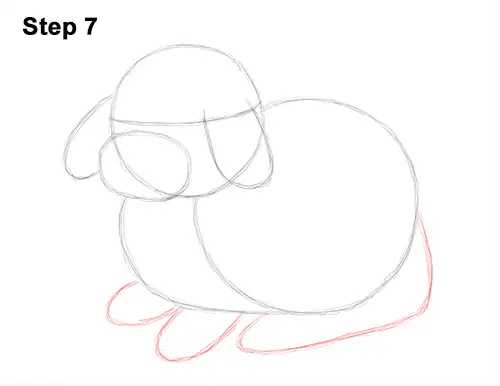
Step 7: Now draw a few curved lines under the body as guides for the Holland Lop bunny's feet. First draw two short, curved lines that are similar to the letter U on the left side as guides for the front feet. Then draw a longer line that stretches from the right side of the body, then curves down under it and ends near the front legs.
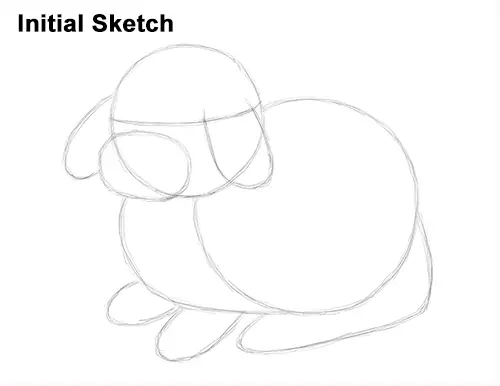
That's it for the initial sketch! From this point on, press harder with your pencil to get a more defined sketch.
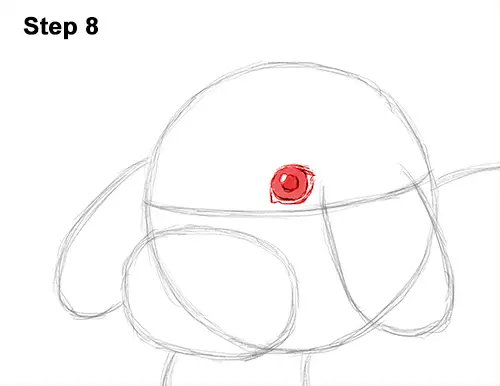
Step 8: Lightly sketch a small circle inside the Holland Lop's head for the eye. Place it near the middle, right on top of the construction line. The eye should be very close to the ear on the right. Darken the shape when you get the placement right. Inside the eye, on the top, left side, draw a small oval to represent glare.
Draw another circle in the middle of the eye and shade it in for the pupil. Shade in the rest of the bunny rabbit's eye as well to represent the iris. When shading the iris, use a value that's slightly lighter than the pupil. Add a few more lines at the top and sides to further shape the eye. The lines on the sides should come to a point to indicate the corners of the eye.
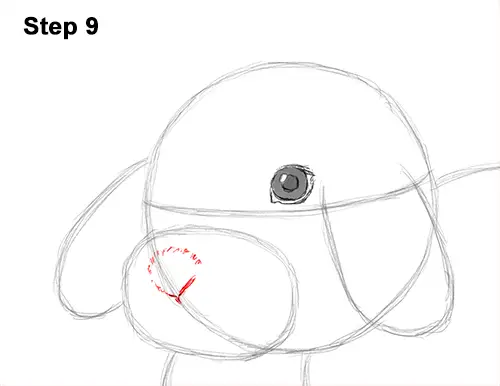
Step 9: Draw the Holland Lop bunny's nose as a V-shaped line inside the small oval, right on top of the edge of the main circle. Draw a series of quick, short strokes above the nose to represent fur.


