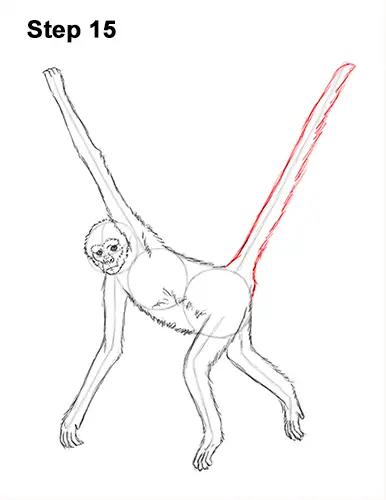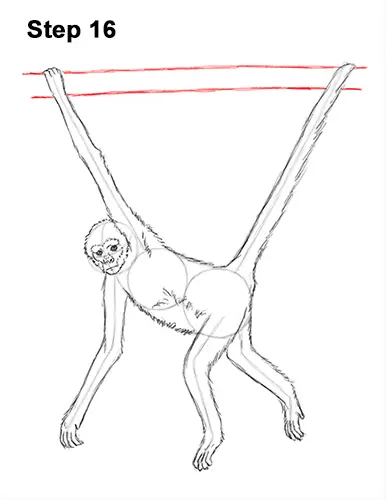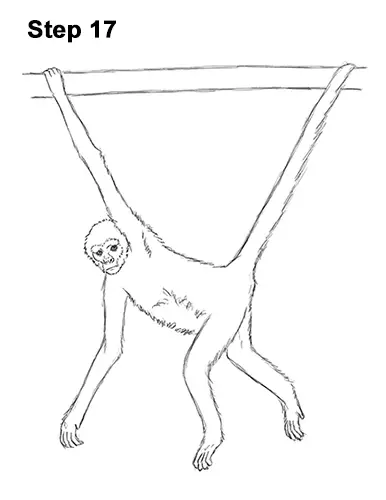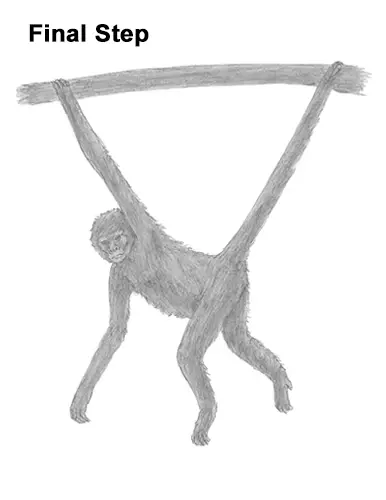
Step 15: Use the last line as a guide to draw the long tail. The tail is holding the spider monkey's weight, so draw it straight and taut.

Step 16: Add a branch at the top for spider monkey to hold on to. Simply draw two horizontal lines and make sure that they don't overlap the hand or tail.

Step 17 (optional): For a cleaner look, erase as much as you can of the initial guide lines. Don't worry about erasing all of the guides. It's okay to leave some behind. Re-draw any final sketch lines that you may have accidentally erased.

Final Step (optional): Add some shading to your drawing for extra detail. There are different species of spider monkeys with unique coat patterns, so feel free to shade yours differently. For a black-headed spider monkey like this one, simply add a single dark value to the entire body. Add the value by using strokes that go in the general direction of the fur. Black-headed spider monkeys' coats are pretty dark, so push hard on your pencil as you add the value to the body.
Shading can be time-consuming, so be patient and take breaks. It's always a good idea to use reference for a more accurate drawing. Add some value to the branch too. Remember to pause the "How to Draw a Spider Monkey" video after each step to draw at your own pace.
Thanks for watching! Subscribe to the How2DrawAnimals YouTube Channel for a new tutorial every Tuesday.
To learn how to draw popular cartoon characters, visit EasyDrawingTutorials.com.


