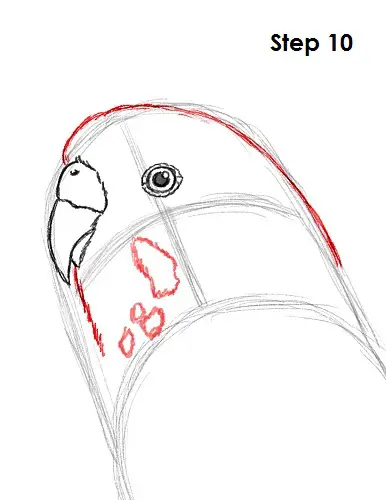
Step 10: Use the arc as a guide to draw the budgie's head. Follow the basic path of the arc as you darken the line and create the head. Use quick, short strokes as you draw the head for a fluffier texture. Draw a few shapes in between the eye and beak for the bird's cheek and throat patches.
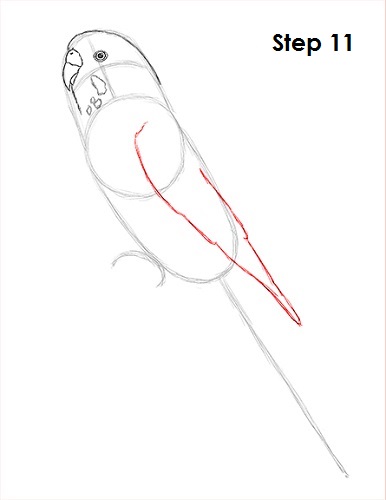
Step 11: Draw the budgie's folded wing inside the shape of the body. Use a series of curved lines that stretch down toward the outside of the body near the tail to form the wing. Remember to sketch lightly at first to get the structure right. Darken the lines that form the budgie's wing once you get the shape right. The folded wing basically consists of three curved lines on the left and a straight line on the right that meet at a point at the bottom.
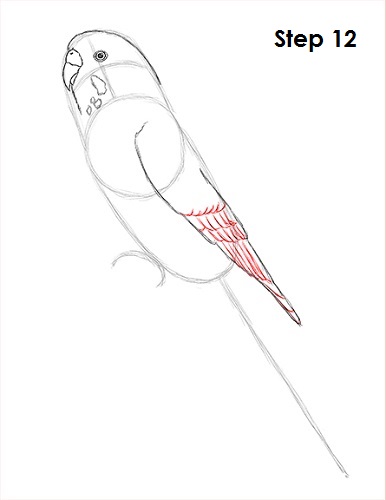
Step 12: Draw a few curved lines within the shape of the budgie's wing to represent the budgie's secondary flight feathers. Draw a few more lines at the bottom for the bird's primary flight feathers.
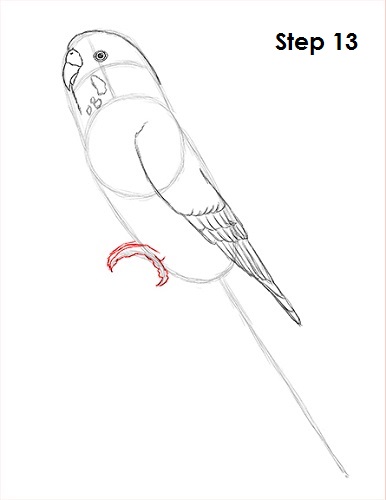
Step 13: Use the C-shaped line at the bottom as a guide to draw the budgie's feet. Follow the path of the guide as you thicken up the feet using curved lines. Add a point at the tip for the talon.
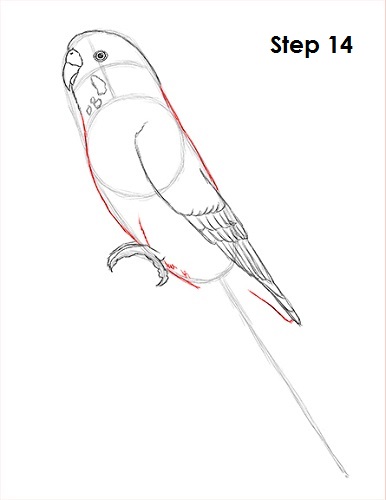
Step 14: Use the initial lines as guides to draw the parakeet's body. Follow the basic path of the guides. Make the neck narrower and add a bit of a belly. Draw a few lines above the feet for the legs. Use quick, short strokes to represent the bird's fluffy feathers.


