Page 2 of 4
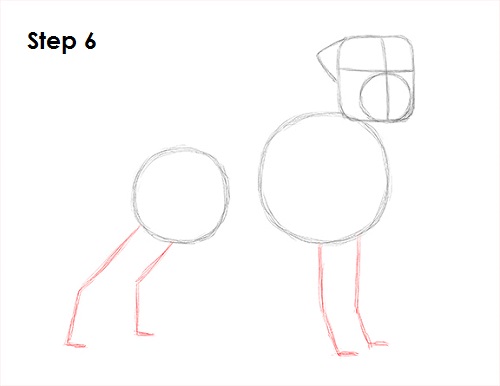
Step 6: Draw four lines under the rottweilers body (two below each circle) as guides for the legs. Bend the lines near the middle to indicate the joints and at the tips for the paws. Pay attention to the placement and length of these lines.
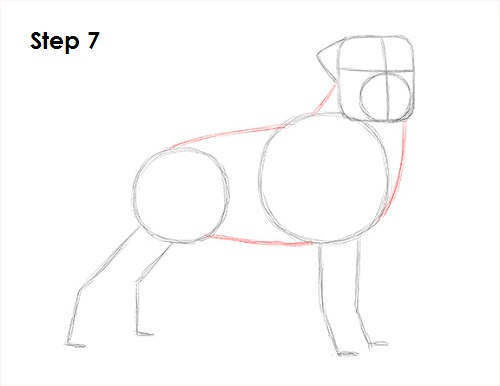
Step 7: Draw a series of curved lines that connect the major shapes to form the rottweiler's body.
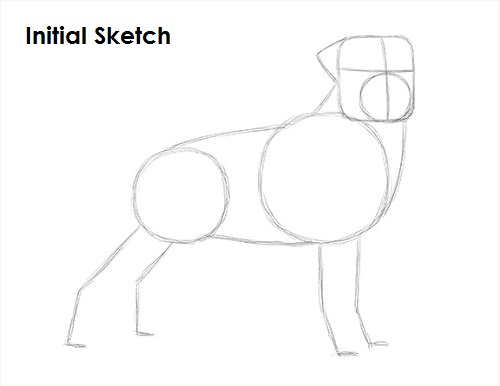
That's it for the initial sketch! From this point on, press harder with your pencil to get a more defined sketch.
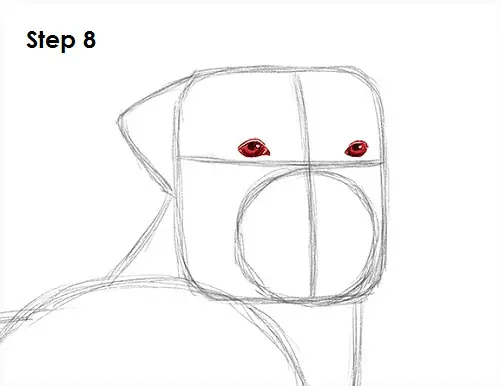
Step 8: Draw the rottweiler's eyes inside the head by using the lines as guides for placement. The shape of the eyes is similar to footballs. Sketch lightly at first to get the shape right. Draw a curved line over each eye for the rottweiler's eyelids. Add a small line in the eye for the actual eyeball. Draw a tiny circle inside each eye to represent glare. Add a dot in each eye for the pupils. Shade in the rest of the rottweiler's eye except for the tiny circle that represents glare. When shading the eyes, use a value that's lighter than the pupils.
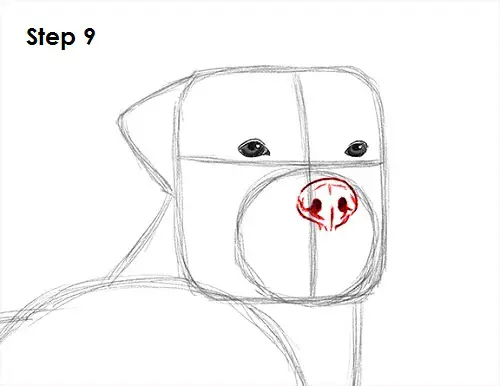
Step 9: Draw the rottweiler's nose inside the muzzle by first lightly drawing an oval. Darken the top and sides of the oval to give the nose more structure. Draw a curved line on top and a short vertical line at the bottom. Add two shaded circles in the middle for the nostrils. Draw a couple of lines around the nostrils for extra detail and darken the rest of the lines a bit more.


