


In this free art lesson, you'll learn how to draw a Kitten step-by-step.
Stay tuned for more free drawing lessons by:
- Liking us on Facebook
- Subscribing on YouTube
- Following us on Instagram
This page contains affiliate links. If you choose to purchase through these links, I earn a small commission at no extra cost to you.
All of the tutorials on How2DrawAnimals.com are good for beginners and experienced artists alike. The online lessons are easy to follow; they teach you drawing basics while showing you how to sketch animals step by step. Each animal has a video option, as well as step-by-step photos and written text.
RELATED TUTORIALS
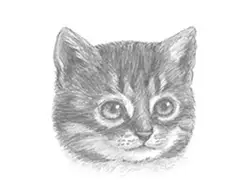 | 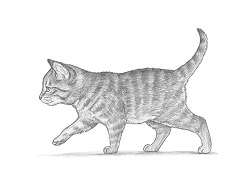 | 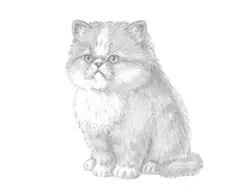 |
To draw this Kitten step by step, follow along with the video tutorial below and pause the video after each step to draw at your own pace. You may find it easier to follow the step-by-step drawings below the video. The new lines in each step are shown in red, so you'll know exactly what to draw next. You may want to open the video in a new tab and use both drawing methods. Take your time and draw at your own pace.
Materials You'll NeedBefore starting, gather these basic drawing supplies from Dick Blick. If you choose to purchase through these links, I earn a small commission at no extra cost to you. | ||
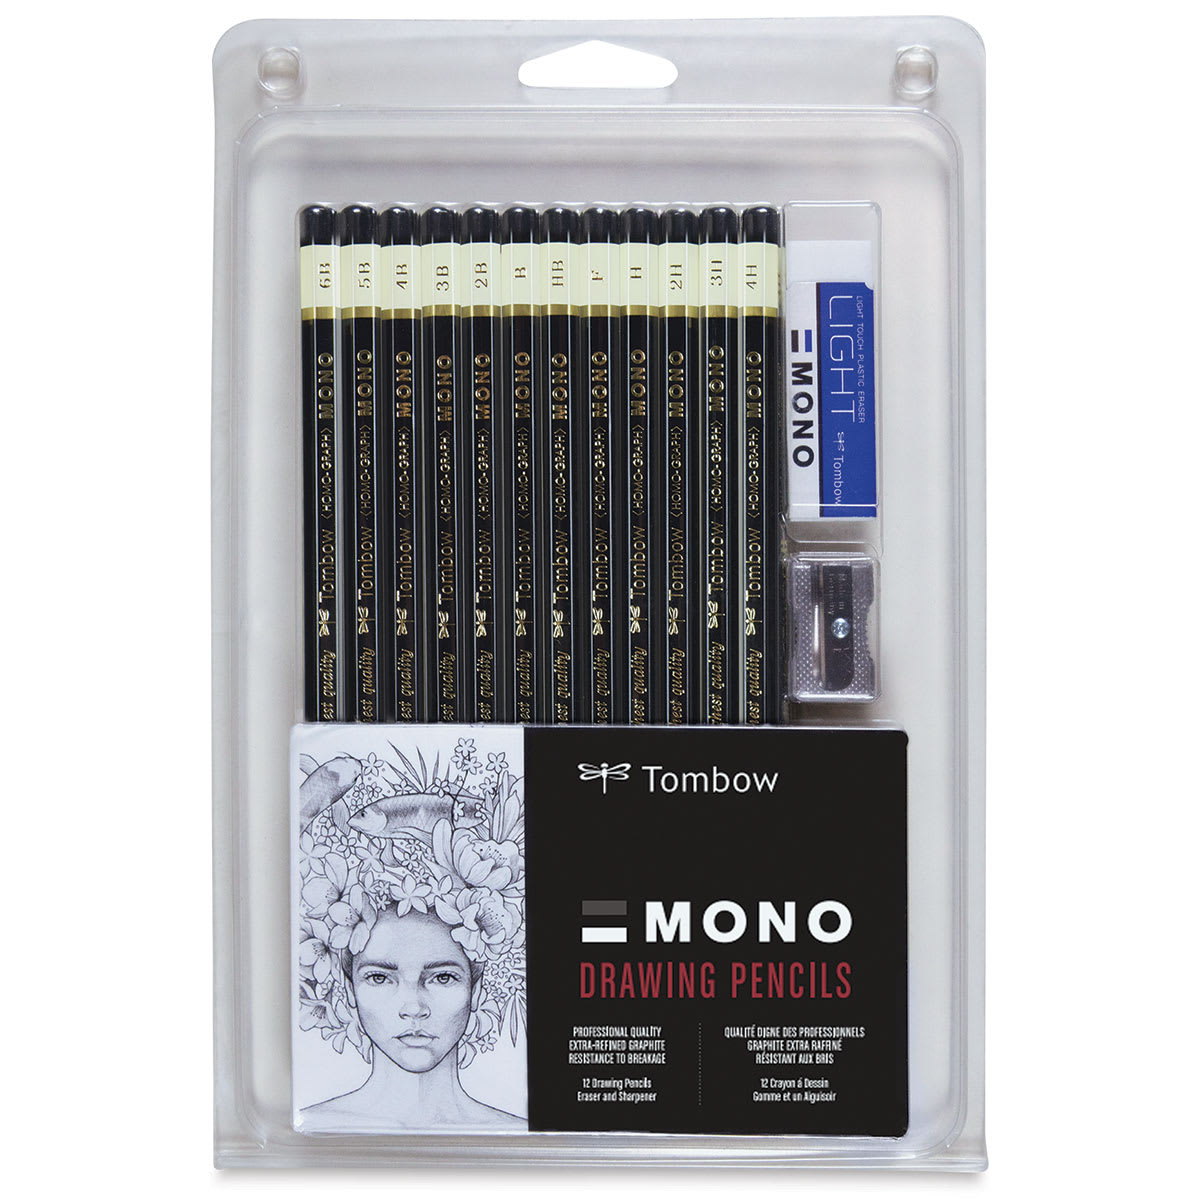 (an HB lead pencil is best for light sketches) |  |  |
For the first few steps, don't press down too hard with your pencil. Use light, smooth strokes to begin.
Start with Simple Lines and Shapes

Step 1: Draw a circle as a guide for the kitten's head. The shape doesn't have to be perfect; it's just a guide.

Step 2: Draw two intersecting curved lines inside the head as guides to help you place the facial features later on.

Step 3: Draw a small circle on the lower part of the head as a guide for the muzzle. Use the construction lines to help with placement.
Keep Building the Animal Slowly

Step 4: Draw two triangle-like shapes on top of the head as guides for the ears.

Step 5: Draw a circle slightly larger than the head as a guide for the back portion of the body. Don't place it too far away, or the kitty will end up too long. Notice that the top of this circle aligns with the lower part of the ear.
Finish Up the "Skeleton"

Step 6: Connect the body circle to the head with two lines to complete the main form. The top line ends below the ear, and the bottom line curves to meet the vertical guide inside the head.

Step 7: Draw three short lines under the body as guides for the feet and a curved line on top for the tail.

That's it for the initial sketch! From this point on, press harder with your pencil to get a more defined look.
Now Add Details

Step 8: Draw the eyes inside the head using the guidelines. Lightly sketch two small circles, paying attention to their position relative to the muzzle. Once the size and placement look right, darken the lines and come to a point at the ends for a realistic shape. Draw the inner eyeballs, adding two tiny circles for glare. Draw a small slit in the middle of each eye and shade it in for the pupils (or make them rounder if you prefer dilated eyes). Shade the rest of the eyeball with a value lighter than the pupil, blending from darker at the top to lighter at the bottom. Add quick, short strokes around the outline for the surrounding fur texture.

Step 9: Position the nose inside the muzzle by first lightly sketching a small triangle. Darken these lines, making the top edge wavier, and add two small indentations on the sides for the nostrils. Add a couple of lines at the top and another inside at the bottom for structure.

Step 10: Draw the mouth below the nose as a line that splits into two. Use the small guide circle to build the sides of the muzzle with quick, short strokes for fur. Define the chin underneath with a matching curved, fuzzy line.

Step 11: Use the triangle guides to finish the ears. Round off the tips as you darken the outer lines. Add inner structural lines, followed by quick, long strokes to show the protective fur lining the inside.
Stay Patient and Keep Drawing - You're Almost There!

Step 12: Follow the path of the original head circle to complete the face. Use quick, short strokes to give the entire head a soft, fuzzy texture.

Step 13: Use the guidelines on the right to shape the front legs. Lightly sketch the first leg along its guide path, widening the structure near the top. Darken the lines with short, texturing strokes and add curved lines at the bottom for the toes. Repeat this process for the leg on the other side, sketching lightly before finishing with a furry texture and toe lines.

Step 14: Use the remaining lower line to draw the hind legs. Sketch lightly to capture the distinct bend at the joint, keeping the leg wider near the body. Add curved toe lines at the bottom. Since the leg on the other side is mostly blocked, only show the small visible portion.

Step 15: Complete the main body and tail using the remaining guidelines. Use short strokes for a standard coat or longer strokes if you want to create a long-haired look. Follow the curve of the guide line to finish the tail.

Step 16: Clean up your work by erasing the initial guidelines. It is fine if some faint lines remain. Re-darken any final sketch lines that were accidentally dulled by the eraser.
Now It's Time to Shade

Final Step (optional): Add shading to give your artwork more dimension and volume. Establish a consistent light source so your shadows fall naturally. Vary your pencil pressure to achieve a smooth range of tones.
Add a cast shadow underneath the paws to ground your subject so it doesn't look like it's floating.
You can leave your artwork clean for a solid white coat, or add patterns for extra detail. Coats come in many variations, including spots and stripes. For a tabby pattern, draw series of short stripes across the body, adjusting pencil pressure for tone. Apply your strokes in the natural direction of the fur growth. Take your time during this stage, as rendering complex patterns requires patience. Using a photo reference can help you capture realistic markings. If you have a pet at home, try replicating their coat!

Thanks for watching! Subscribe to the How2DrawAnimals YouTube Channel for a new tutorial every Tuesday.
To learn how to draw popular cartoon characters, visit EasyDrawingTutorials.com.
Buy My Step-by-Step Art Books on Amazon!
If you enjoyed drawing with me and want to expand your artistic skills, please consider checking out my step-by-step drawing books on Amazon! My books break down a wide variety of animals into simple geometric shapes, making it easy and fun for artists of any skill level to follow along. Every purchase directly helps support this site so I can keep creating high-quality, free tutorials for the art community.
This is an Amazon affiliate link. If you choose to purchase through this link, I earn a small commission at no extra cost to you.
Click Here to Order Your Copy Today!
Thanks for visiting! Subscribe to the How2DrawAnimals YouTube Channel for a new tutorial every week.
To learn how to draw popular cartoon characters, visit EasyDrawingTutorials.com.
To learn how to draw Manga, visit How2DrawManga.com.
RELATED TUTORIALS
| | |