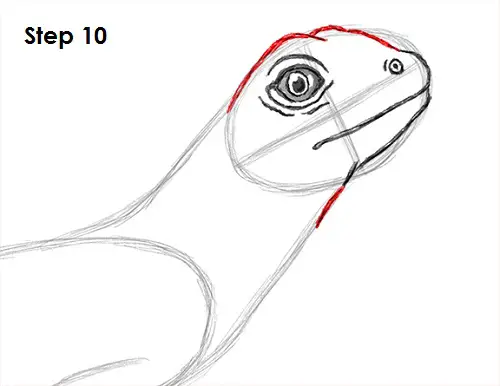
Step 10: Use the initial oval shape again to draw the rest of the lizard's head. Use curved lines to give it a bumpy feeling.
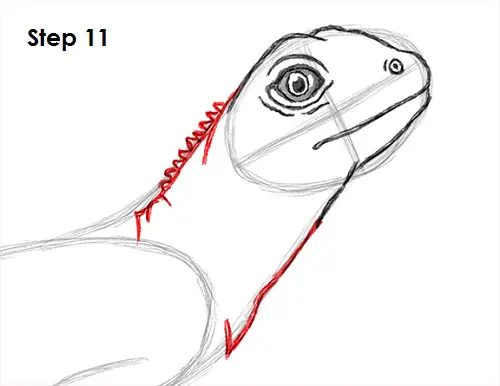
Step 11: Draw the lizard's neck using the lines as guides. Draw more lines to represent the folds of the skin and tiny triangles for the spikes on the back.
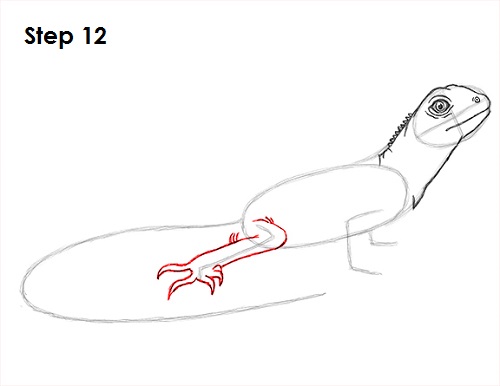
Step 12: Draw the lizard's hind leg using the initial line as a guide. Just go around the guide line and make the leg thicker. Use curved lines when drawing the leg for bumpy skin. Draw the five toes at the end of the lizard's foot. They are curved and end at a point where the claw is. The lizard's toes are splayed out instead of pointing forward.
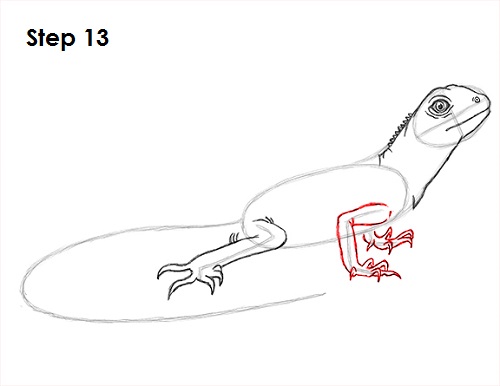
Step 13: Draw the lizard's front feet using the initial line as a guide. Use the same technique as with the hind foot. Go around the line using a bumpy line to give the leg thickness. At the end of the lizard's foot, draw the toes splayed out. Remember to make them pointy for the claws. The other leg is behind the lizard's body, so only draw the pointy toes.
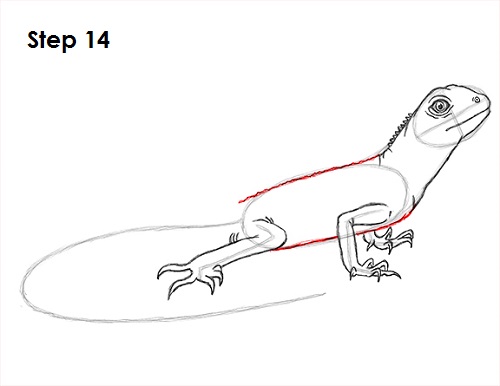
Step 14: Use the initial oval shape to draw the lizard's torso. Use a bumpy line, especially on top to represent the spikes.


